
Overview
This page covers creating and managing custom themes. For an overview of themes, including browsing preset themes and applying a theme to a display, see Themes & Branding. This page is also linked from the Themes & Branding section of the Builder Guide.
Creating A New Theme
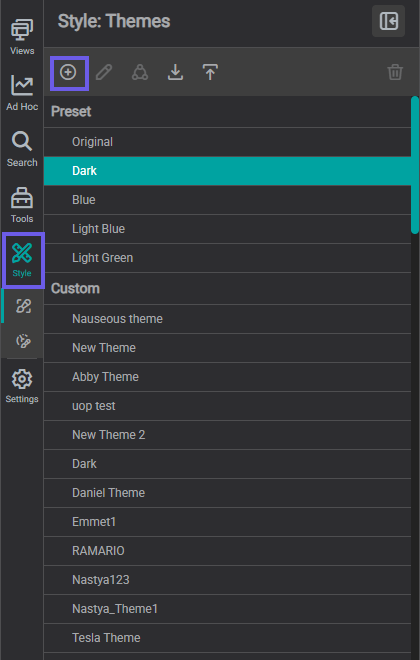
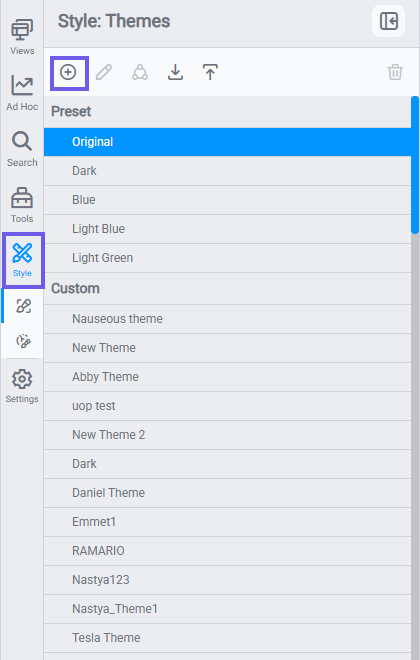
To create a new theme, open the Themes tab in the Style panel and select the add theme  button located above your other themes:
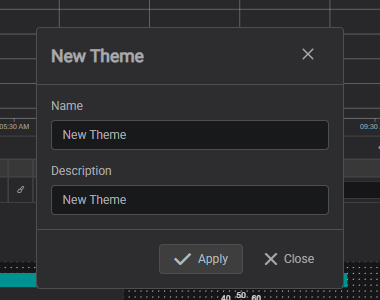
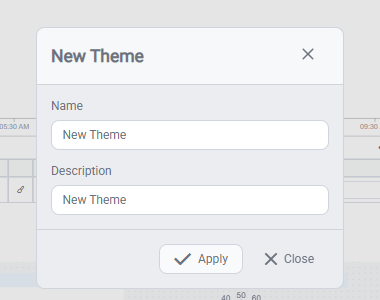
Then give it a name.
Info
Any new theme made will not have blank settings, it will copy all settings of your current theme as a starting ground.
Exporting/Importing a Theme
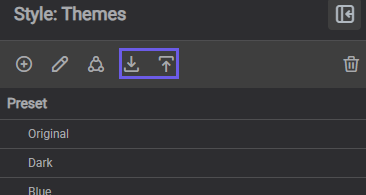
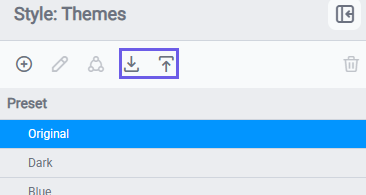
Any created theme can be exported as a file .b64, and any theme can be imported as well using the button upload/download found in the top of the theme menu:
Customizing New Theme
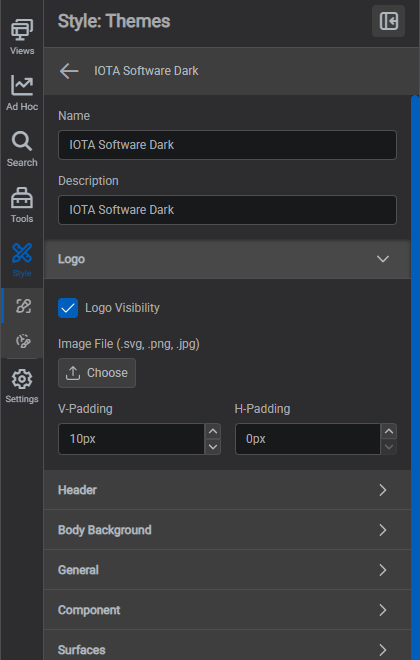
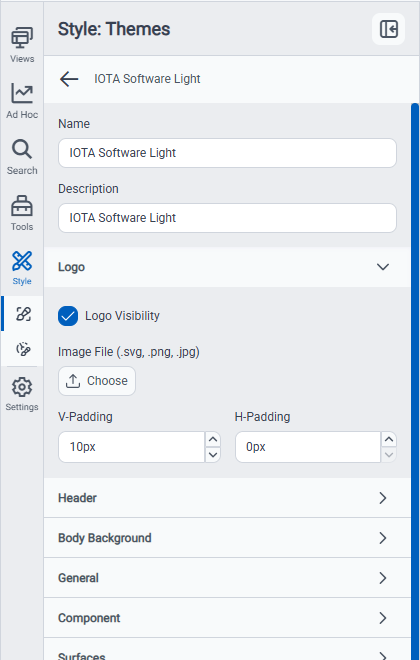
After creating a new custom theme, you will notice the below customization categories are available when selecting your theme followed by the edit button  . Each category dictates a different aspect of the viewspace you can customize:
Logo
Within the logo settings, a new logo can be placed in the highlighted area in the top left of the view space. If you don't wish to have any logo present, you can disable this setting by unchecking the Logo Visibility option.
Header
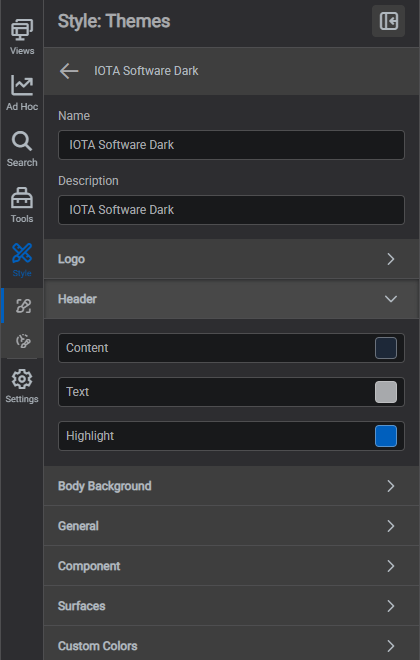
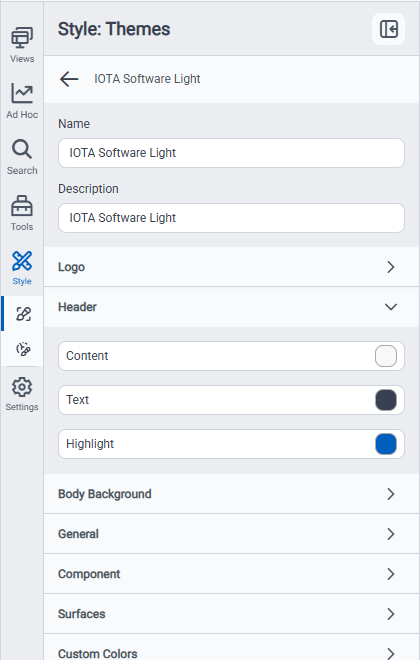
Customizing the header refers to the text and background color of the elements in the highlighted box. This includes the parent view path, the setting background color, and the viewspace setting icons; set by the Highlight, Content, and Text settings respectively.
Body Background
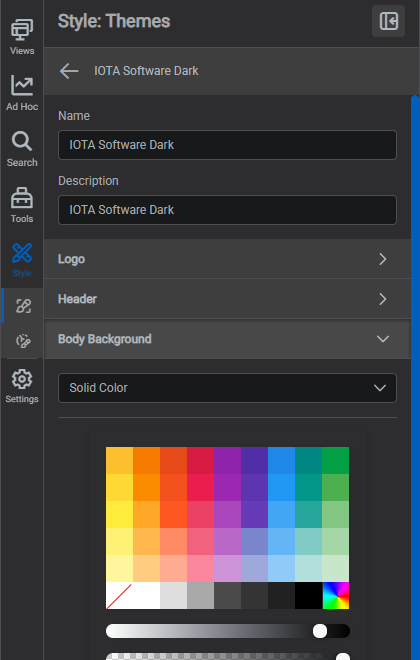
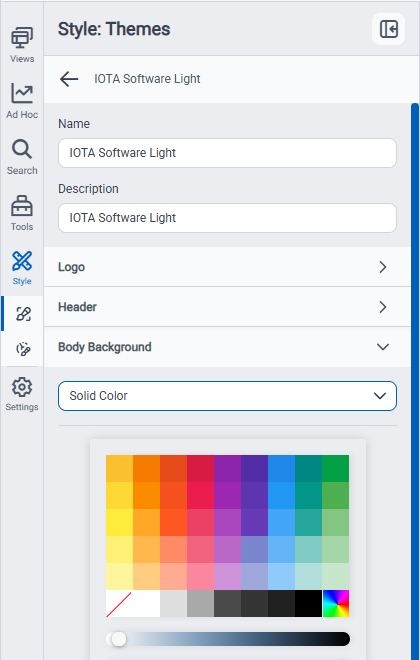
Customizing the background alters the workspace. Within the Settings you can set the background to a Solid Color, Gradient, Image by upload, or fully transparent with No Background.
Looking to Change the Color of The Interior Workspace?
- Within Views
 select edit then navigate to the
 Backgroundpanel. - Both Color and dimension size can be altered here.
- Note That if this is fully transparent, the
Body Backgroundbehind is still present.
General
Customizing general settings refers to the visual properties of all viewable settings. These are mostly seen within the left navigation setting panel as seen in the highlighted box.
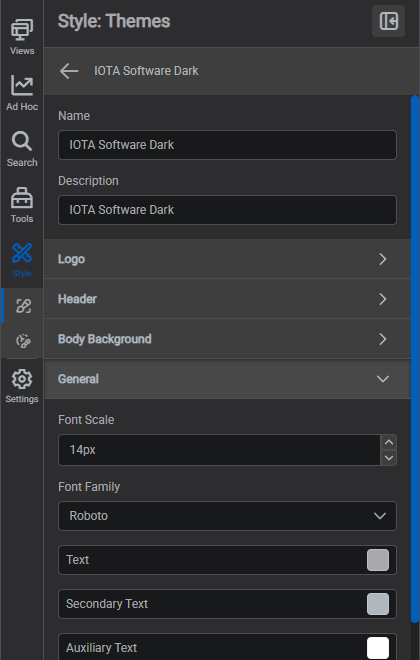
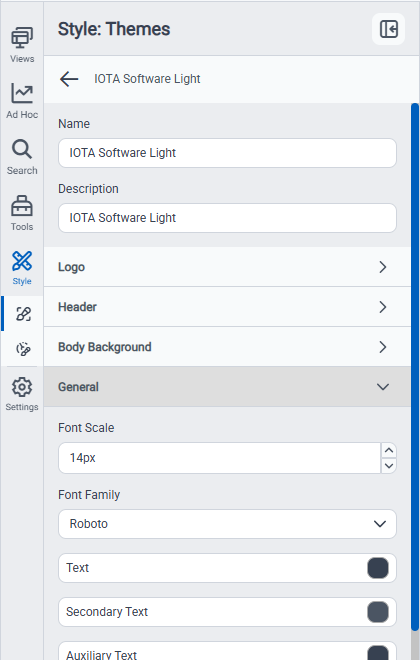
Font Scale
- Editing Font Scale will alter the settings to match the designated text size.
- The bounds of this setting are set between 12px and 20px
Font Family
- Editing Font family will switch all characters to the designated font.
Text
- Altering text color will change all primary text colors to match the color of choice.
Secondary Text
- Altering the secondary text color will change text on settings that have further functionalities such as buttons, dropdowns, or switches.
Auxiliary text
- Altering auxiliary text will change text from user selections such as search criteria or governing properties.
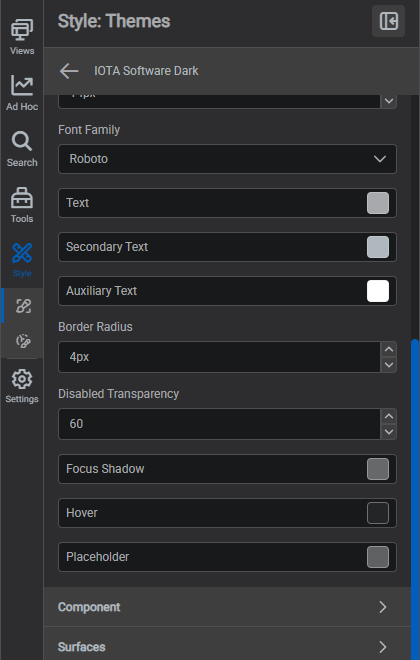
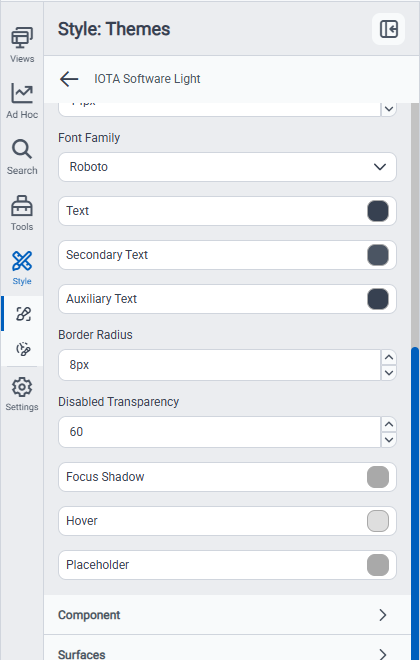
Border Radius
- The border radius setting will smooth all pointed corners to the designated degree.
Focus Shadow
- Changing the focus shadow will alter the retaining boxes surrounding setting icons and pop outs for better visual clarity.
Hover
- Changing the hover color will change what color dropdown settings become prior to being clicked.
Placeholder
- The placeholder setting will control the color of search bar entries which are awaiting input from the user.
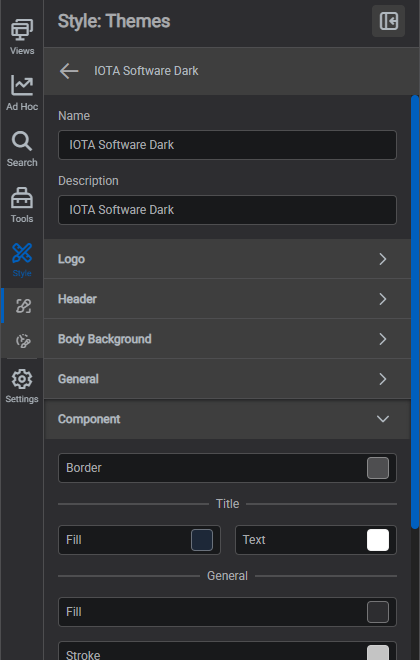
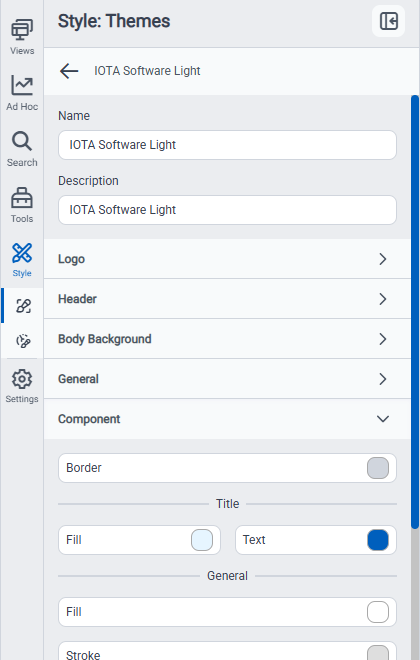
Component
- Customizing component themes will update all visual settings to relevant component characteristics.
Selecting Colors Within Theme
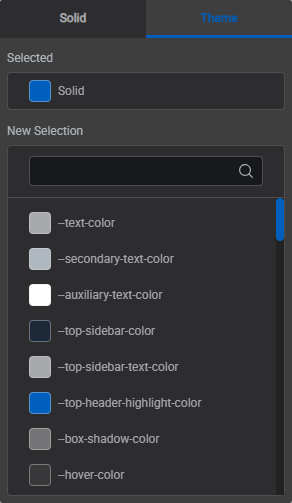
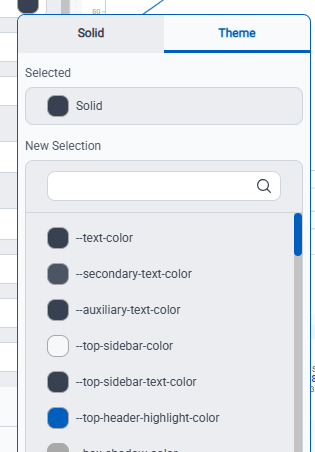
When you select the setting color you would like to change, you can find your new color from either the Solid or Theme tab.
Within the Solid tab, you can pick colors from the given hues, or find the exact color you need using the hex input. Within the Theme tab you can coordinate colors to match others already used within your theme.
What's Next
With your custom theme in place, set up Component Styles: named sets of default component settings that build on your theme's palette, so every new component (and every ad hoc trend) opens with a consistent look.
Related
- Themes & Branding: browse preset themes and apply a theme to a display
- Component Styles: default visual settings for each component type
- Set Up Your Workspace: prepare your workspace before you start building