
Getting Started
Getting Started
This page builds one complete job, end to end. By the end you will have a task that
reads process values from your PI System every fifteen minutes, calculates something
from them, and writes the result to a file: running unattended.
The job you will build: for every weather station in the plant, read two input
values, add them together, and write a dated CSV of the results. Substitute your
own assets and arithmetic; the sequence is the same for any job.
What you'll need
- Stream enabled for your account: the STRM button in the left application rail
- The address and credentials for your PI System (AF and Data Archive)
- Somewhere to write to: a folder Stream's service account can reach
- An AF hierarchy with a few assets built from the same template or in the same
category
The order of work
Stream's five building blocks stack in one direction, and that is the order you
build them in. Each step below produces the thing the next step needs.
| Step | You create | Because |
|---|---|---|
| 1 | A source endpoint | Nothing can be read until Stream can reach your PI System |
| 2 | A destination endpoint | The task needs somewhere to put results |
| 3 | A pattern | So the job covers every matching asset, not a fixed list |
| 4 | A pattern cache | So the task starts immediately instead of re-searching |
| 5 | A task | The work itself |
| 6 | A schedule | So it happens without you |
Check the ribbon at the top of the page before you start. Everything you create
belongs to the Stream service named there.
Step 1: Connect to your PI System
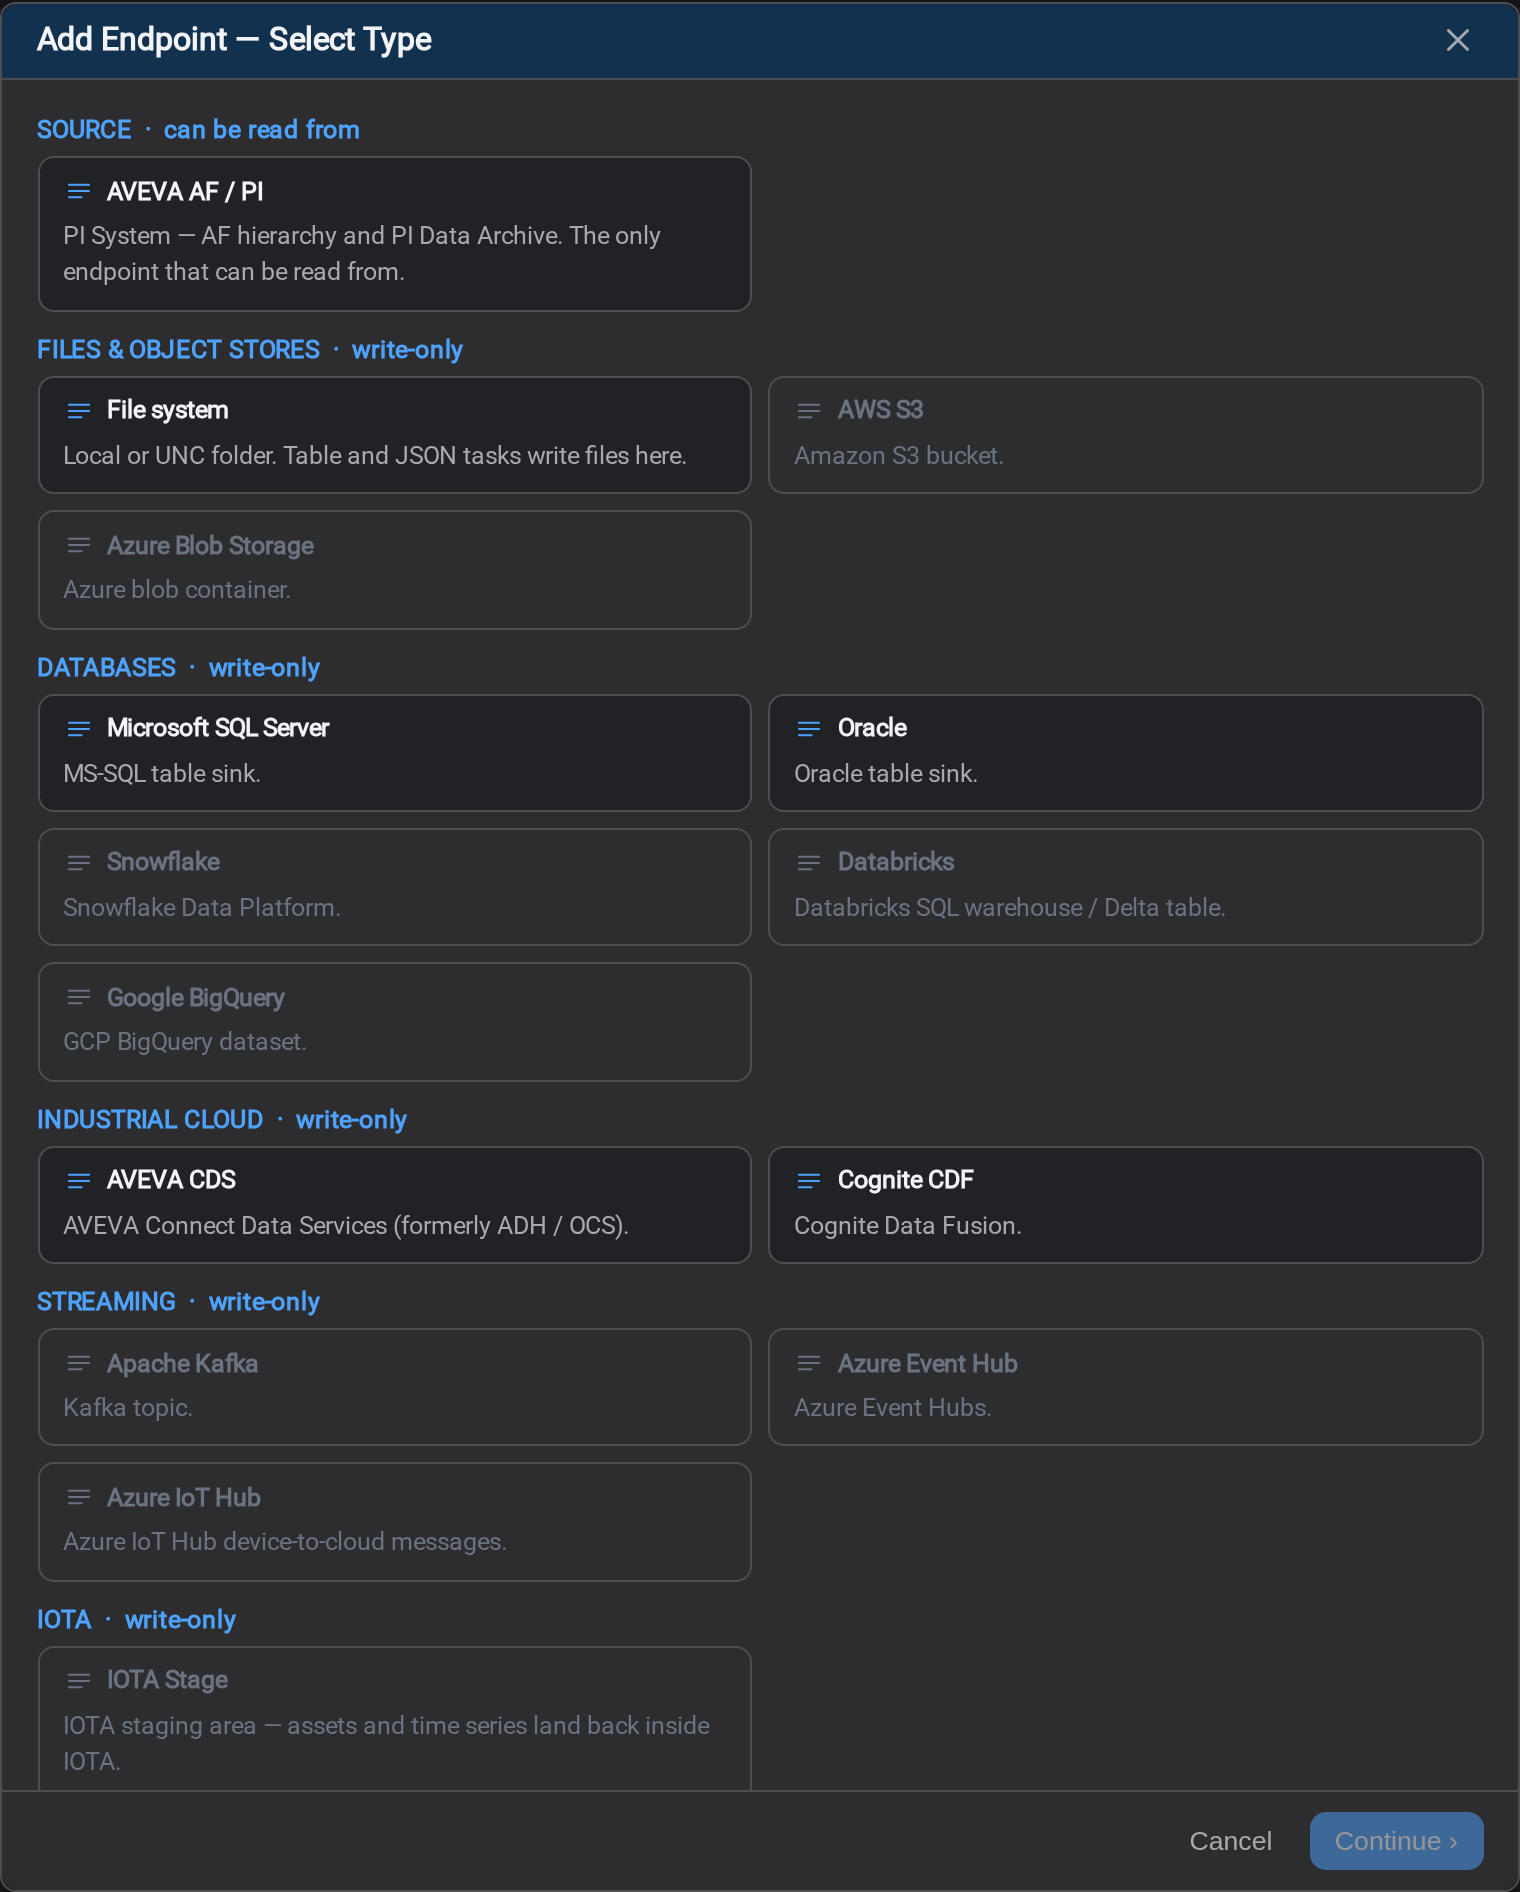
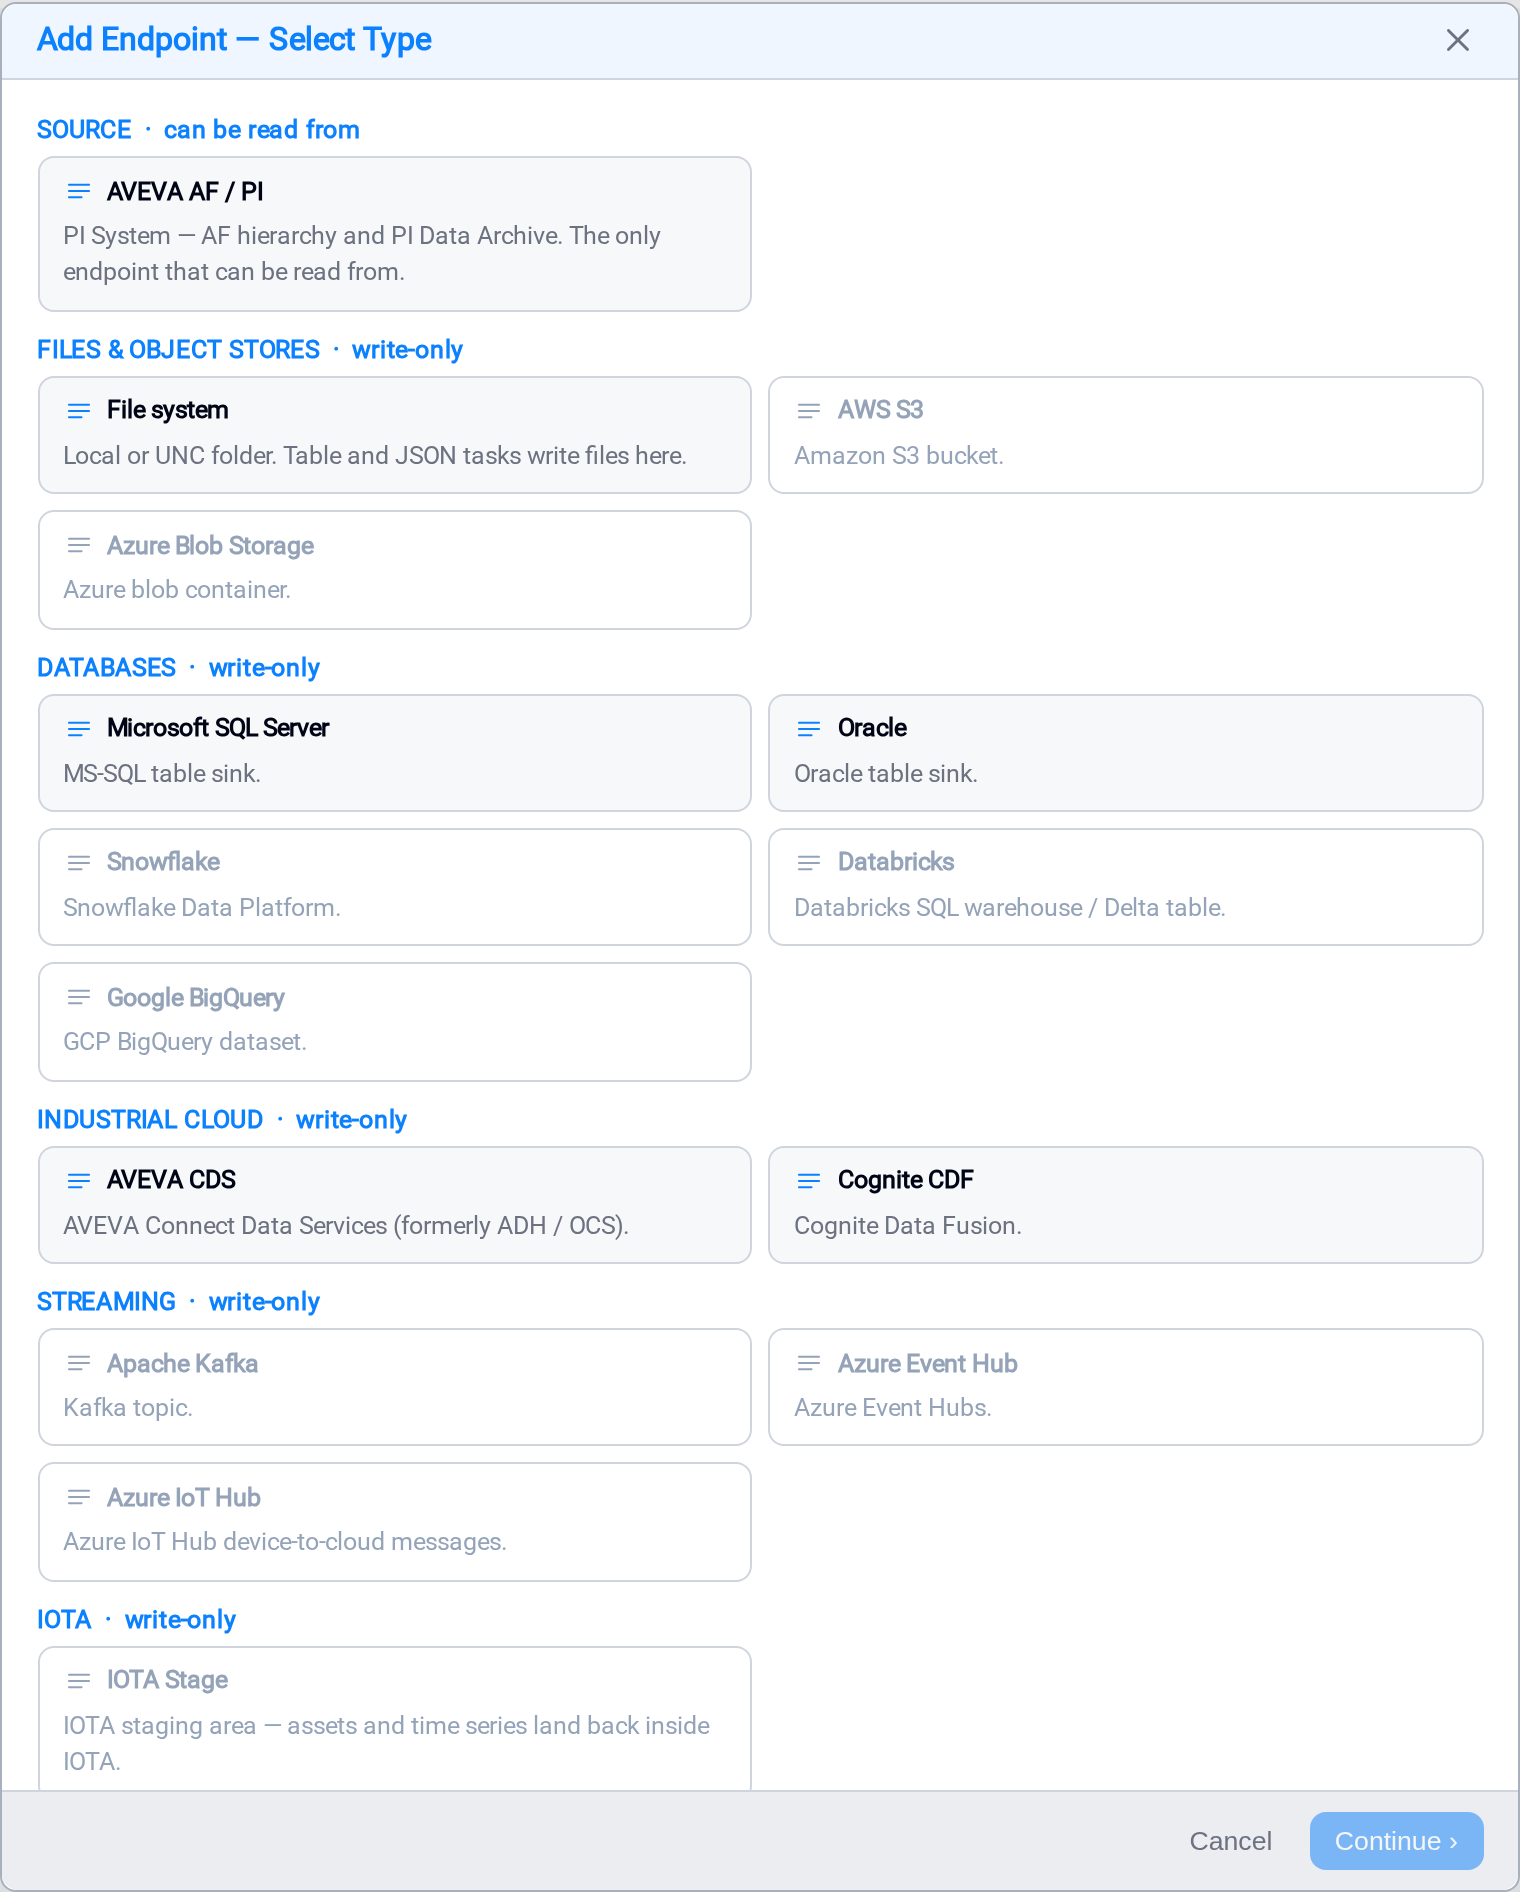
Open Endpoints and select Add Endpoint. Choose AVEVA AF / PI from the
Source group and select Continue ›.
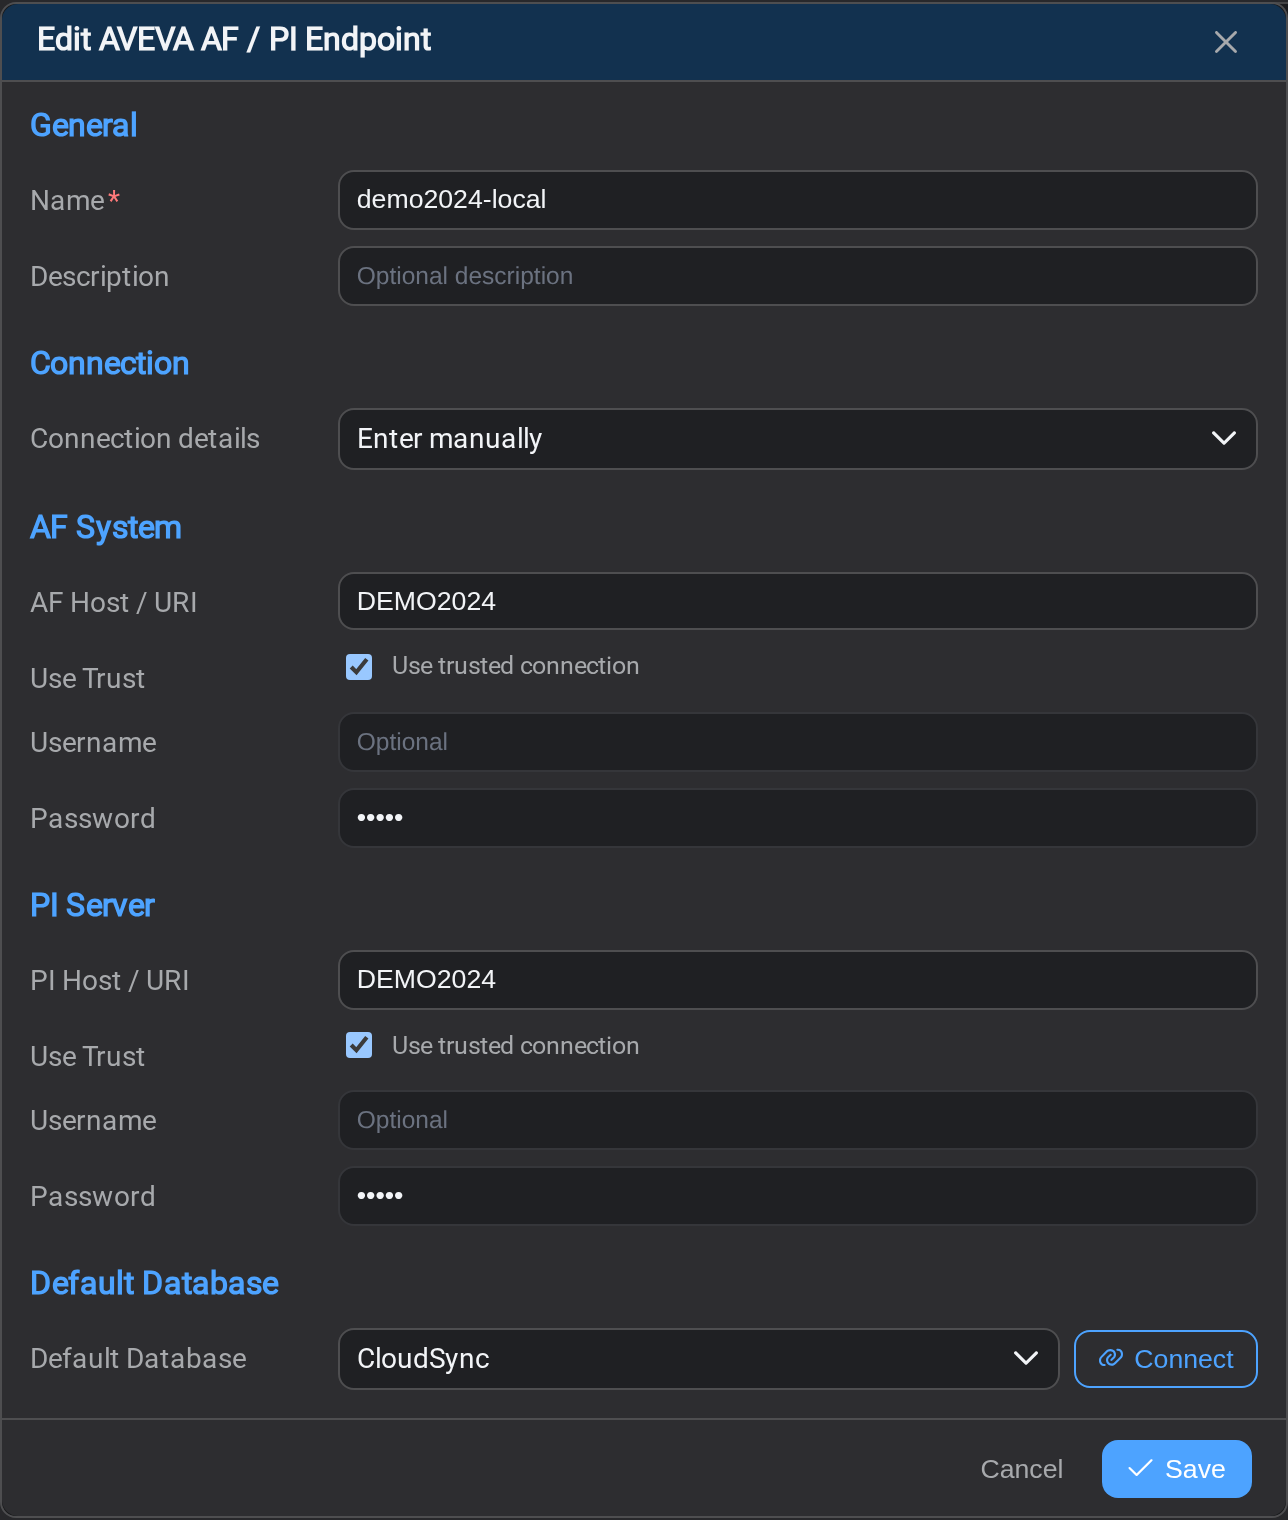
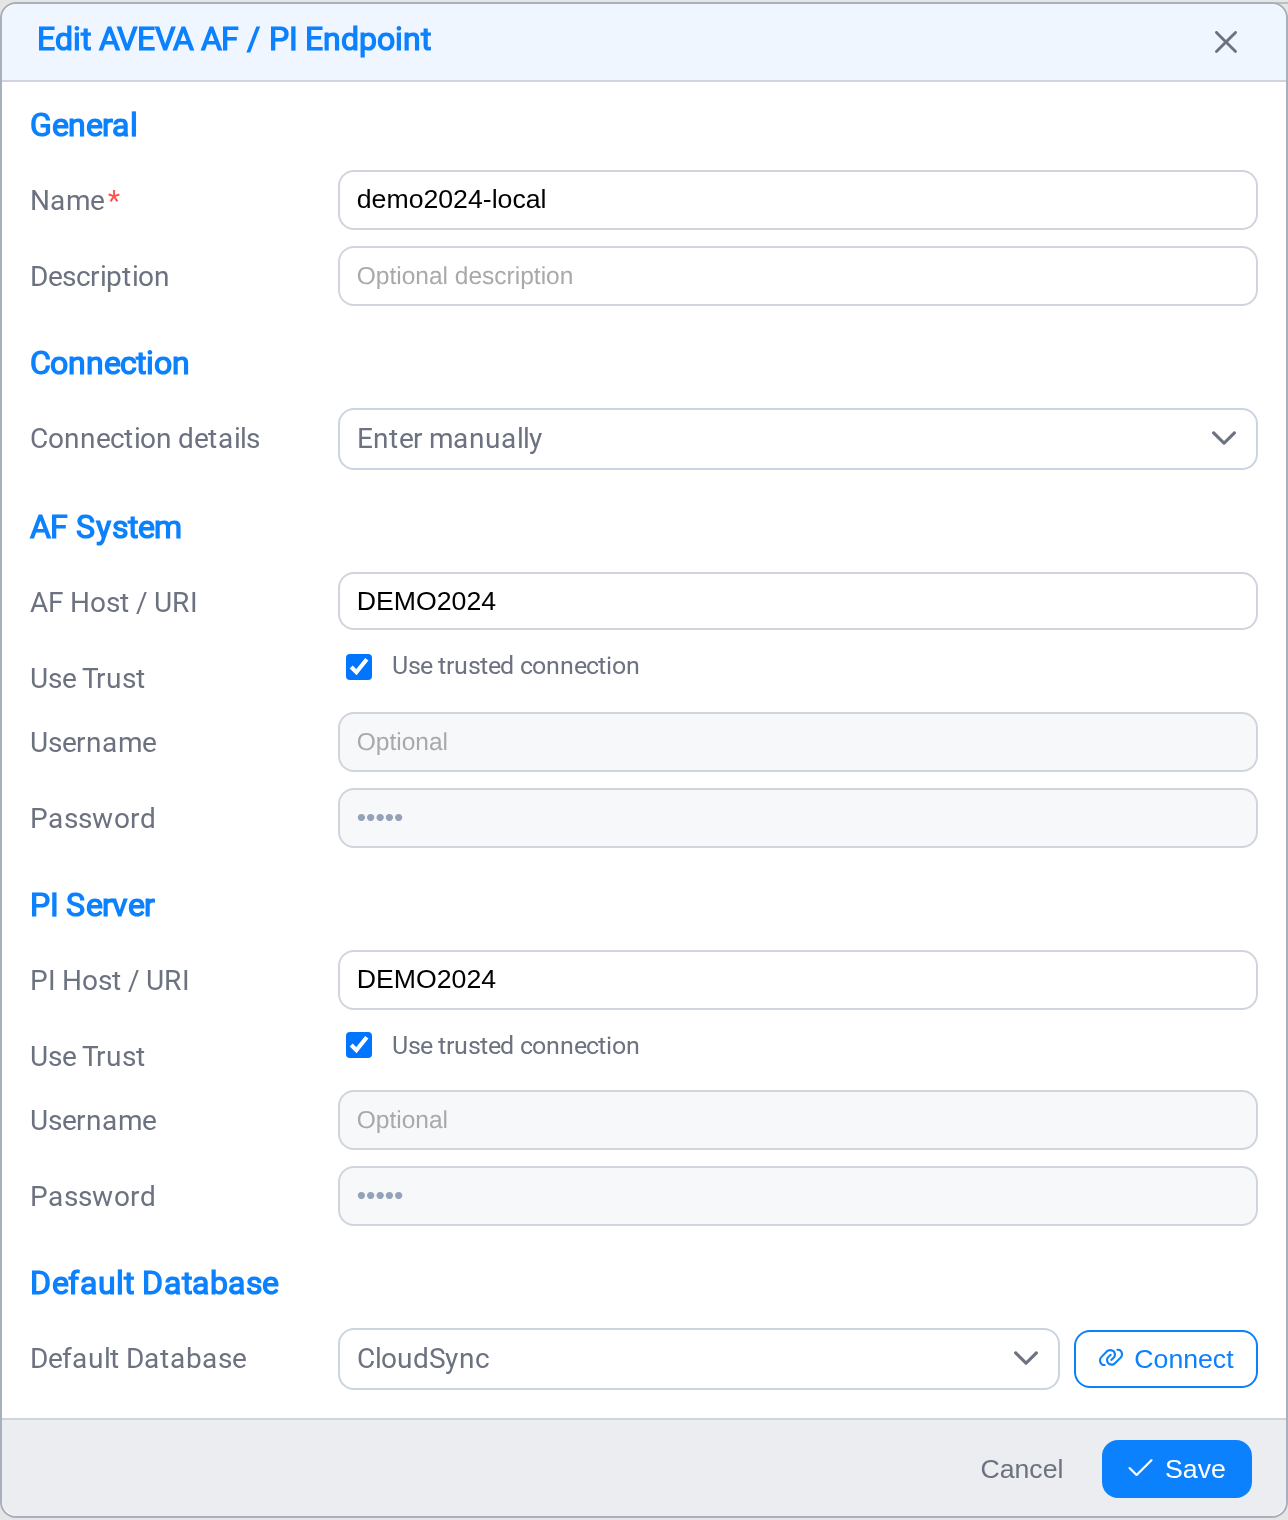
Fill in the form:
- Name: something recognisable, like
Site PI - AF Host / URI and PI Host / URI: your servers
- Username and Password: the account Stream will read as, or tick Use
Trust to authenticate as the service's own account - Default Database: pick from the list once the connection resolves
Select Save, then use the refresh control in the row's Actions to test it.
You want Connected.
The database list is your connection test
If Default Database stays empty, Stream cannot talk to AF yet. That is a faster
signal than saving and testing: fix it before moving on.
Step 2: Add somewhere to write
Select Add Endpoint again. This time choose File system from Files & object
stores.
- Name:
Plant exports - Directory: a local path or UNC share, for example
C:\data\exports - Encoding: leave on UTF-8
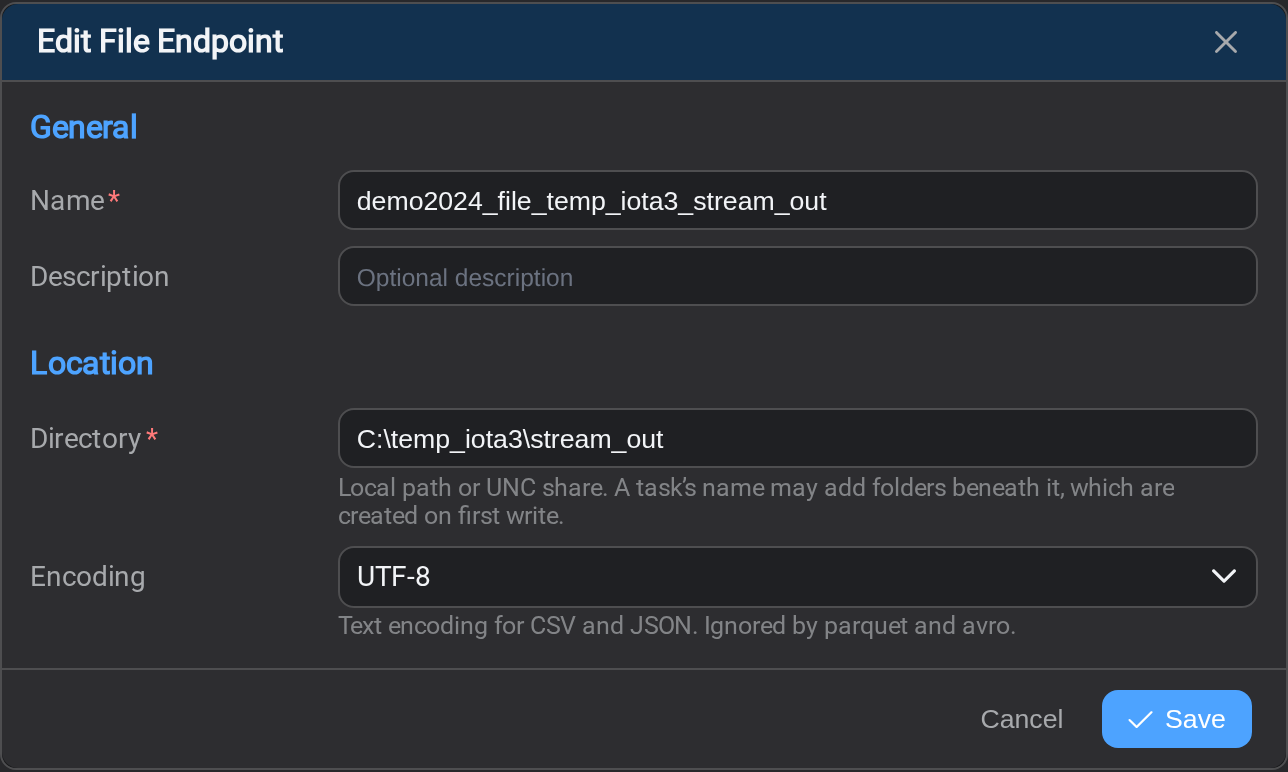
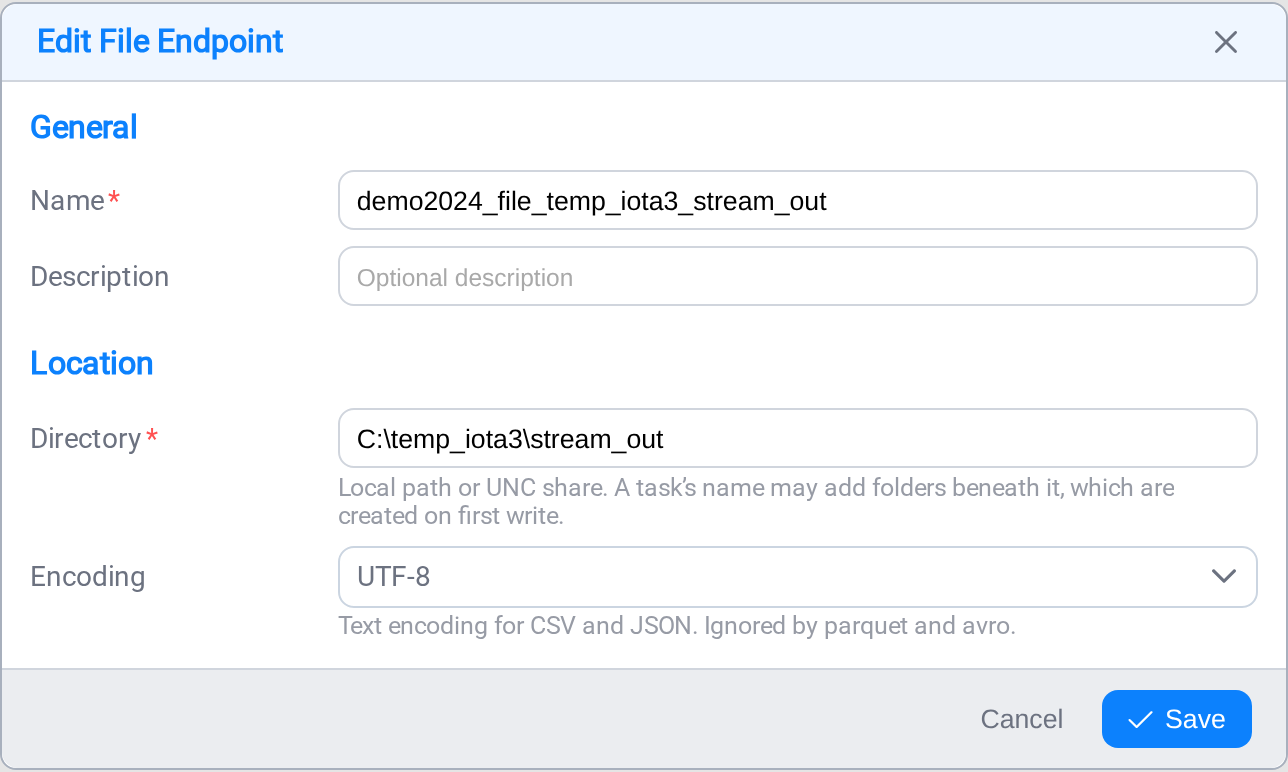
Save it. There is nothing to configure about format here; that belongs to the task.
The folder must be reachable and writable by the account the Stream service runs
under, which is not necessarily your account.
Step 3: Describe the assets
Open Asset Patterns and select Add Pattern.
On the General tab, name it Weather stations, choose the endpoint you made in
step 1, and pick the AF database.
On the Pattern tab:
- In the left pane, search for one of your assets: type a name or a mask like
SIN*and select the search control. - Select the asset. Its attributes appear in the middle pane.
- Tick the two attributes you want to read.
- Drag the asset from the left pane into the Pattern pane on the right. It
arrives with the ticked attributes as children.
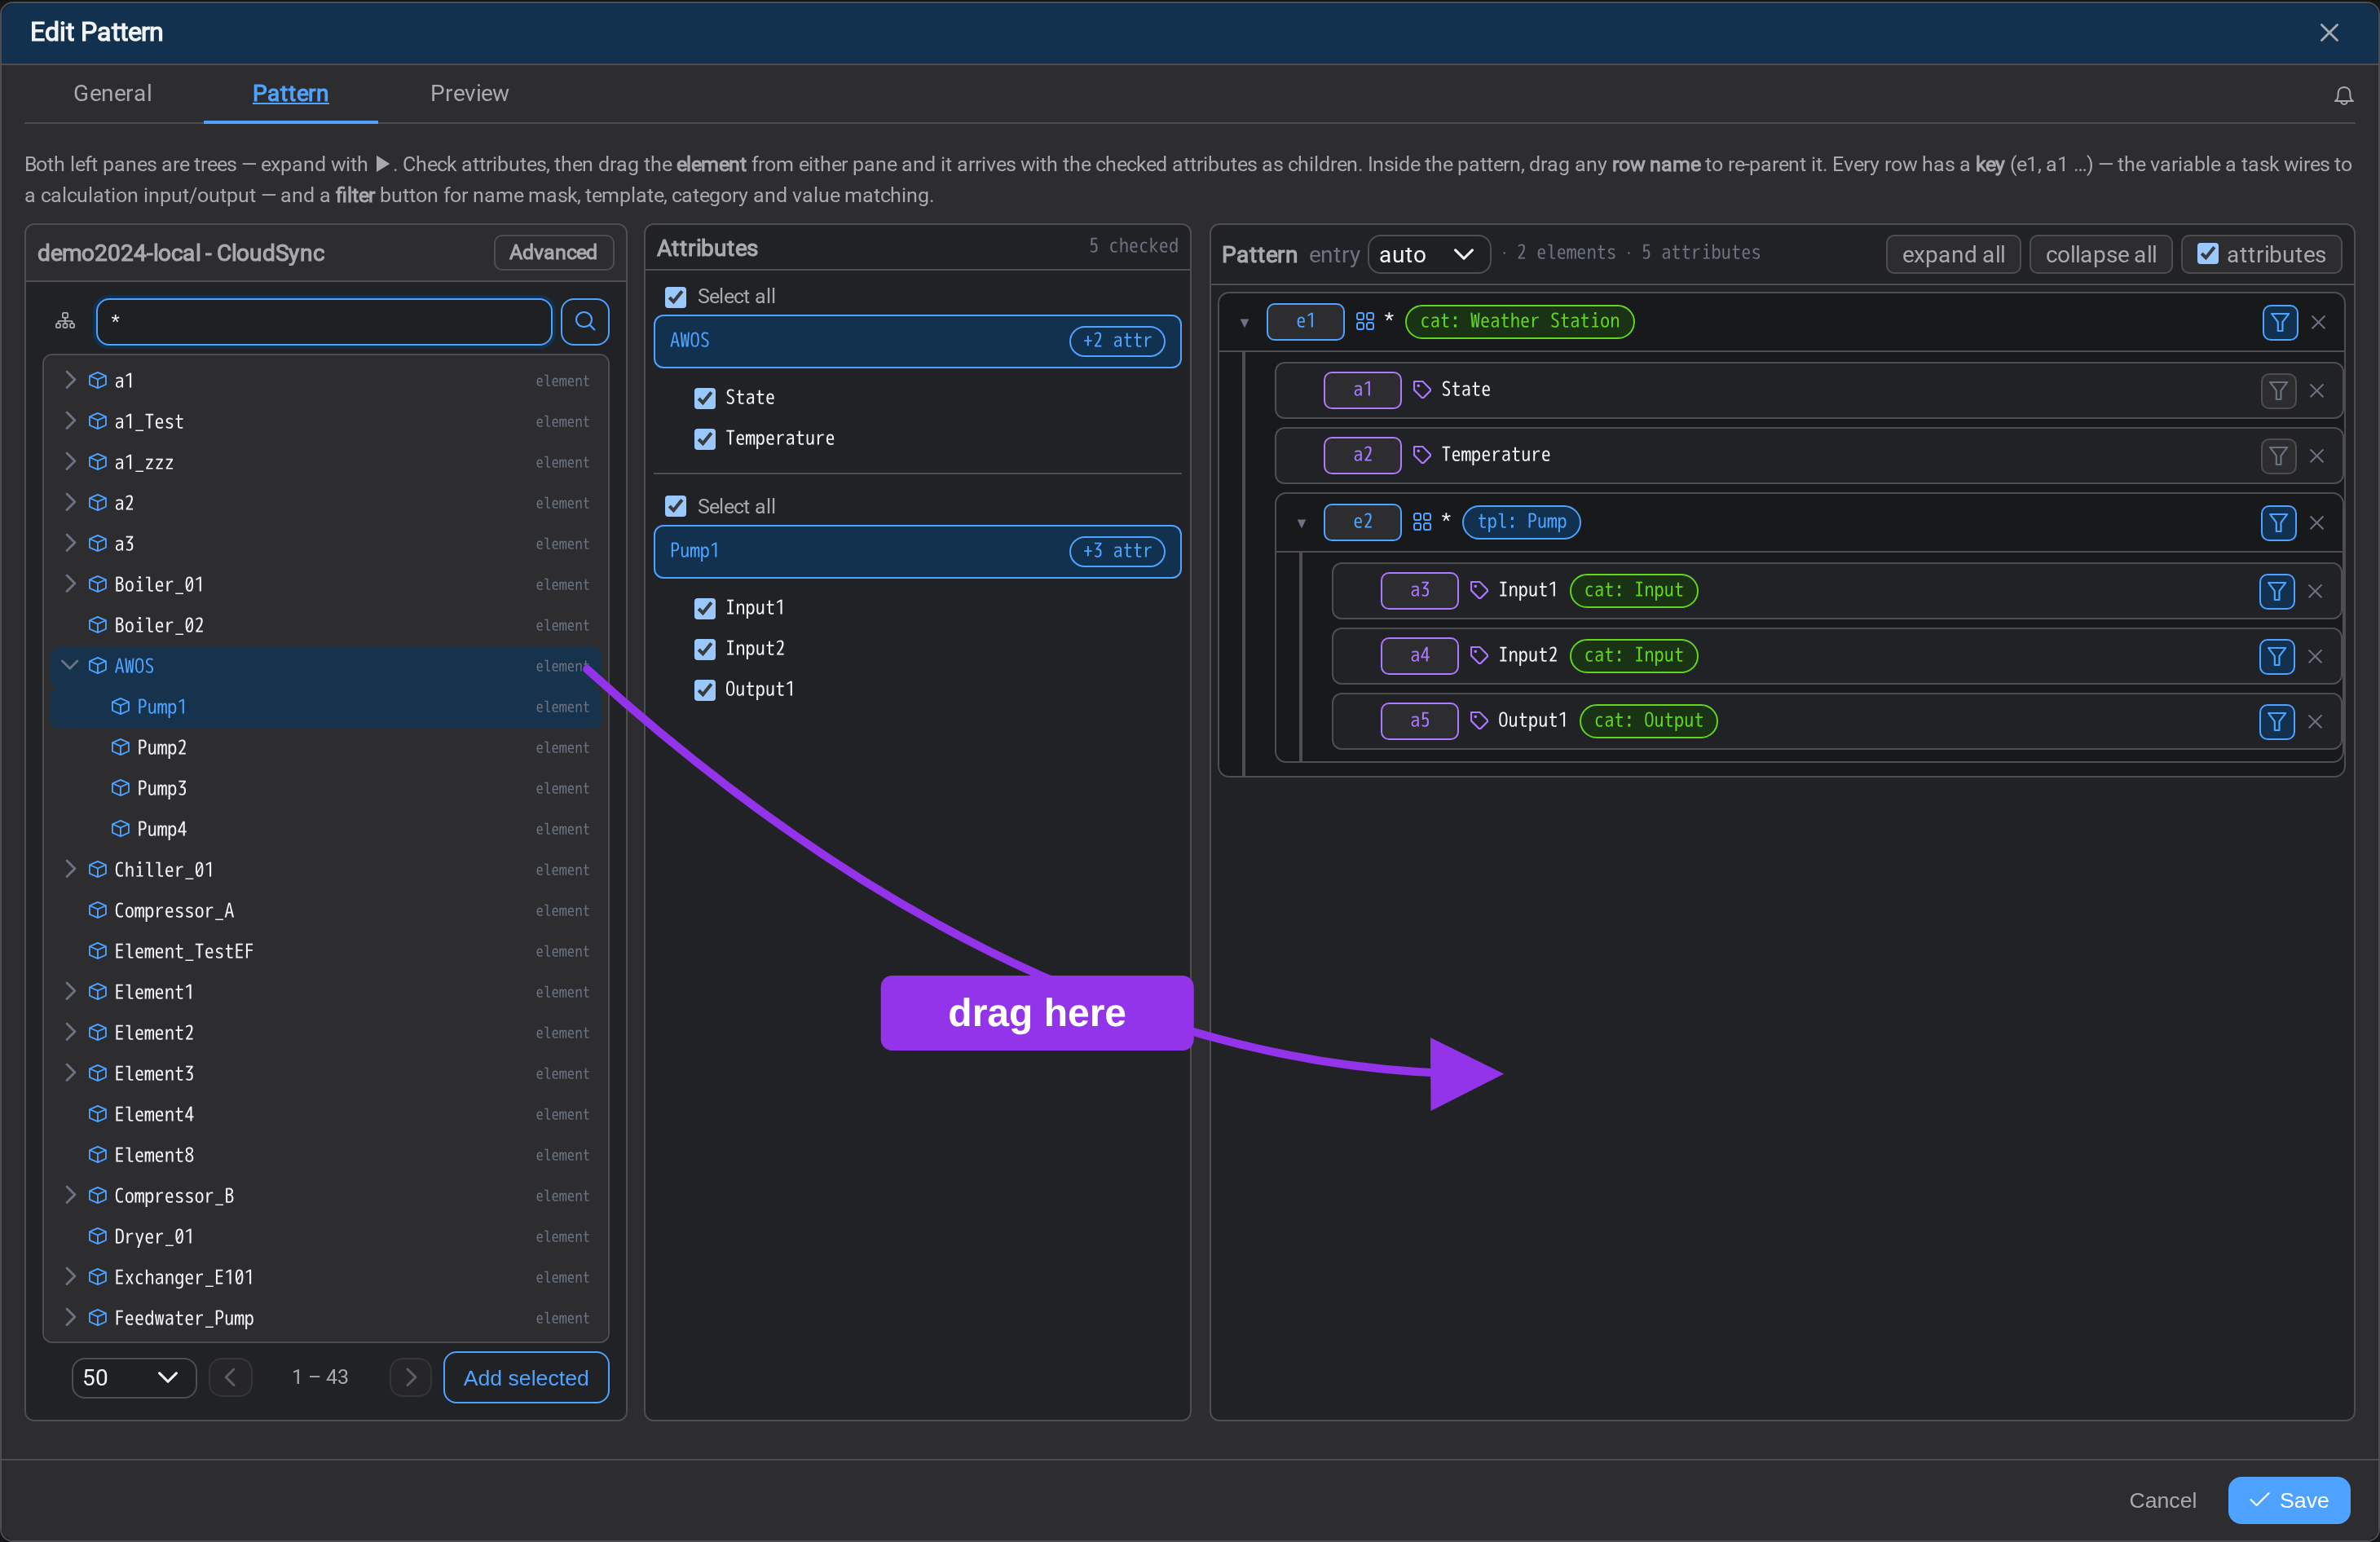
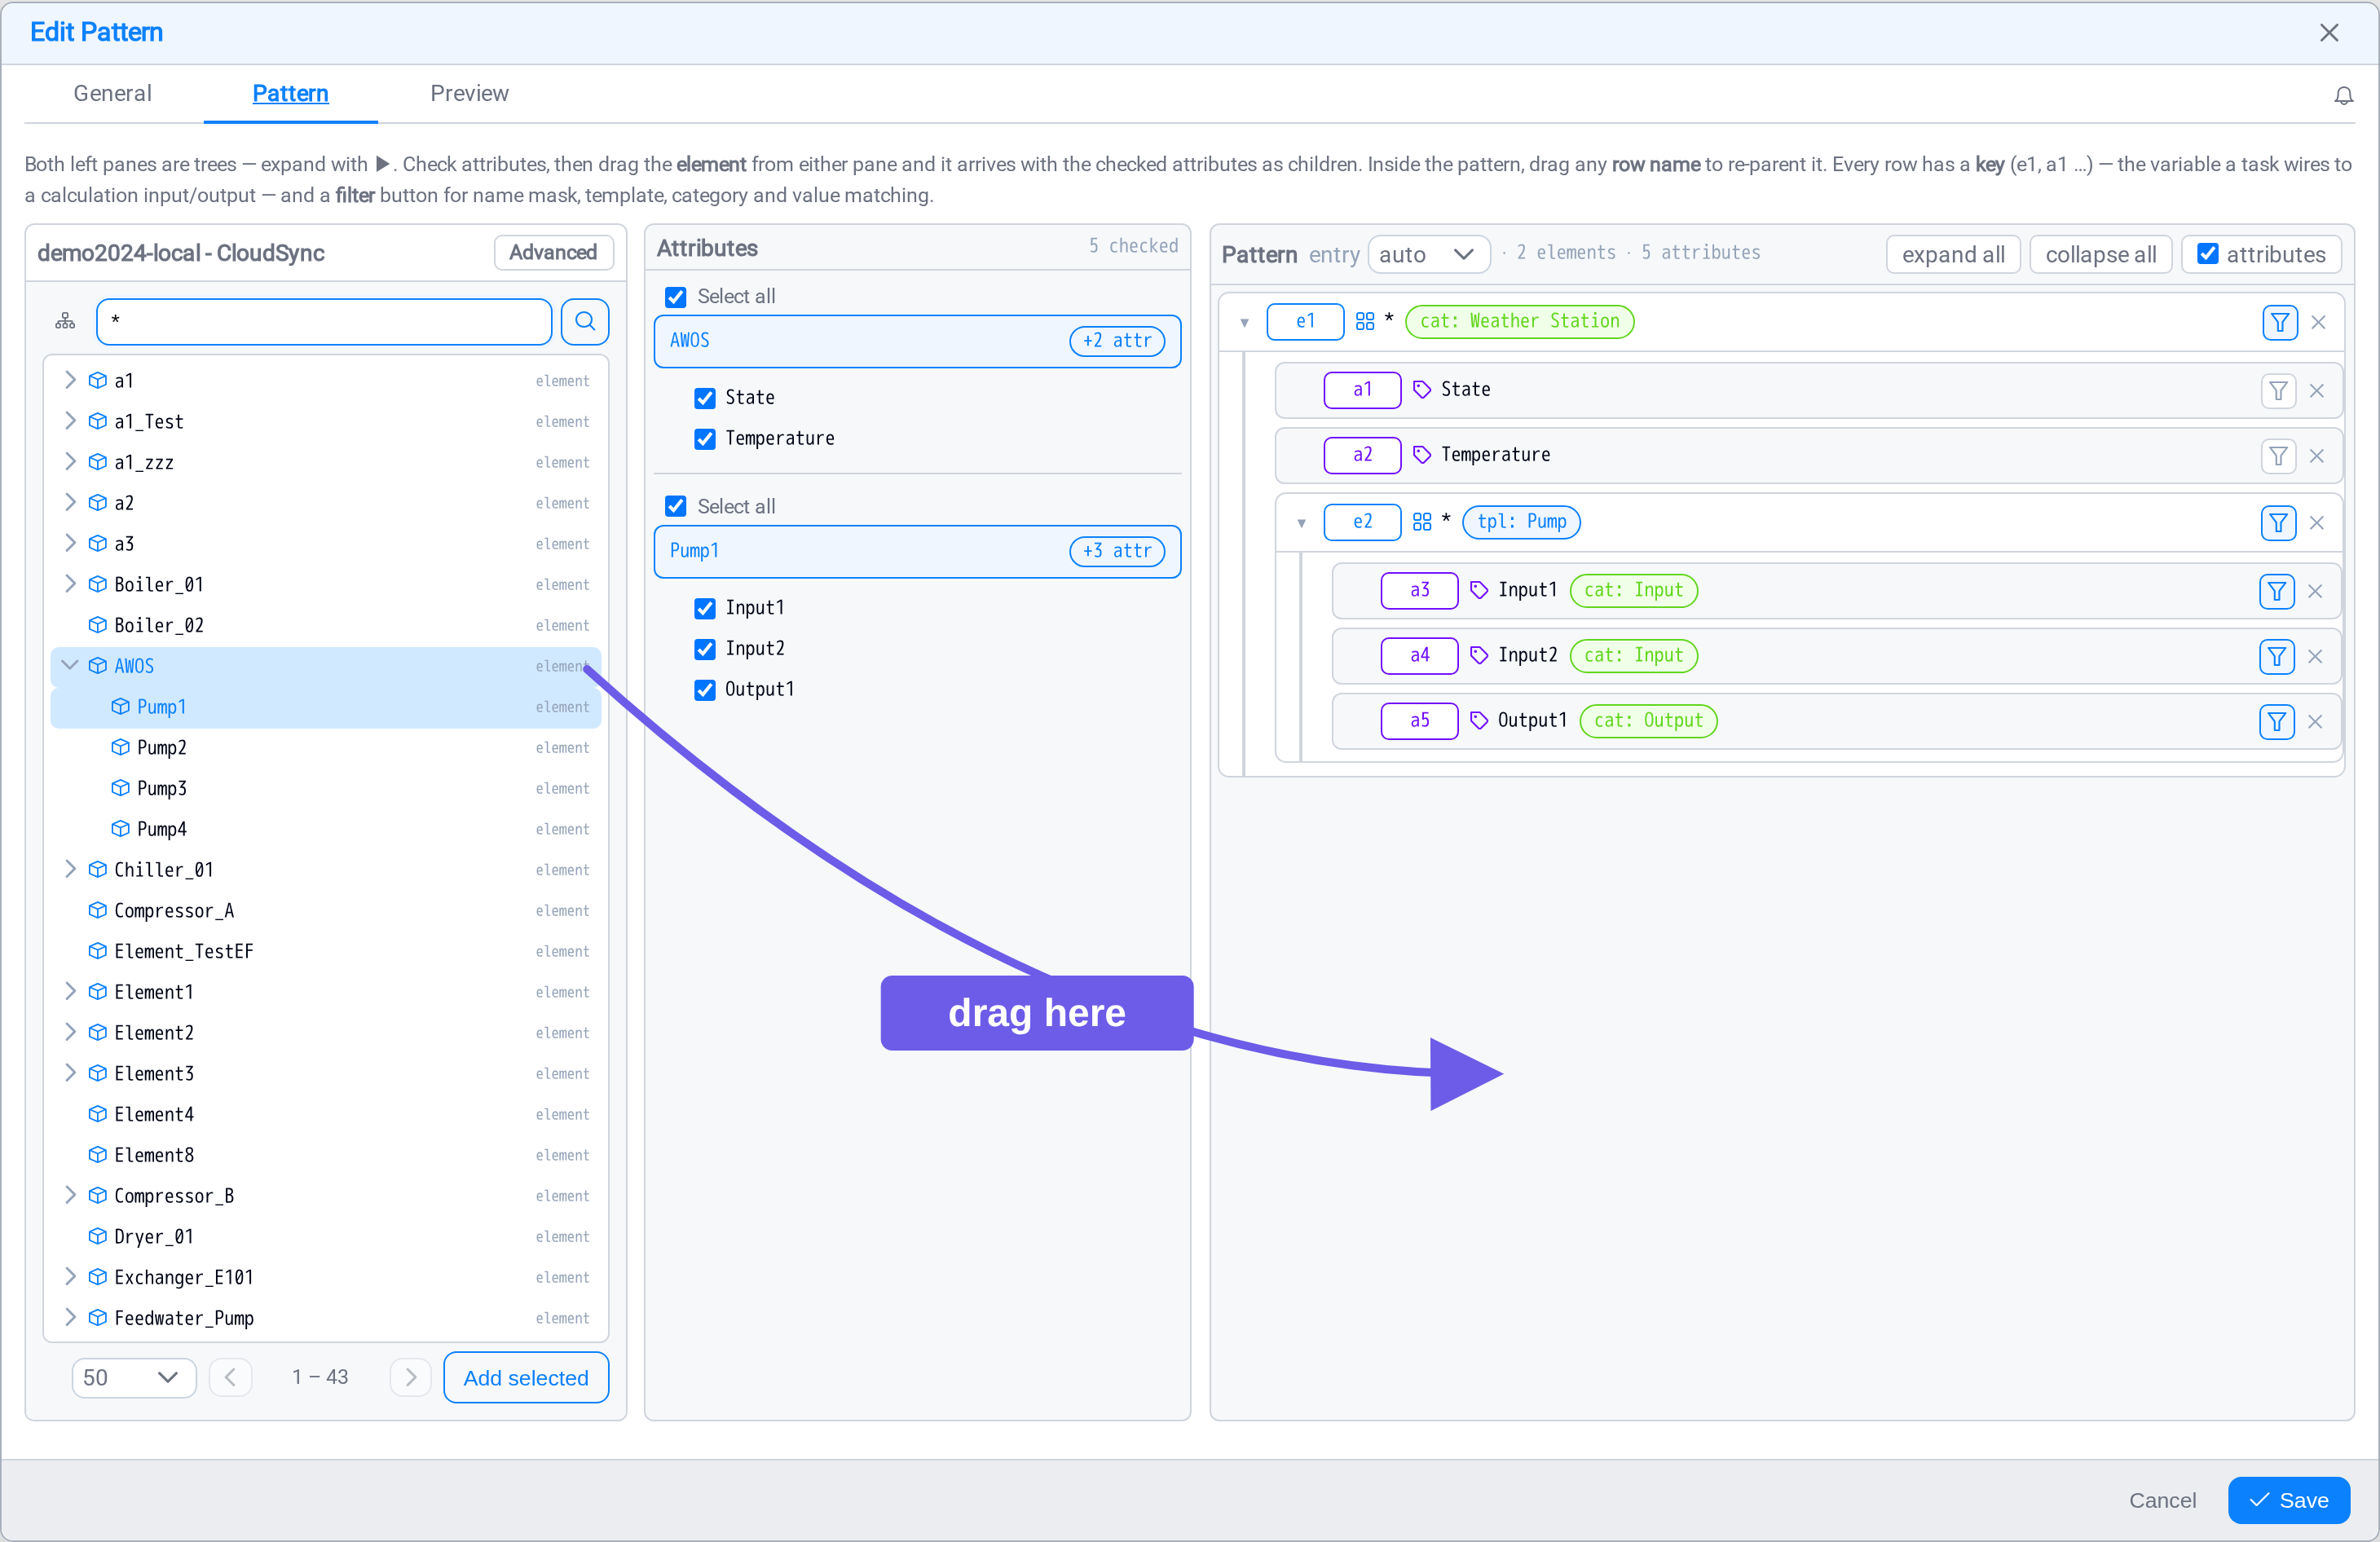
Now make it match more than the one asset you dragged. Select the filter control
(▽) on the element row and require its template or its category instead of
its name. That is the step that turns one asset into every asset like it.
Note the keys on each row: e1 for the element, a1 and a2 for the attributes.
You will use those in step 5.
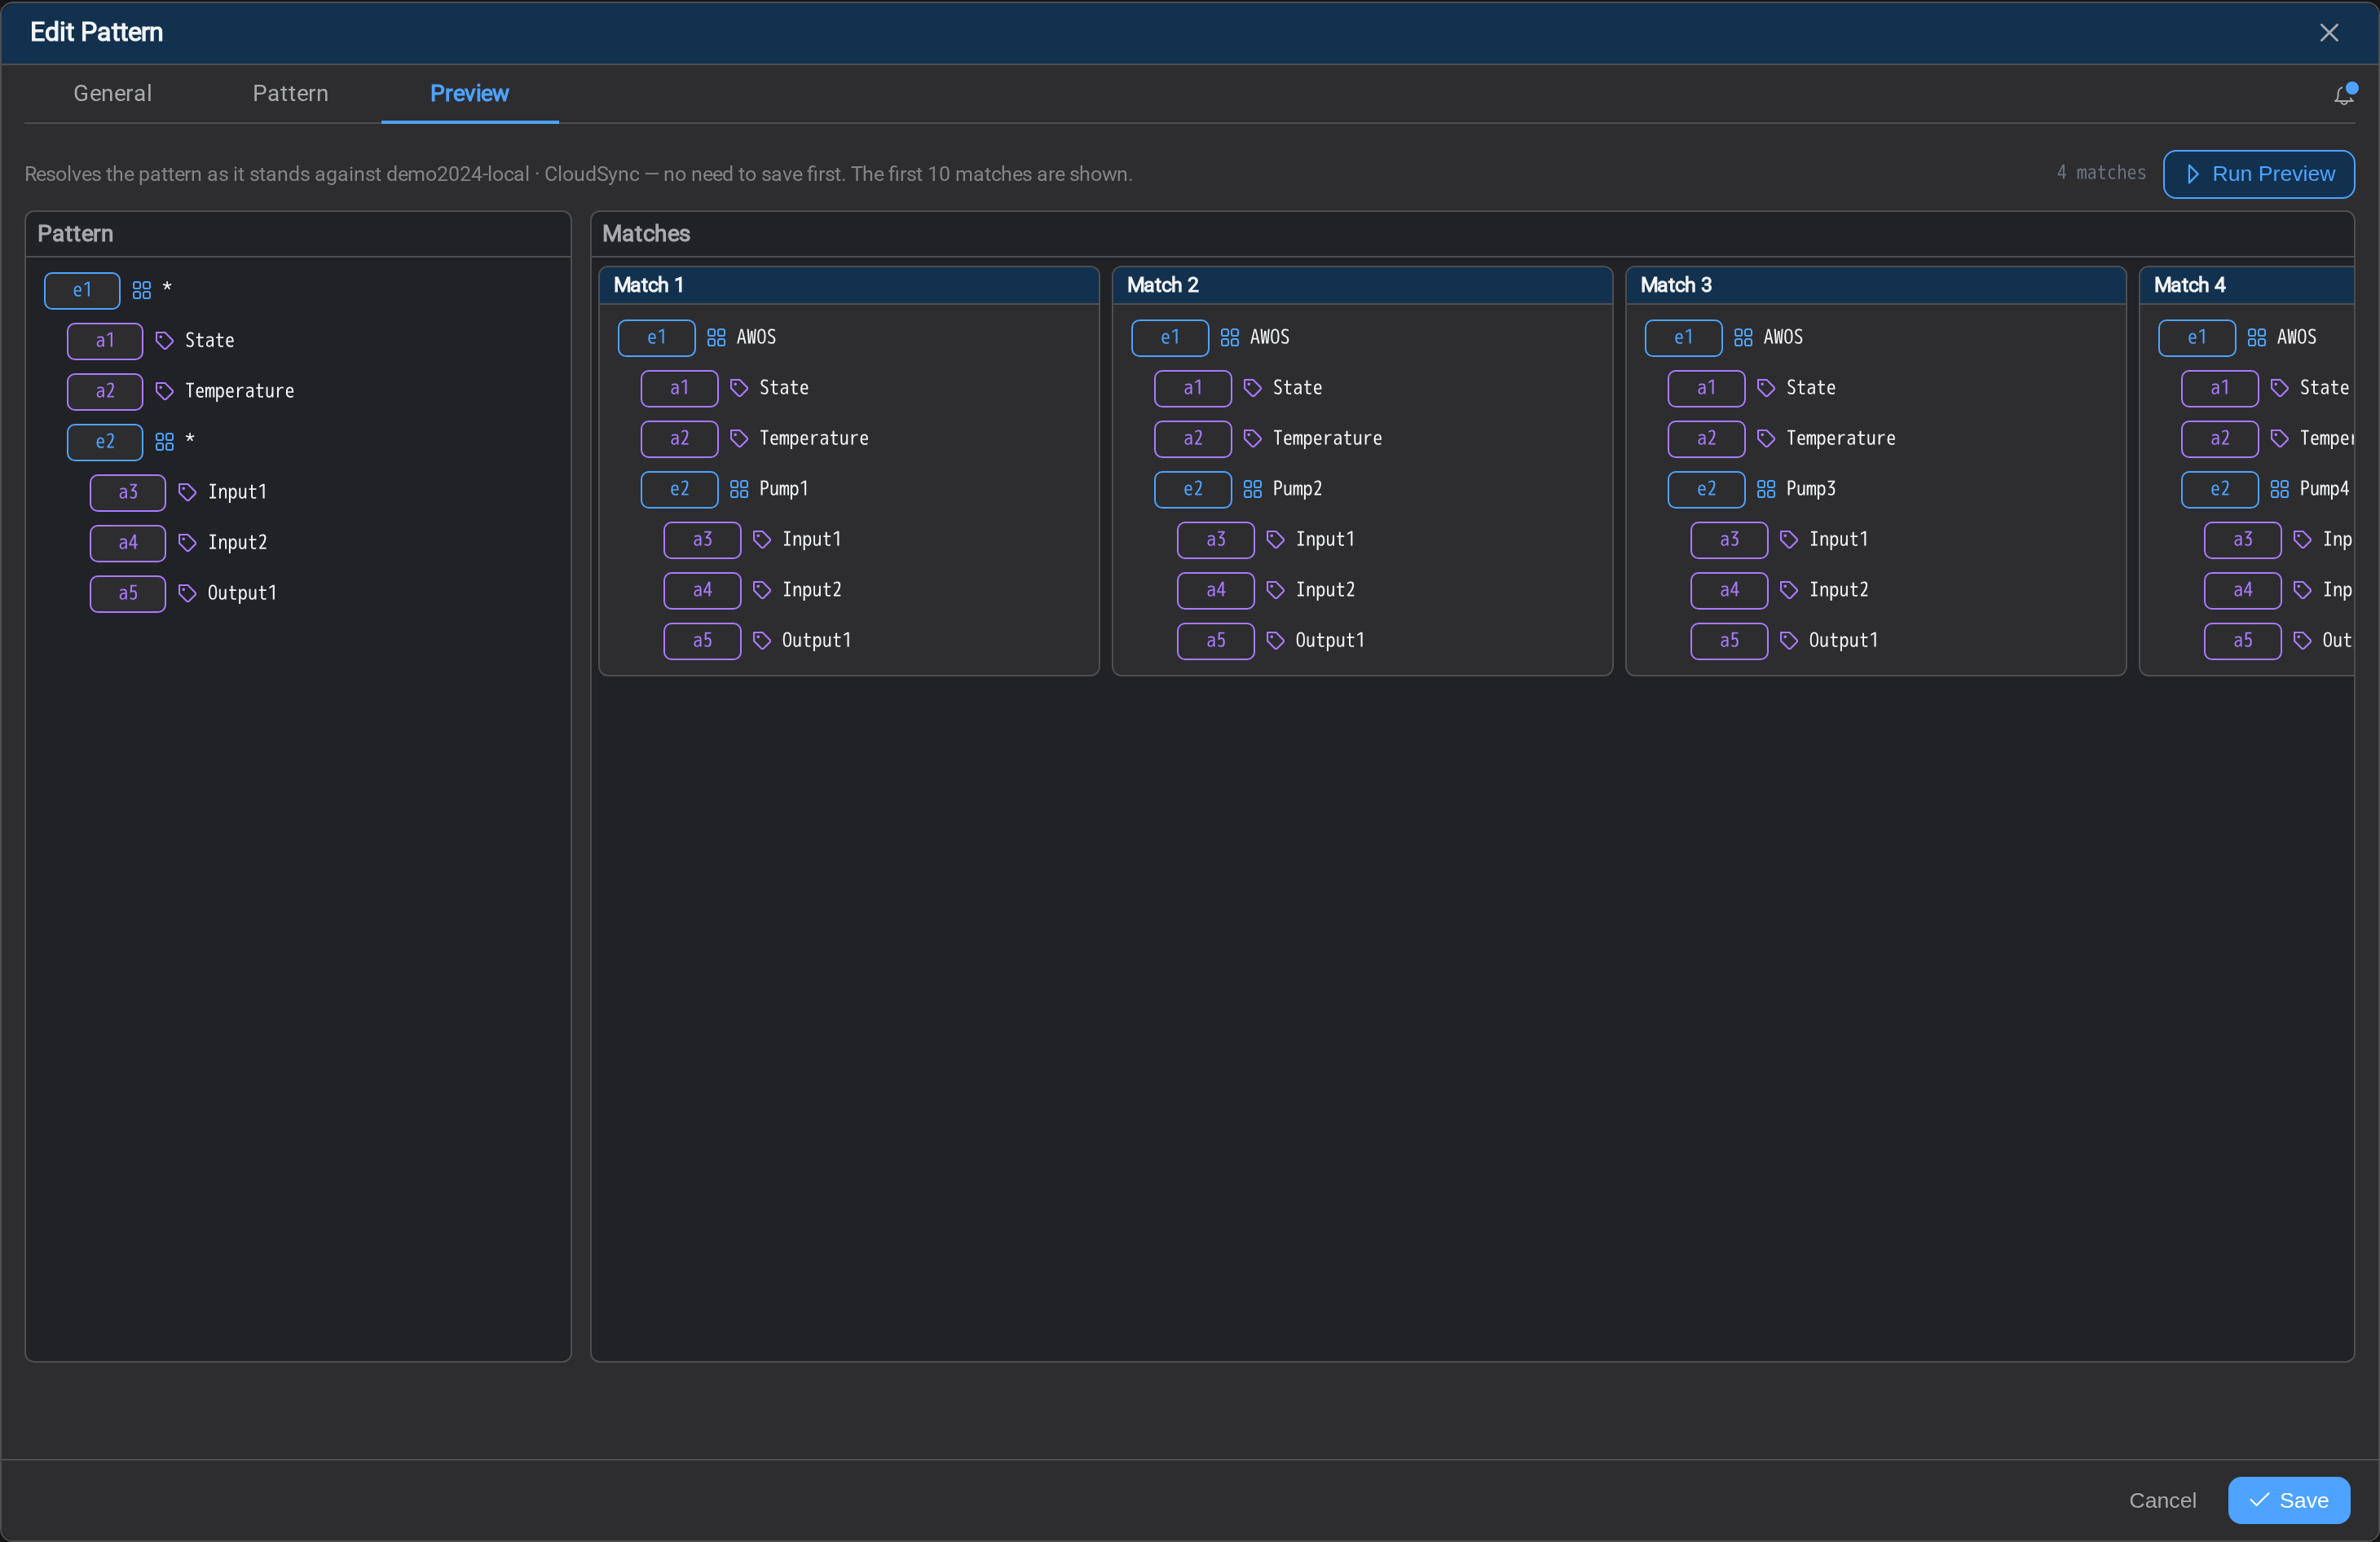
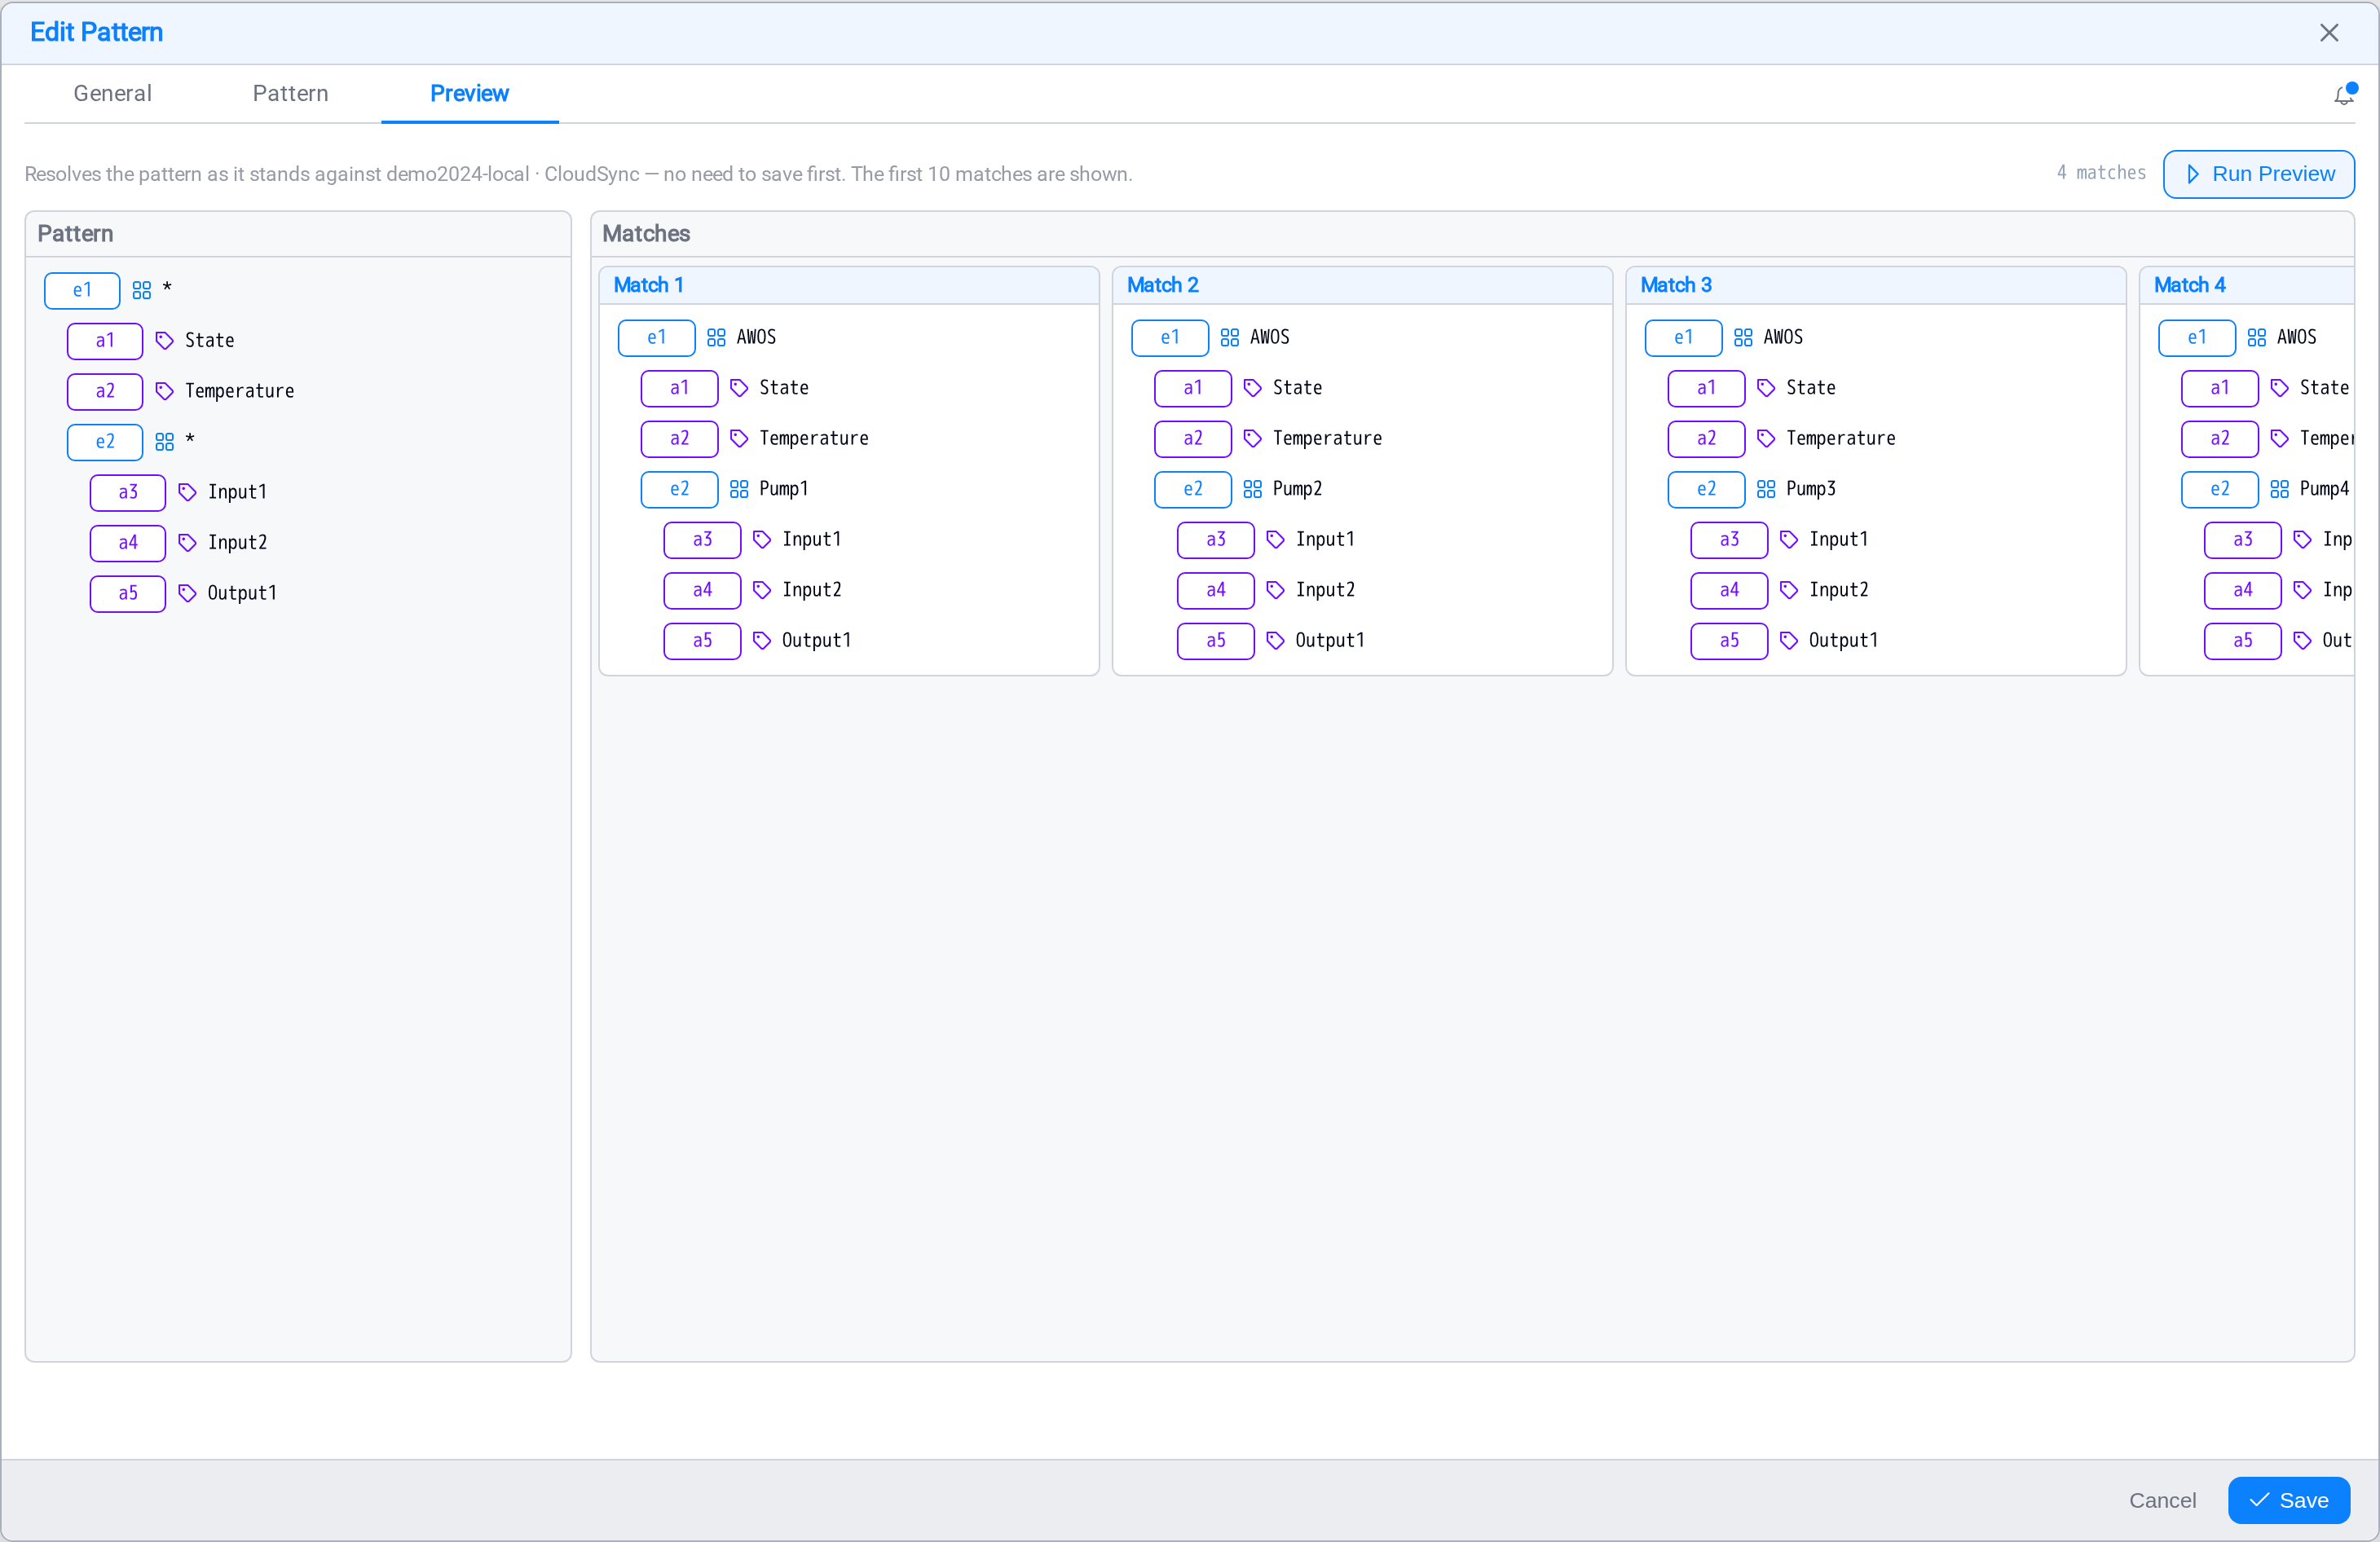
On the Preview tab, select Run Preview and check what it matched. Do not
skip this. You are looking for roughly the number of assets you expected. If it
matched one, your filter is still the original asset's name. If it matched nothing,
check the account on the endpoint.
Select Save.
Going further: pairing two kinds of asset
The pattern above reads one kind of asset. The more powerful use is reading two
together: a parent and the children beneath it, resolved into every combination.
To build that, add a second element to the Pattern pane and drag its row onto the
first so it becomes a child. A weather station with a thousand pumps beneath it then
produces a thousand matches (AWOS + Pump1, AWOS + Pump2, and so on), and
the calculation and mapping you write next run once per pair. That is how one task
covers an entire field. See Asset Patterns for the full walkthrough.
Step 4: Cache the matches
If your pattern matches more than a handful of assets, cache it.
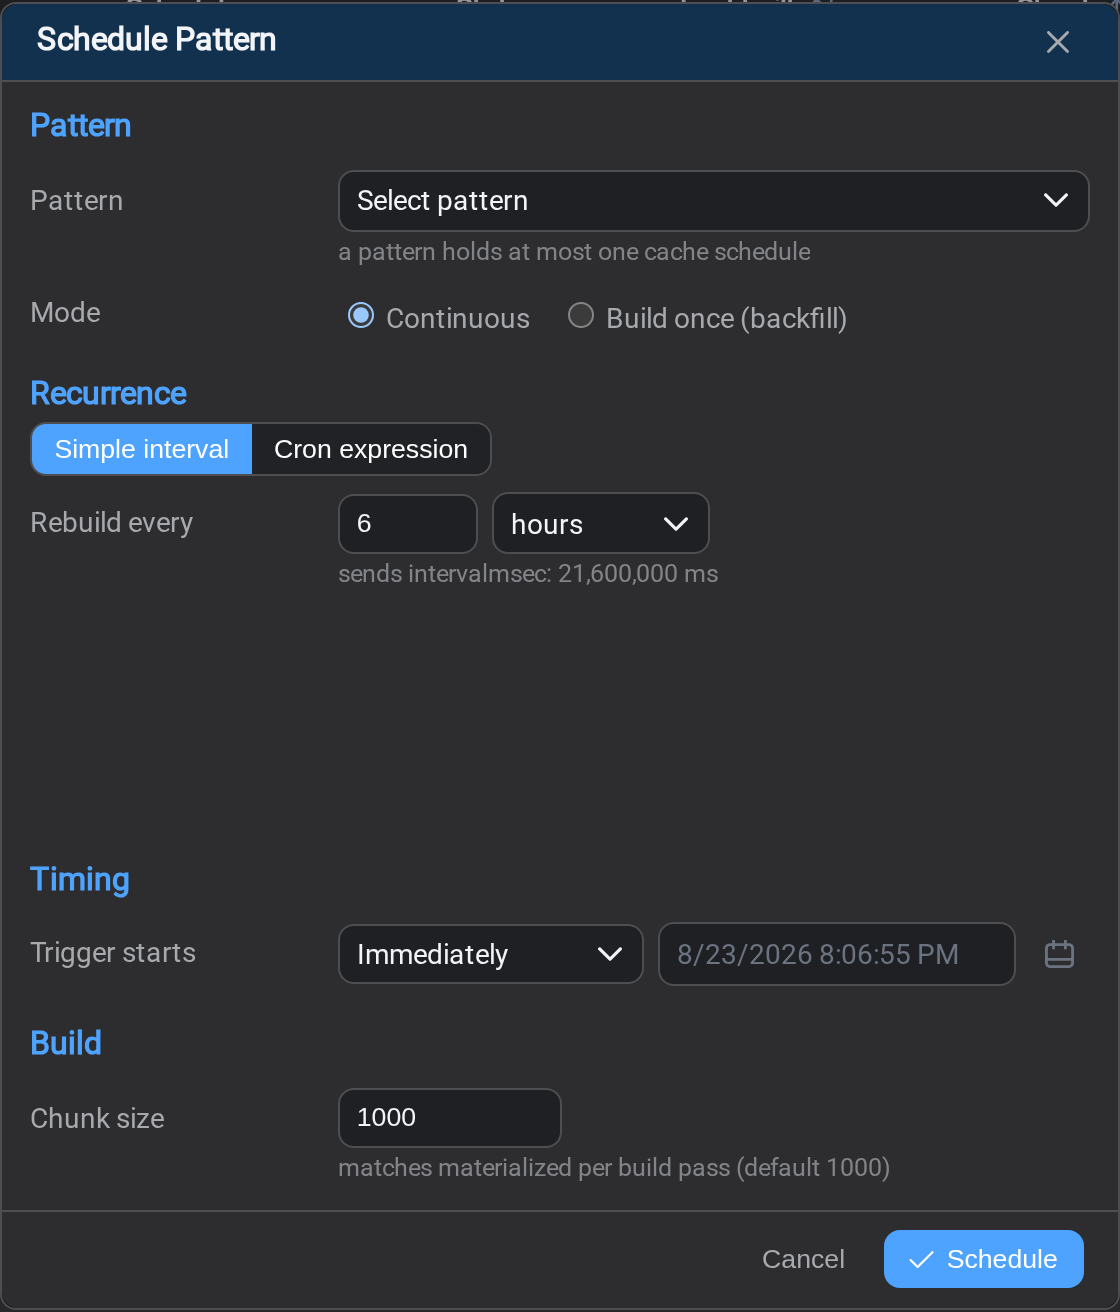
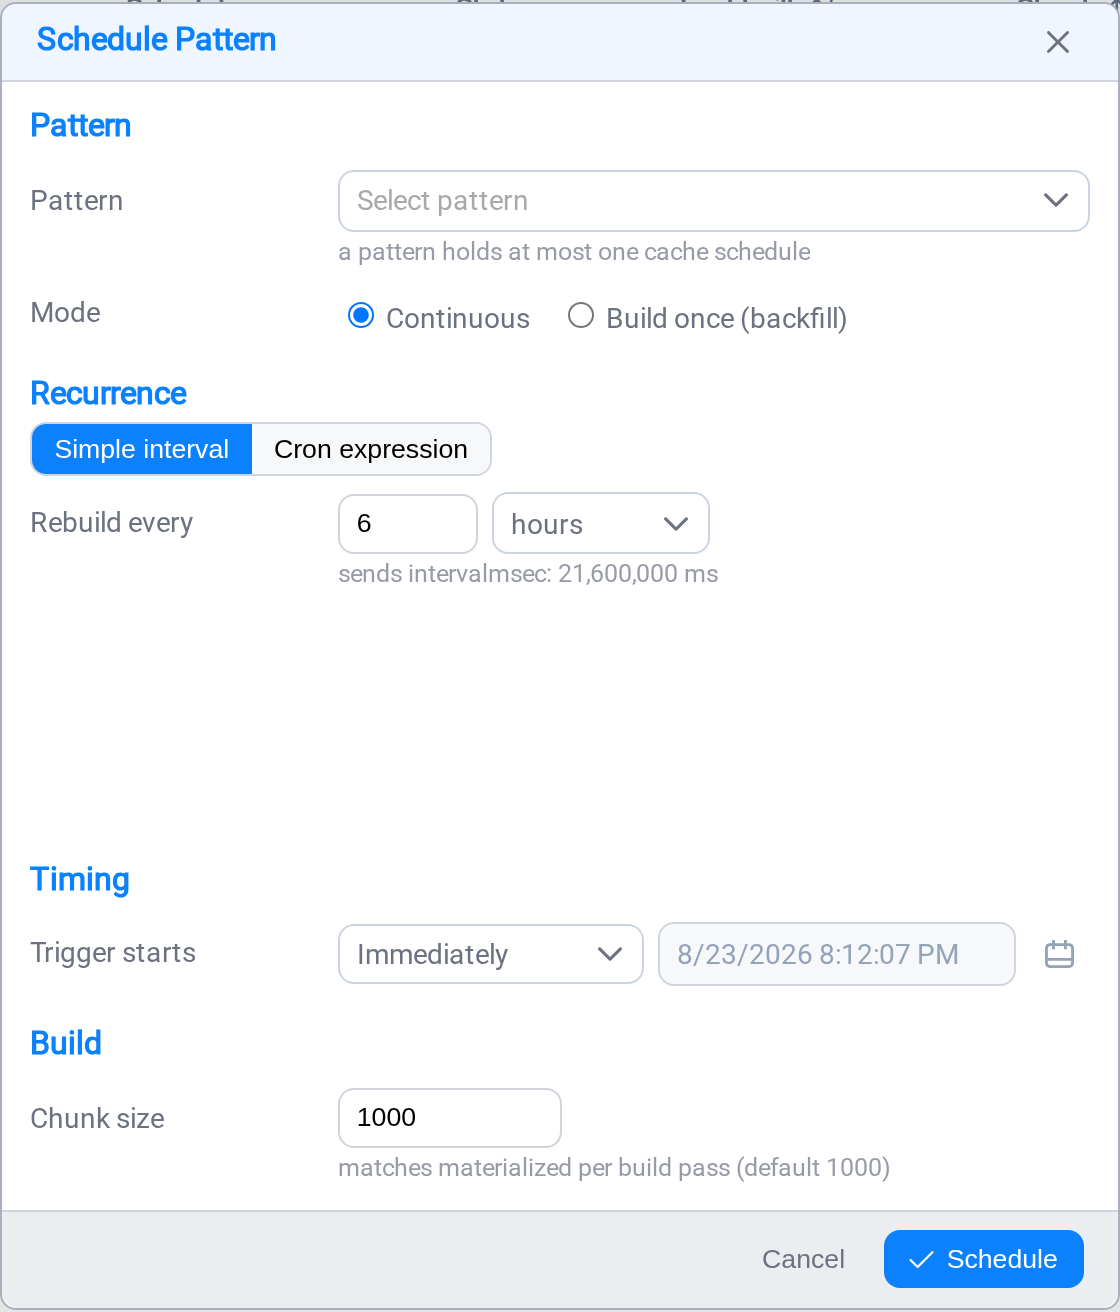
Open Asset Pattern Cache and select Schedule Pattern. Choose your pattern, leave
Mode on Continuous, and set Rebuild every to something matching how often
your hierarchy actually changes: 6 hours is a reasonable start. Leave Trigger
starts on Immediately and Chunk size at its default.
Select Schedule. The task in the next step will now start without re-searching AF
each run.
Skip this step if the pattern matches two or three assets. It would work and gain
nothing.
Step 5: Build the task
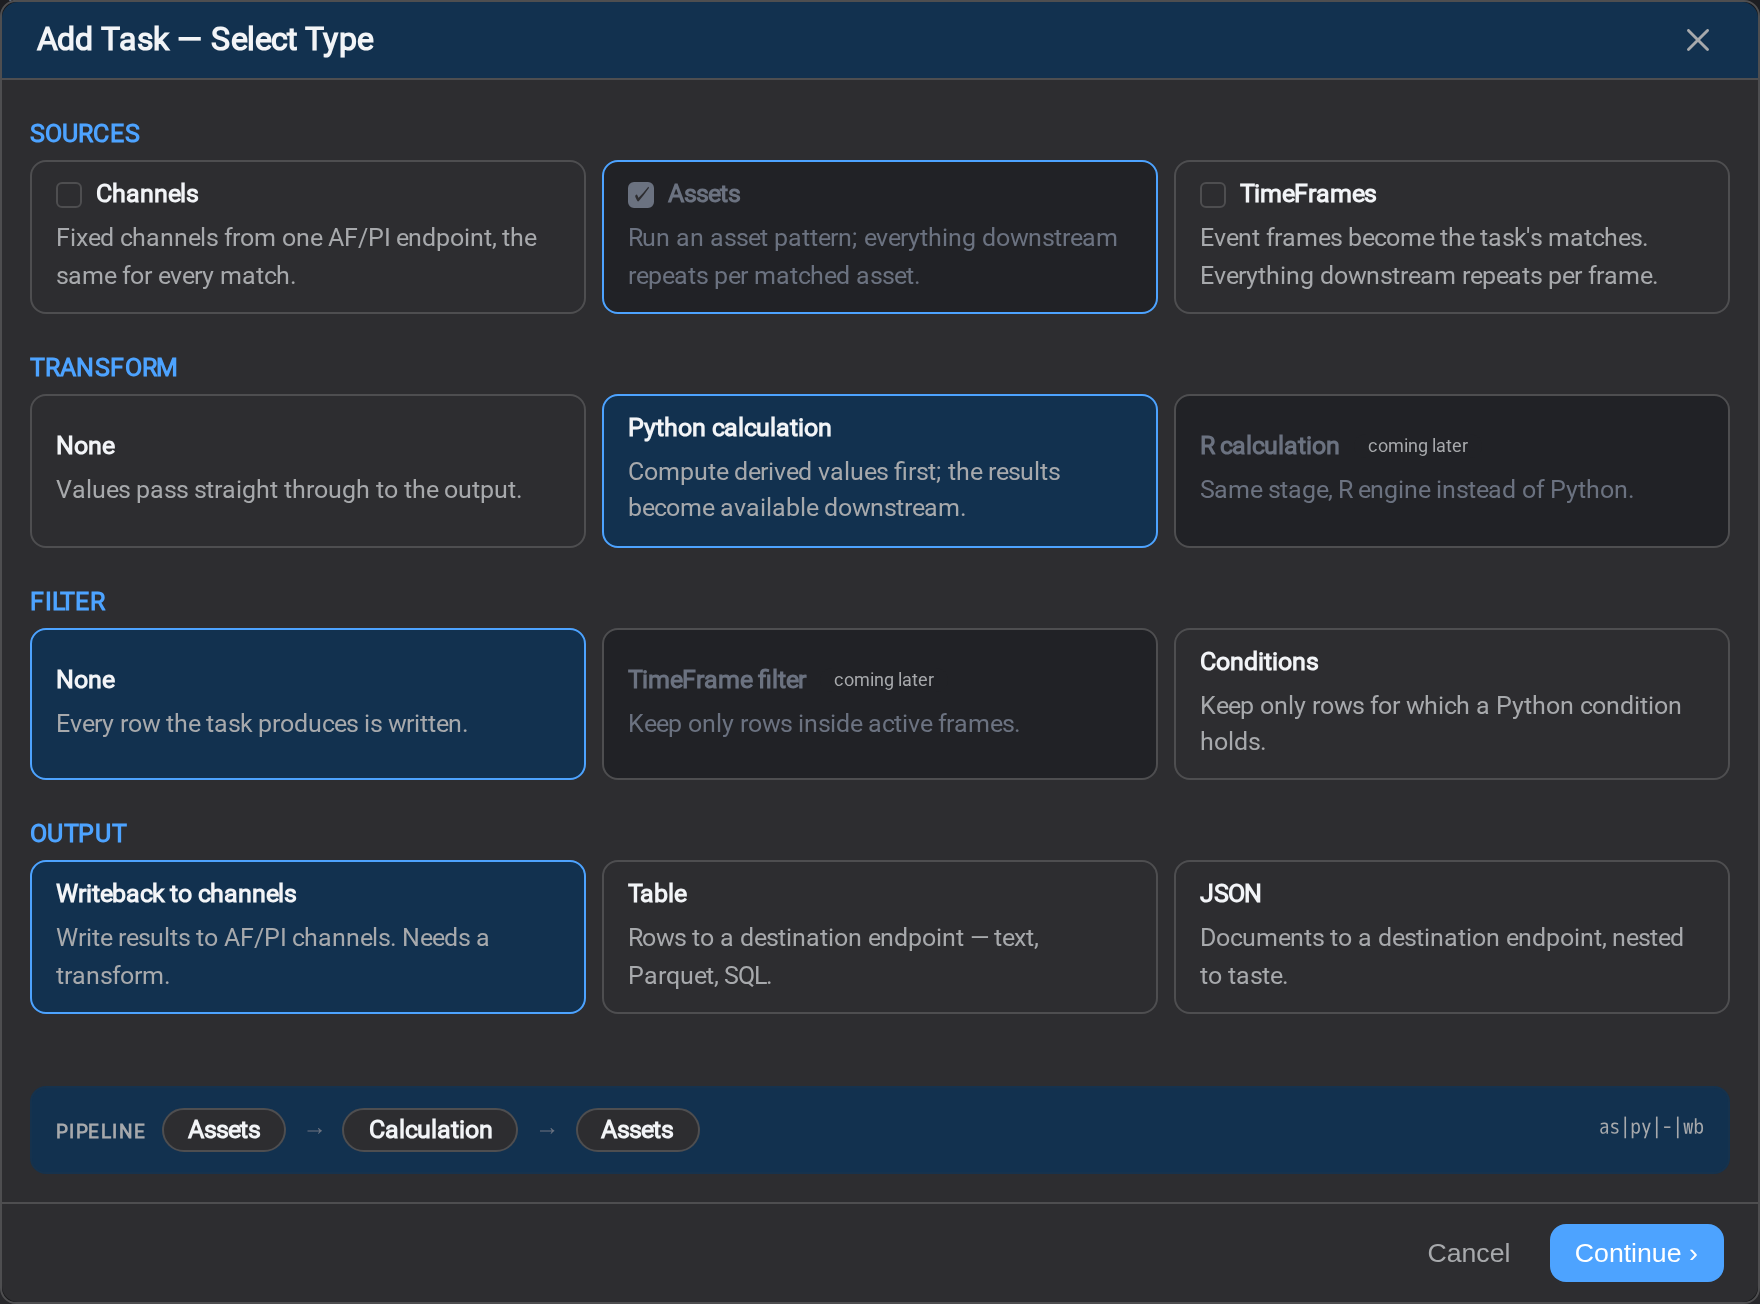
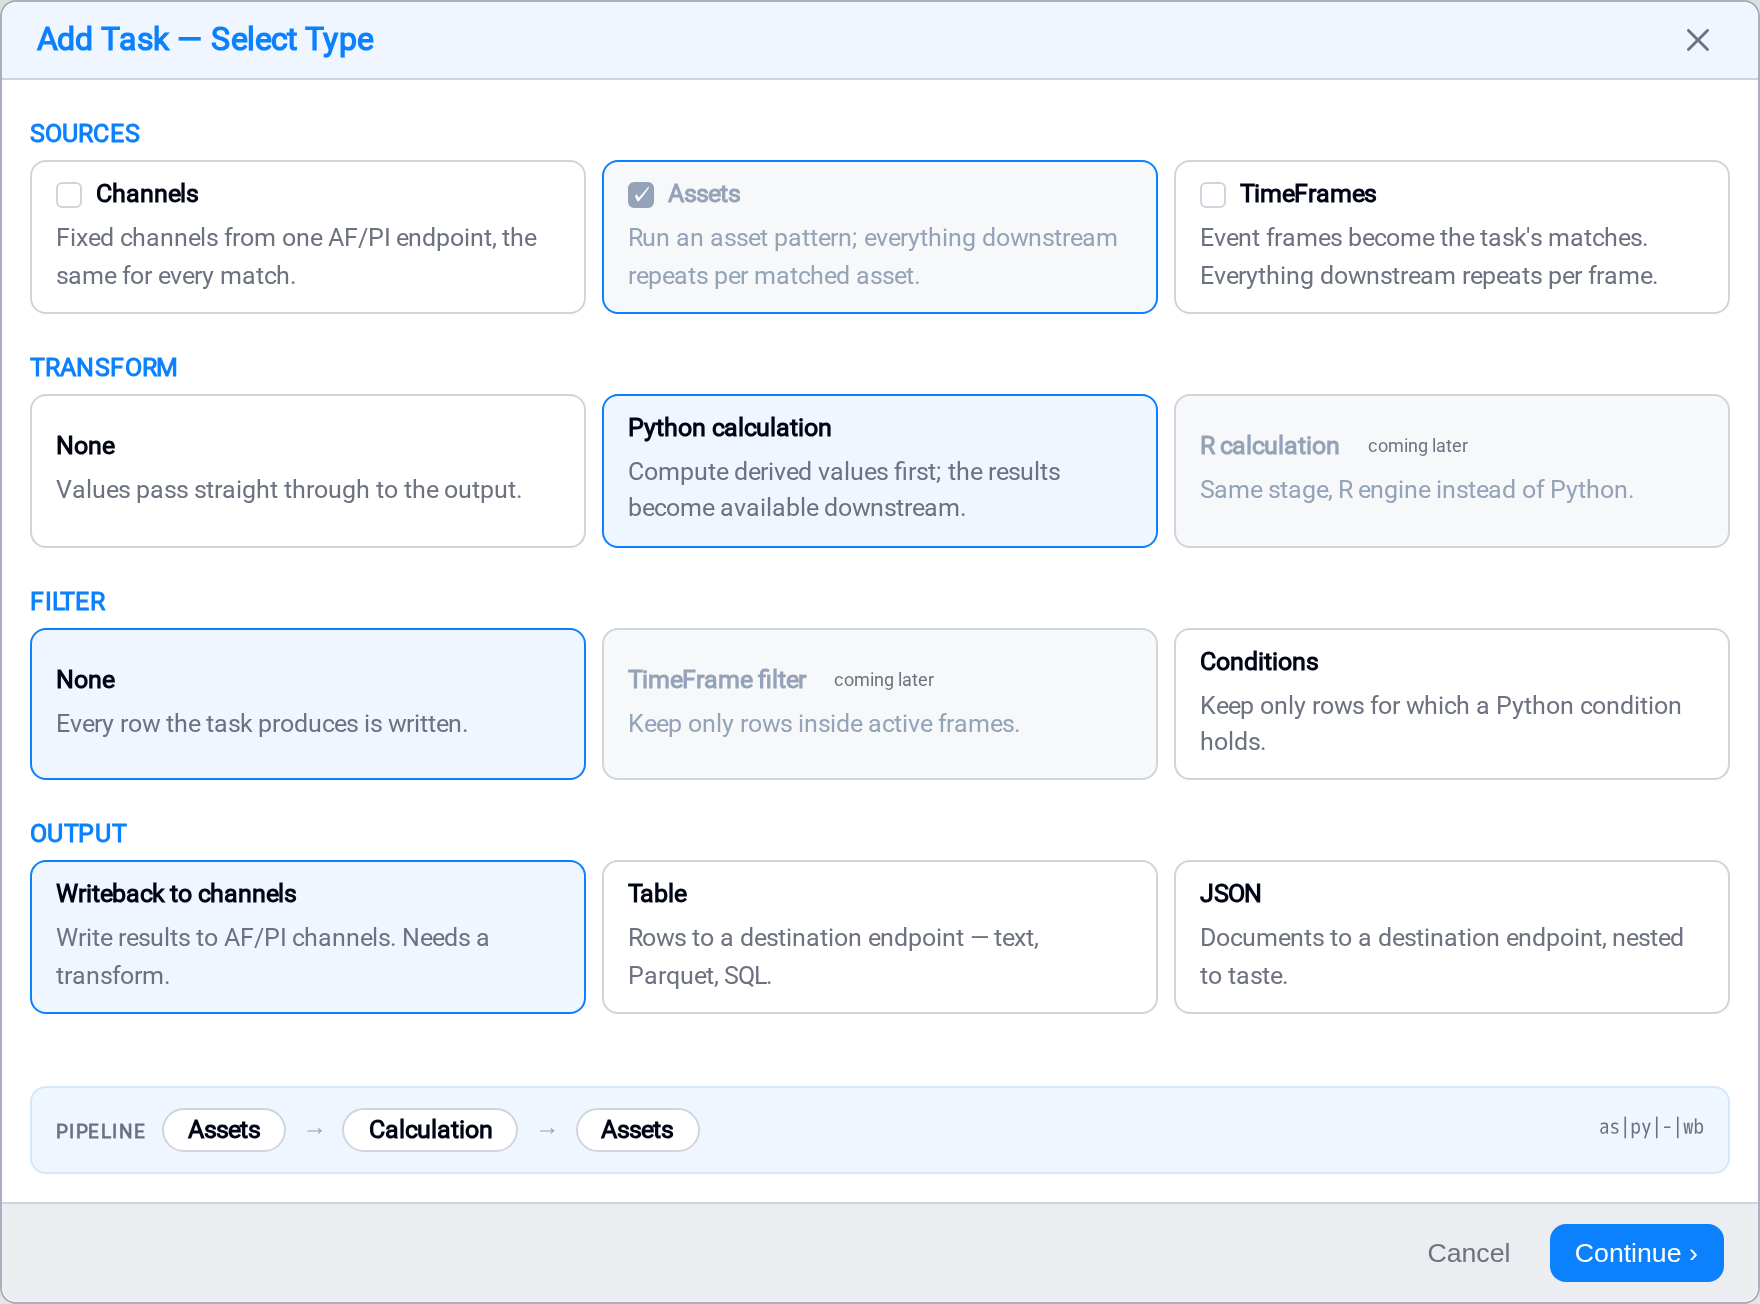
Open Tasks and select Add Task. Stream asks what kind of job this is:
- SOURCE → Pattern
- TRANSFORM → Python calculation
- OUTPUT → Table
Check the PIPELINE strip at the bottom reads the way you intended, then select
Continue ›.
General
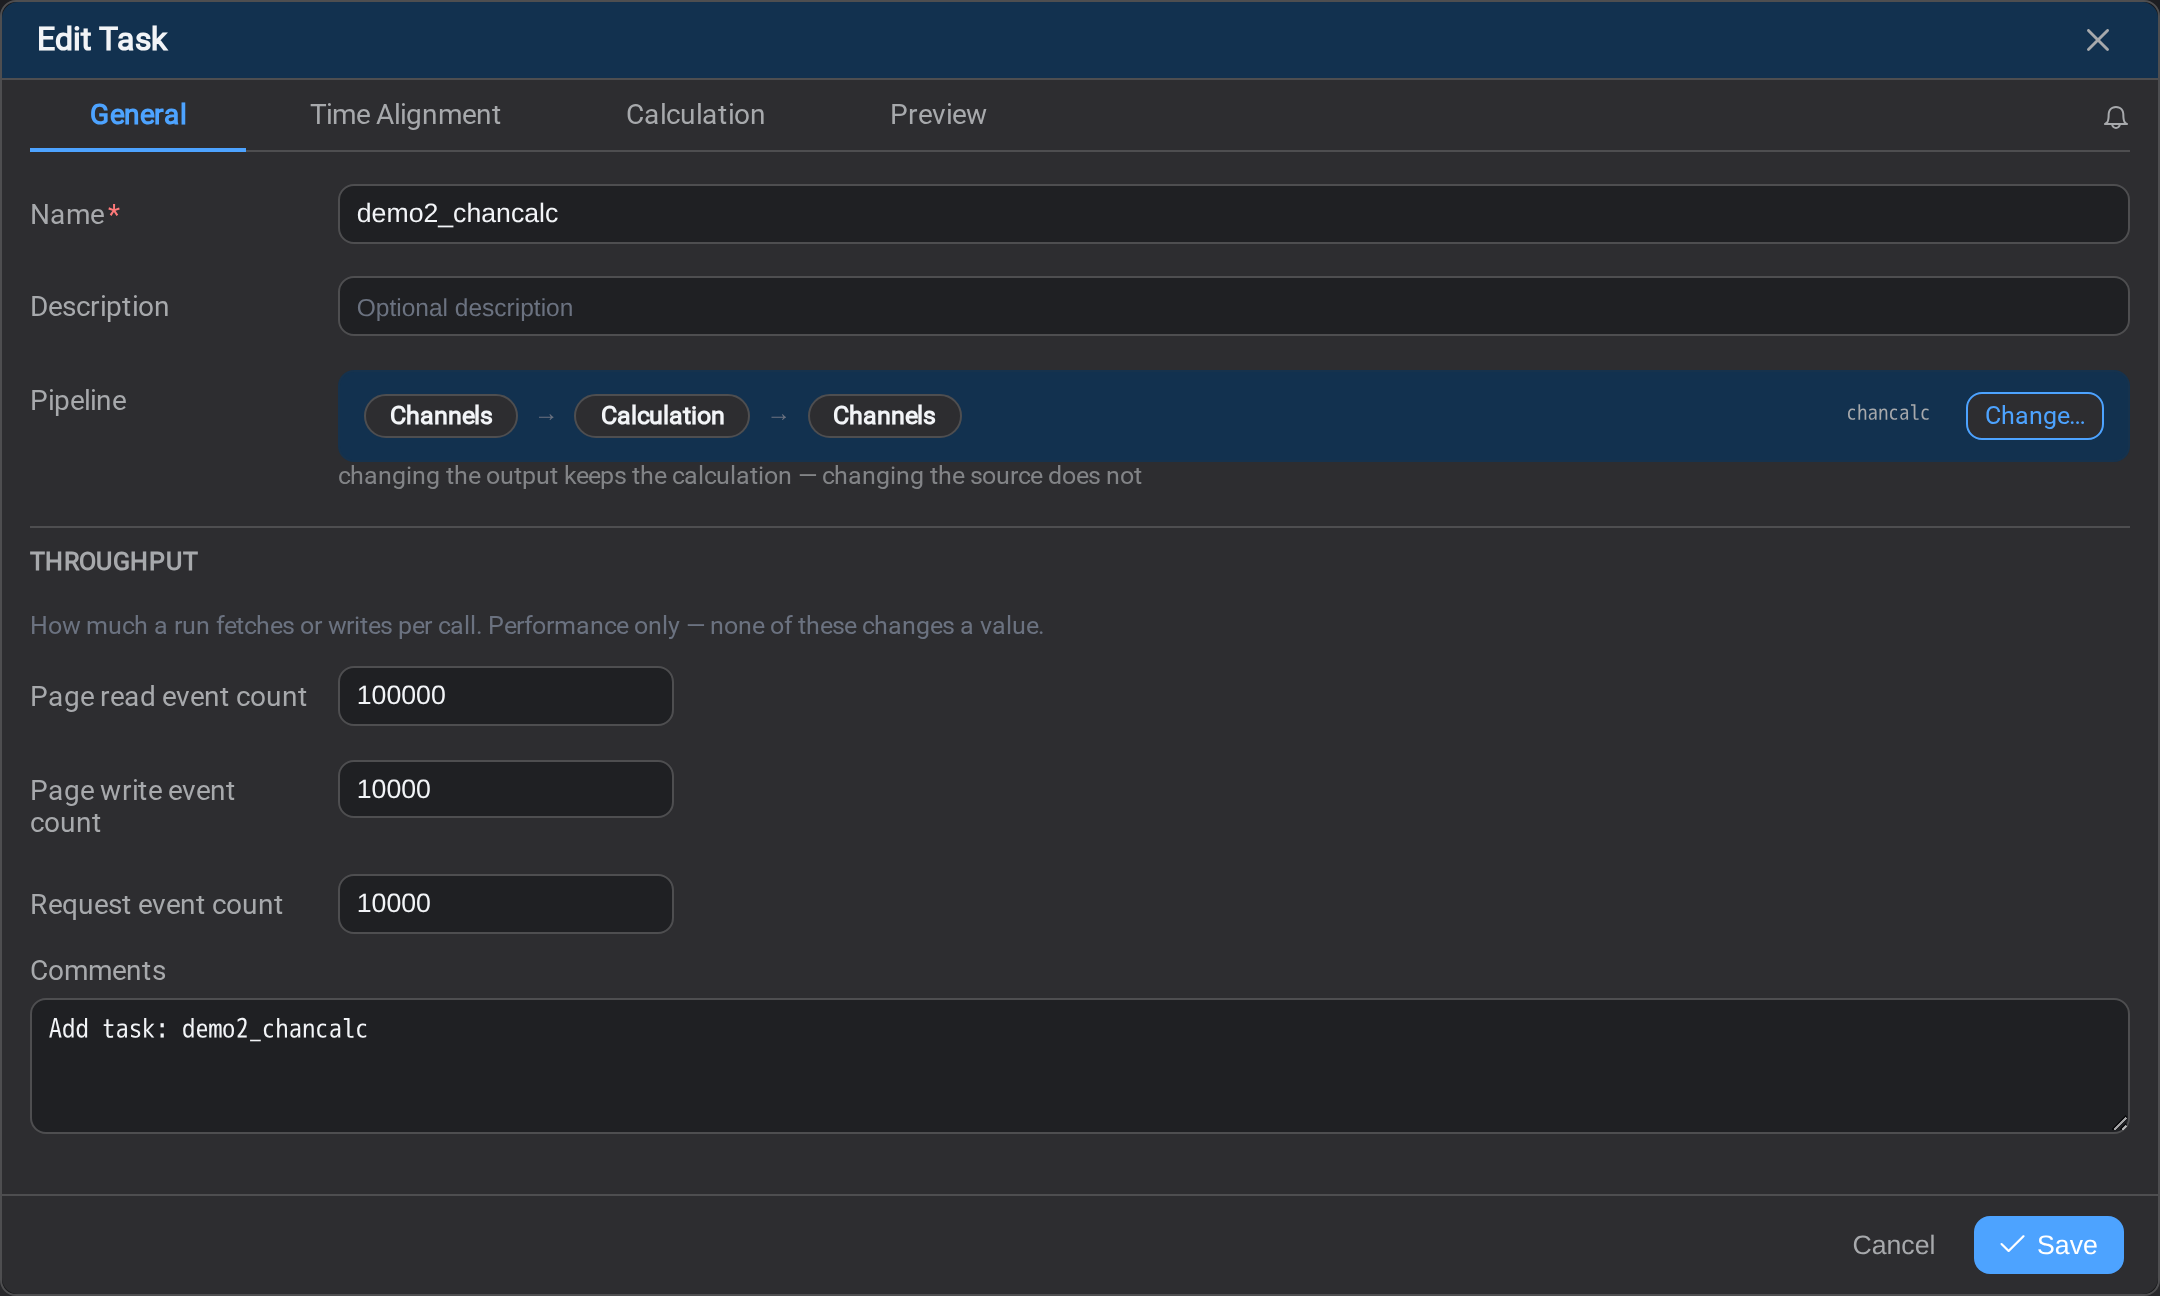
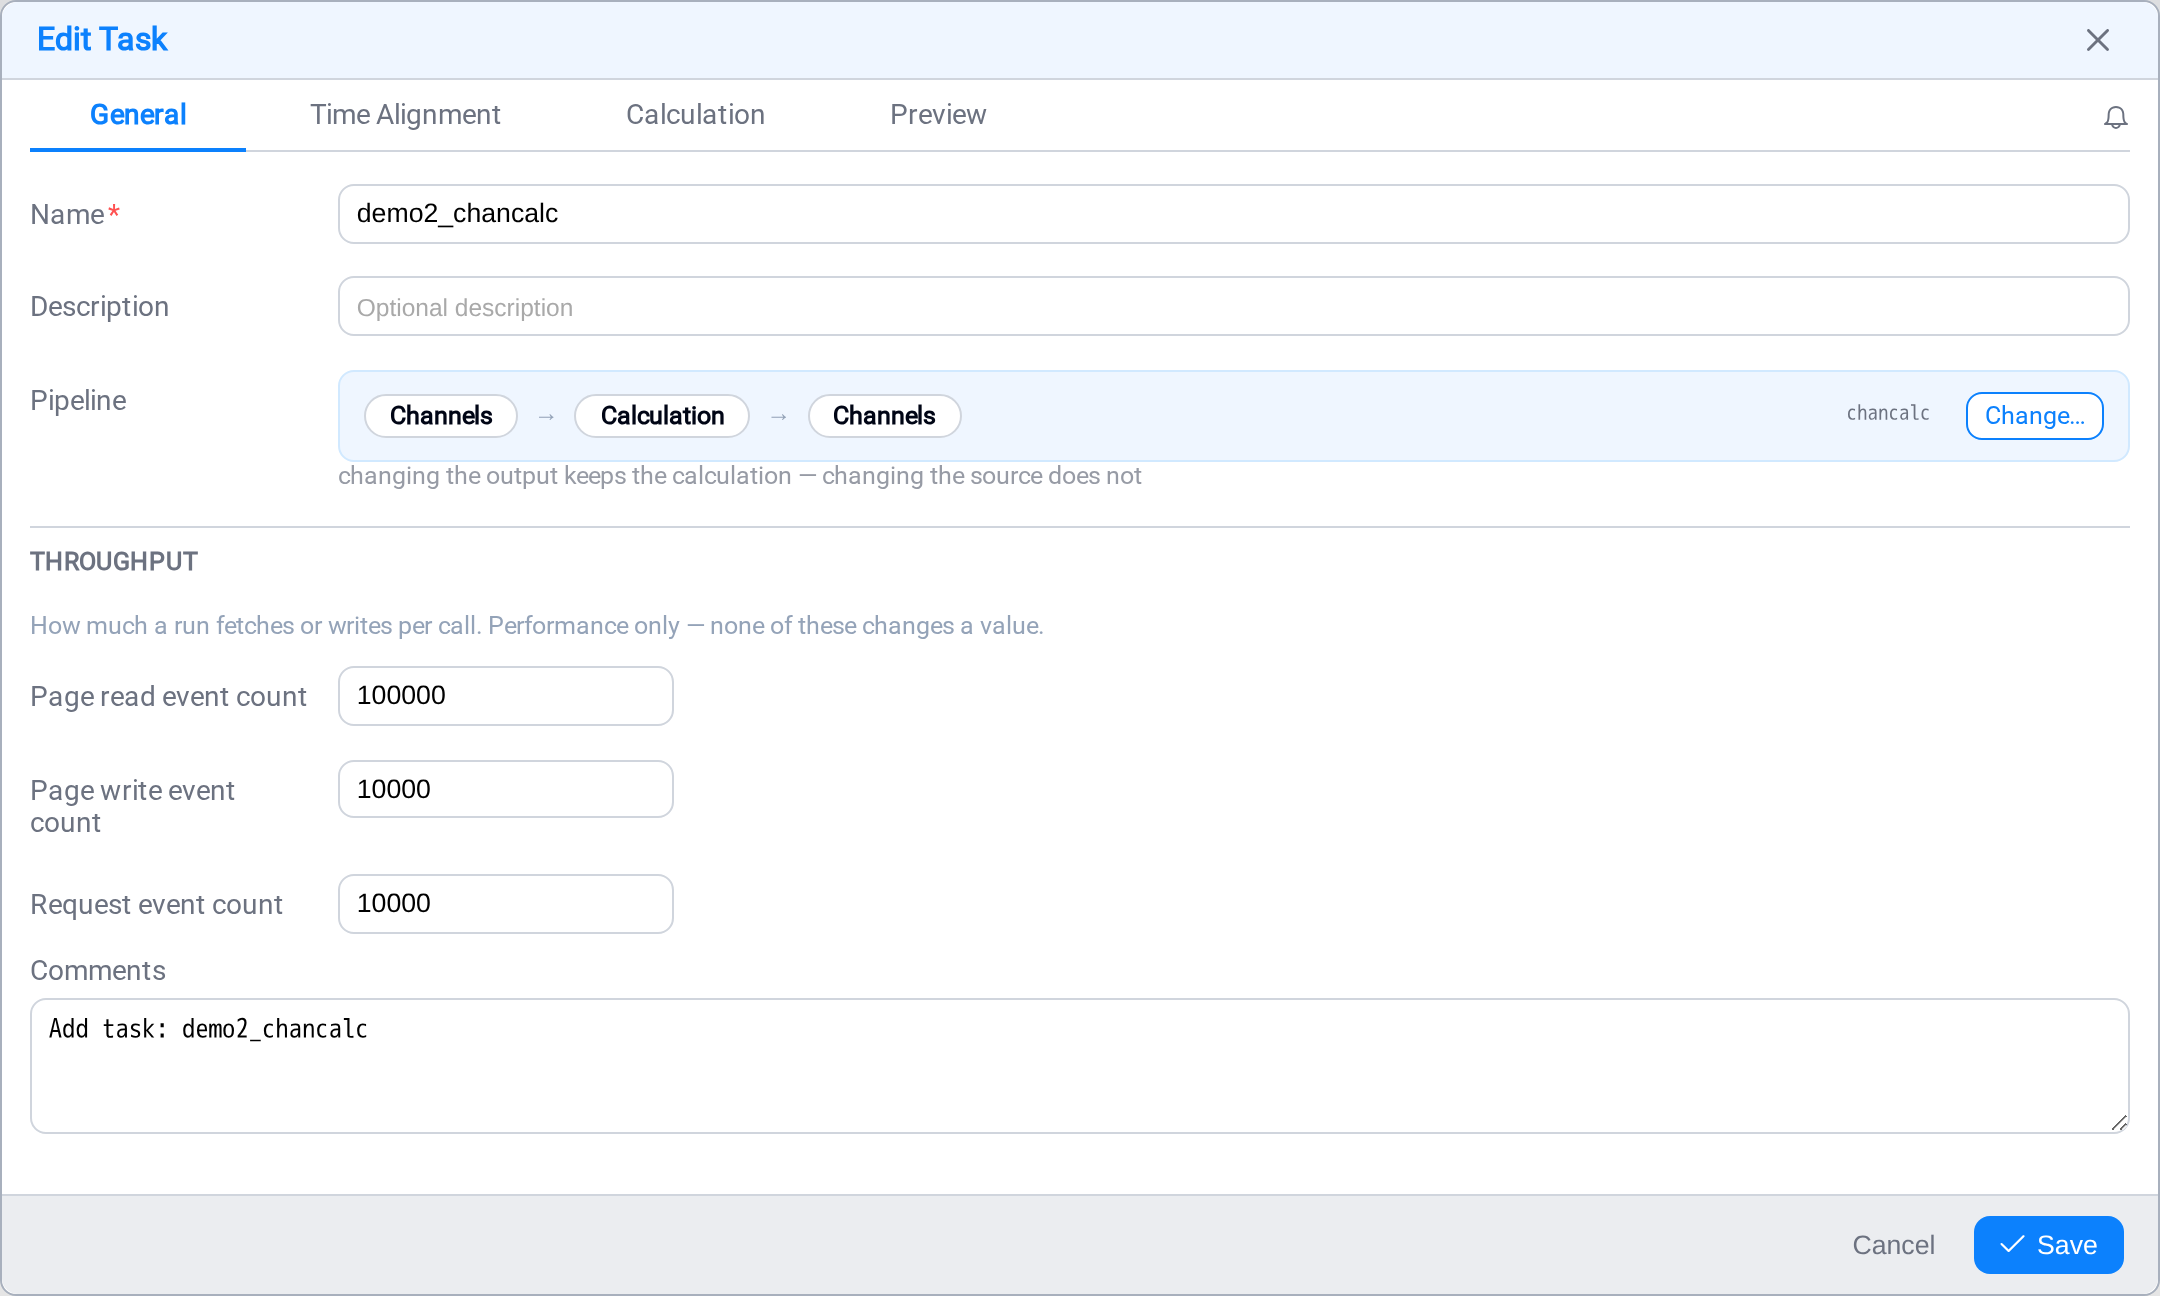
Name it Weather station totals. Choose the pattern from step 3.
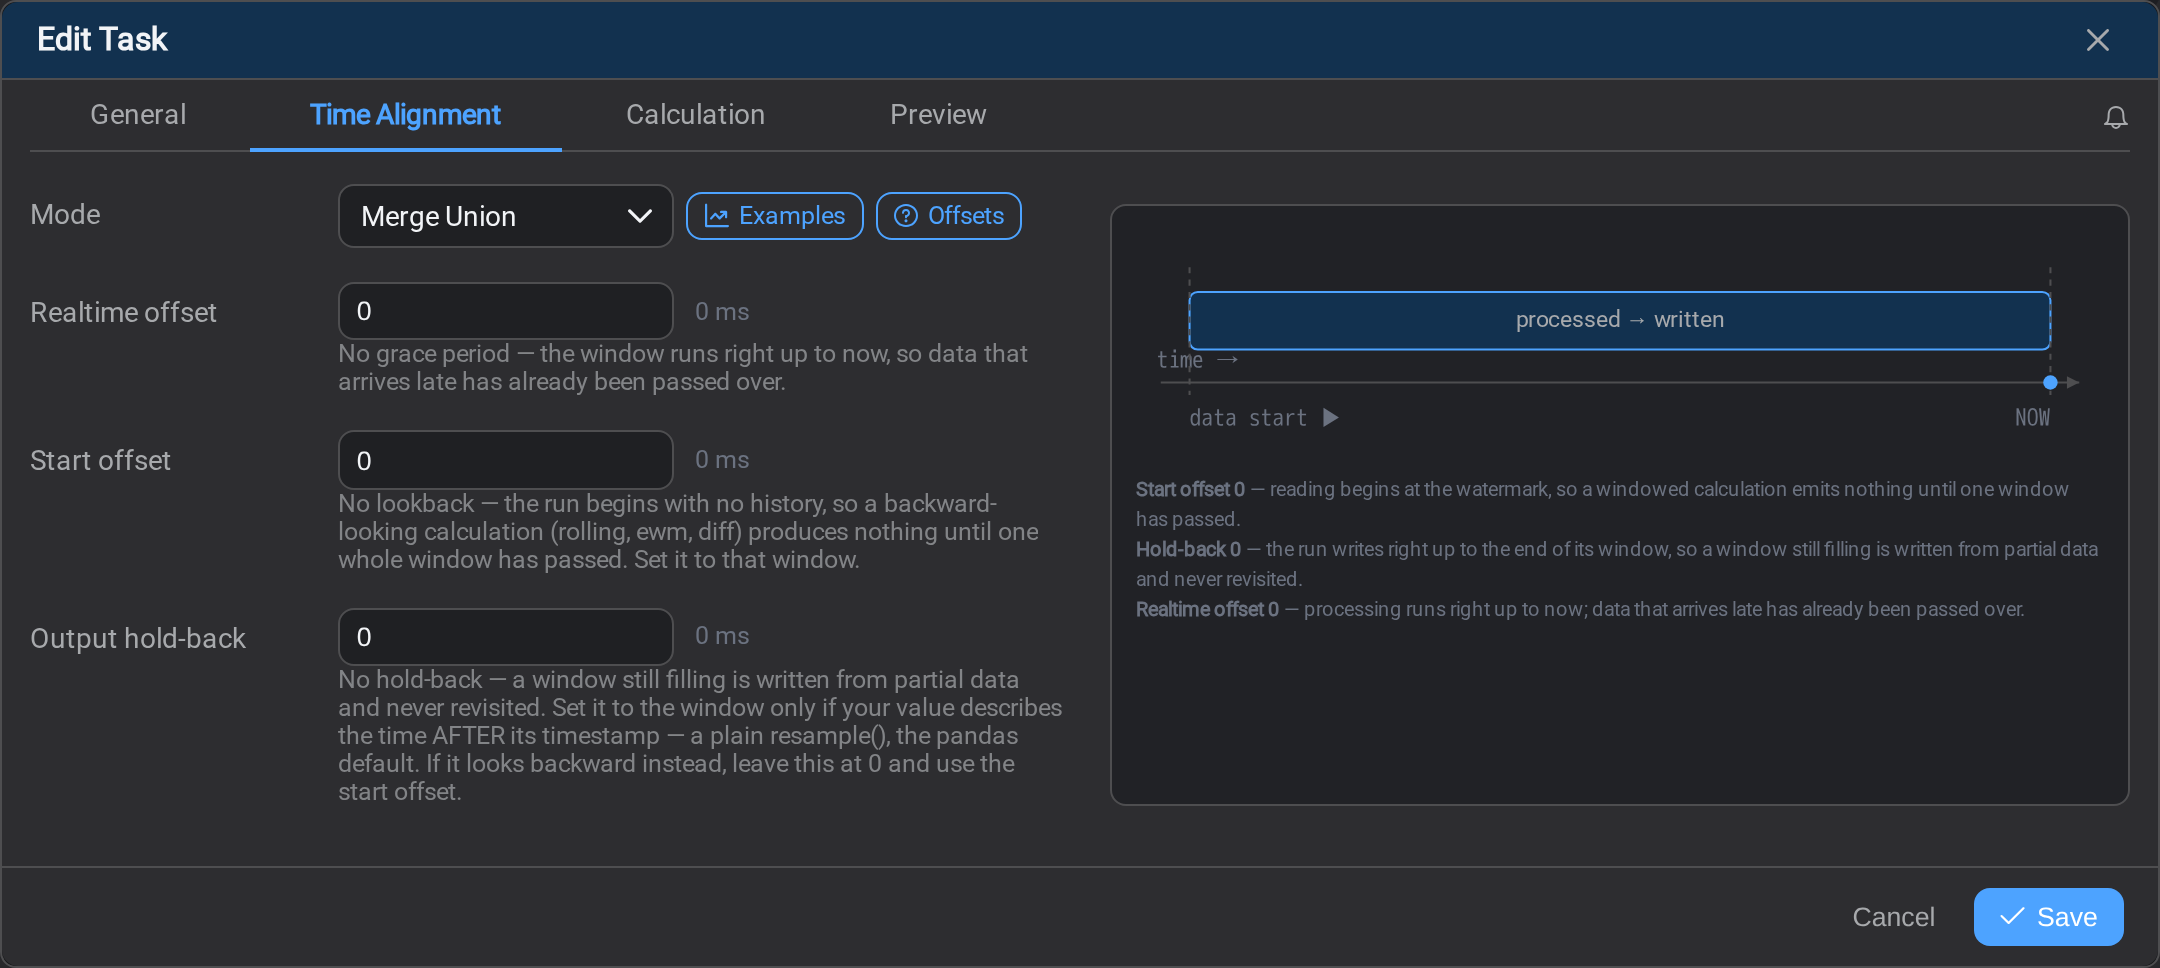
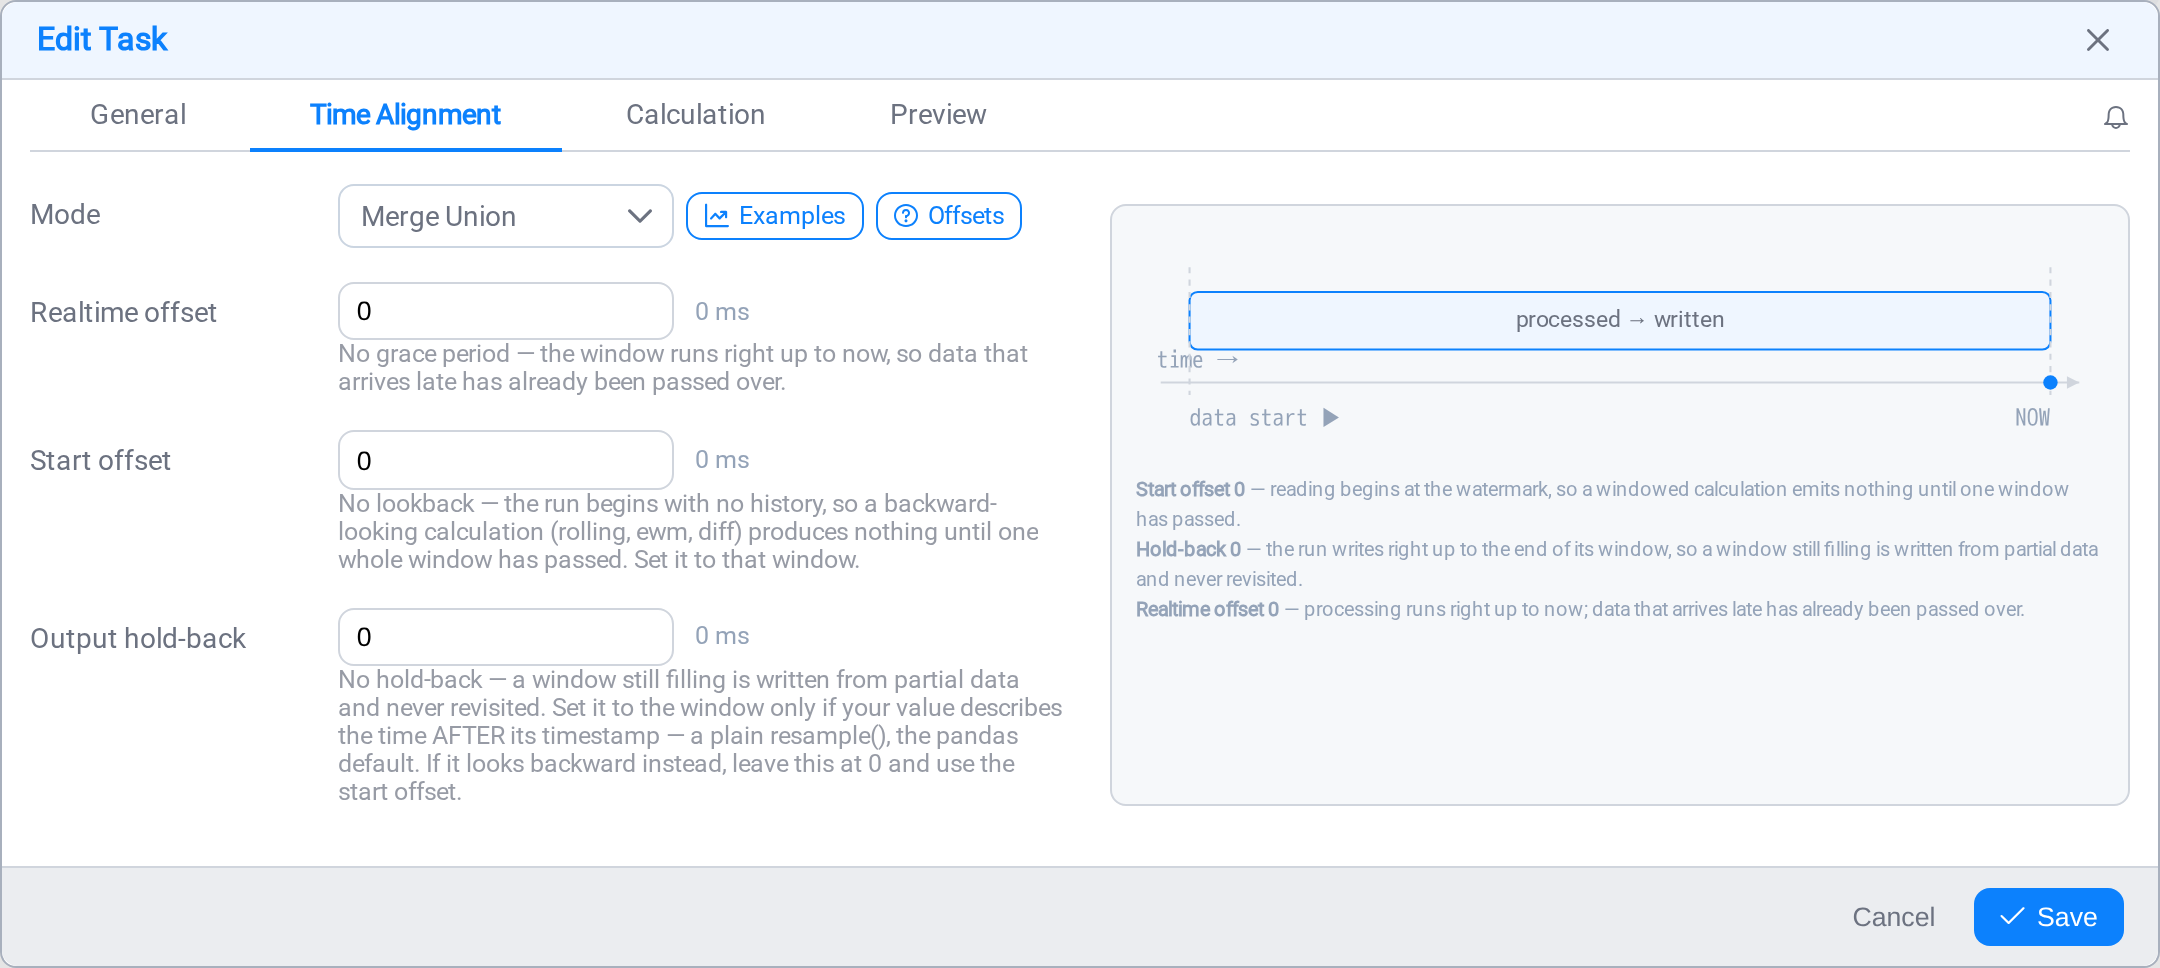
Time Alignment
Leave the defaults for now. This tab decides which moment in time each value is read
at, and matters when you are combining sensors that report at different instants:
worth returning to once the job works.
Calculation
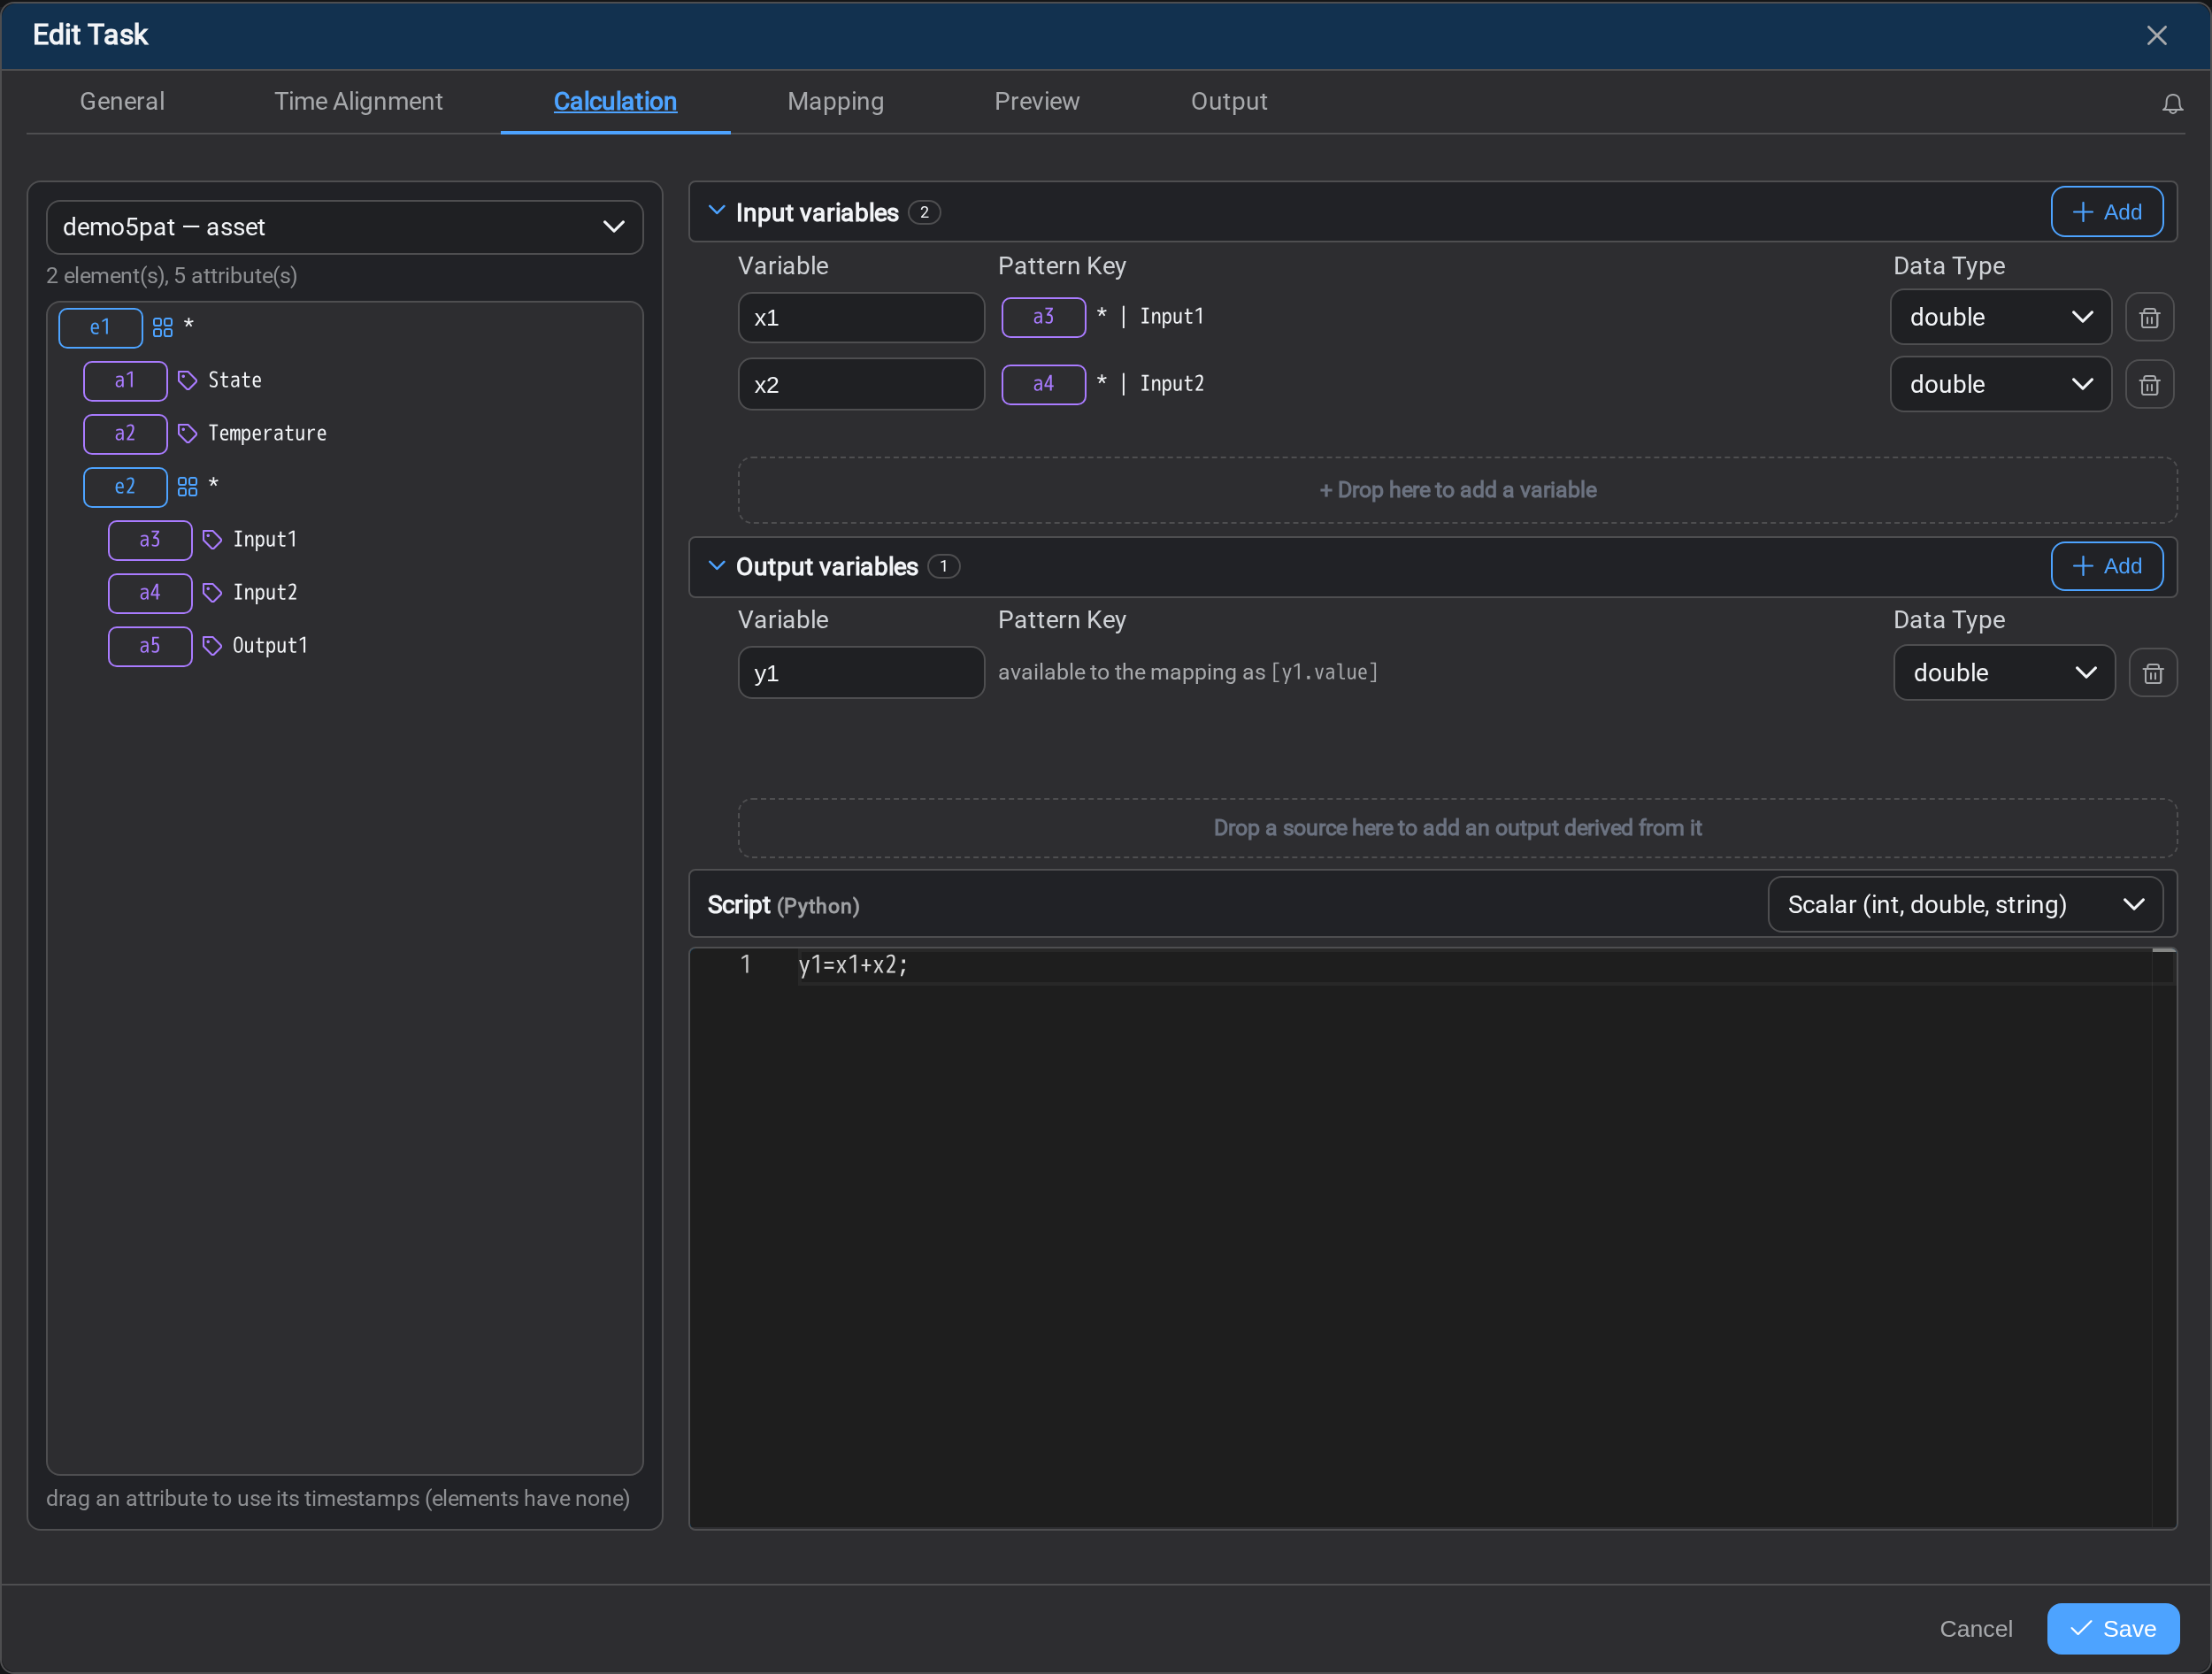
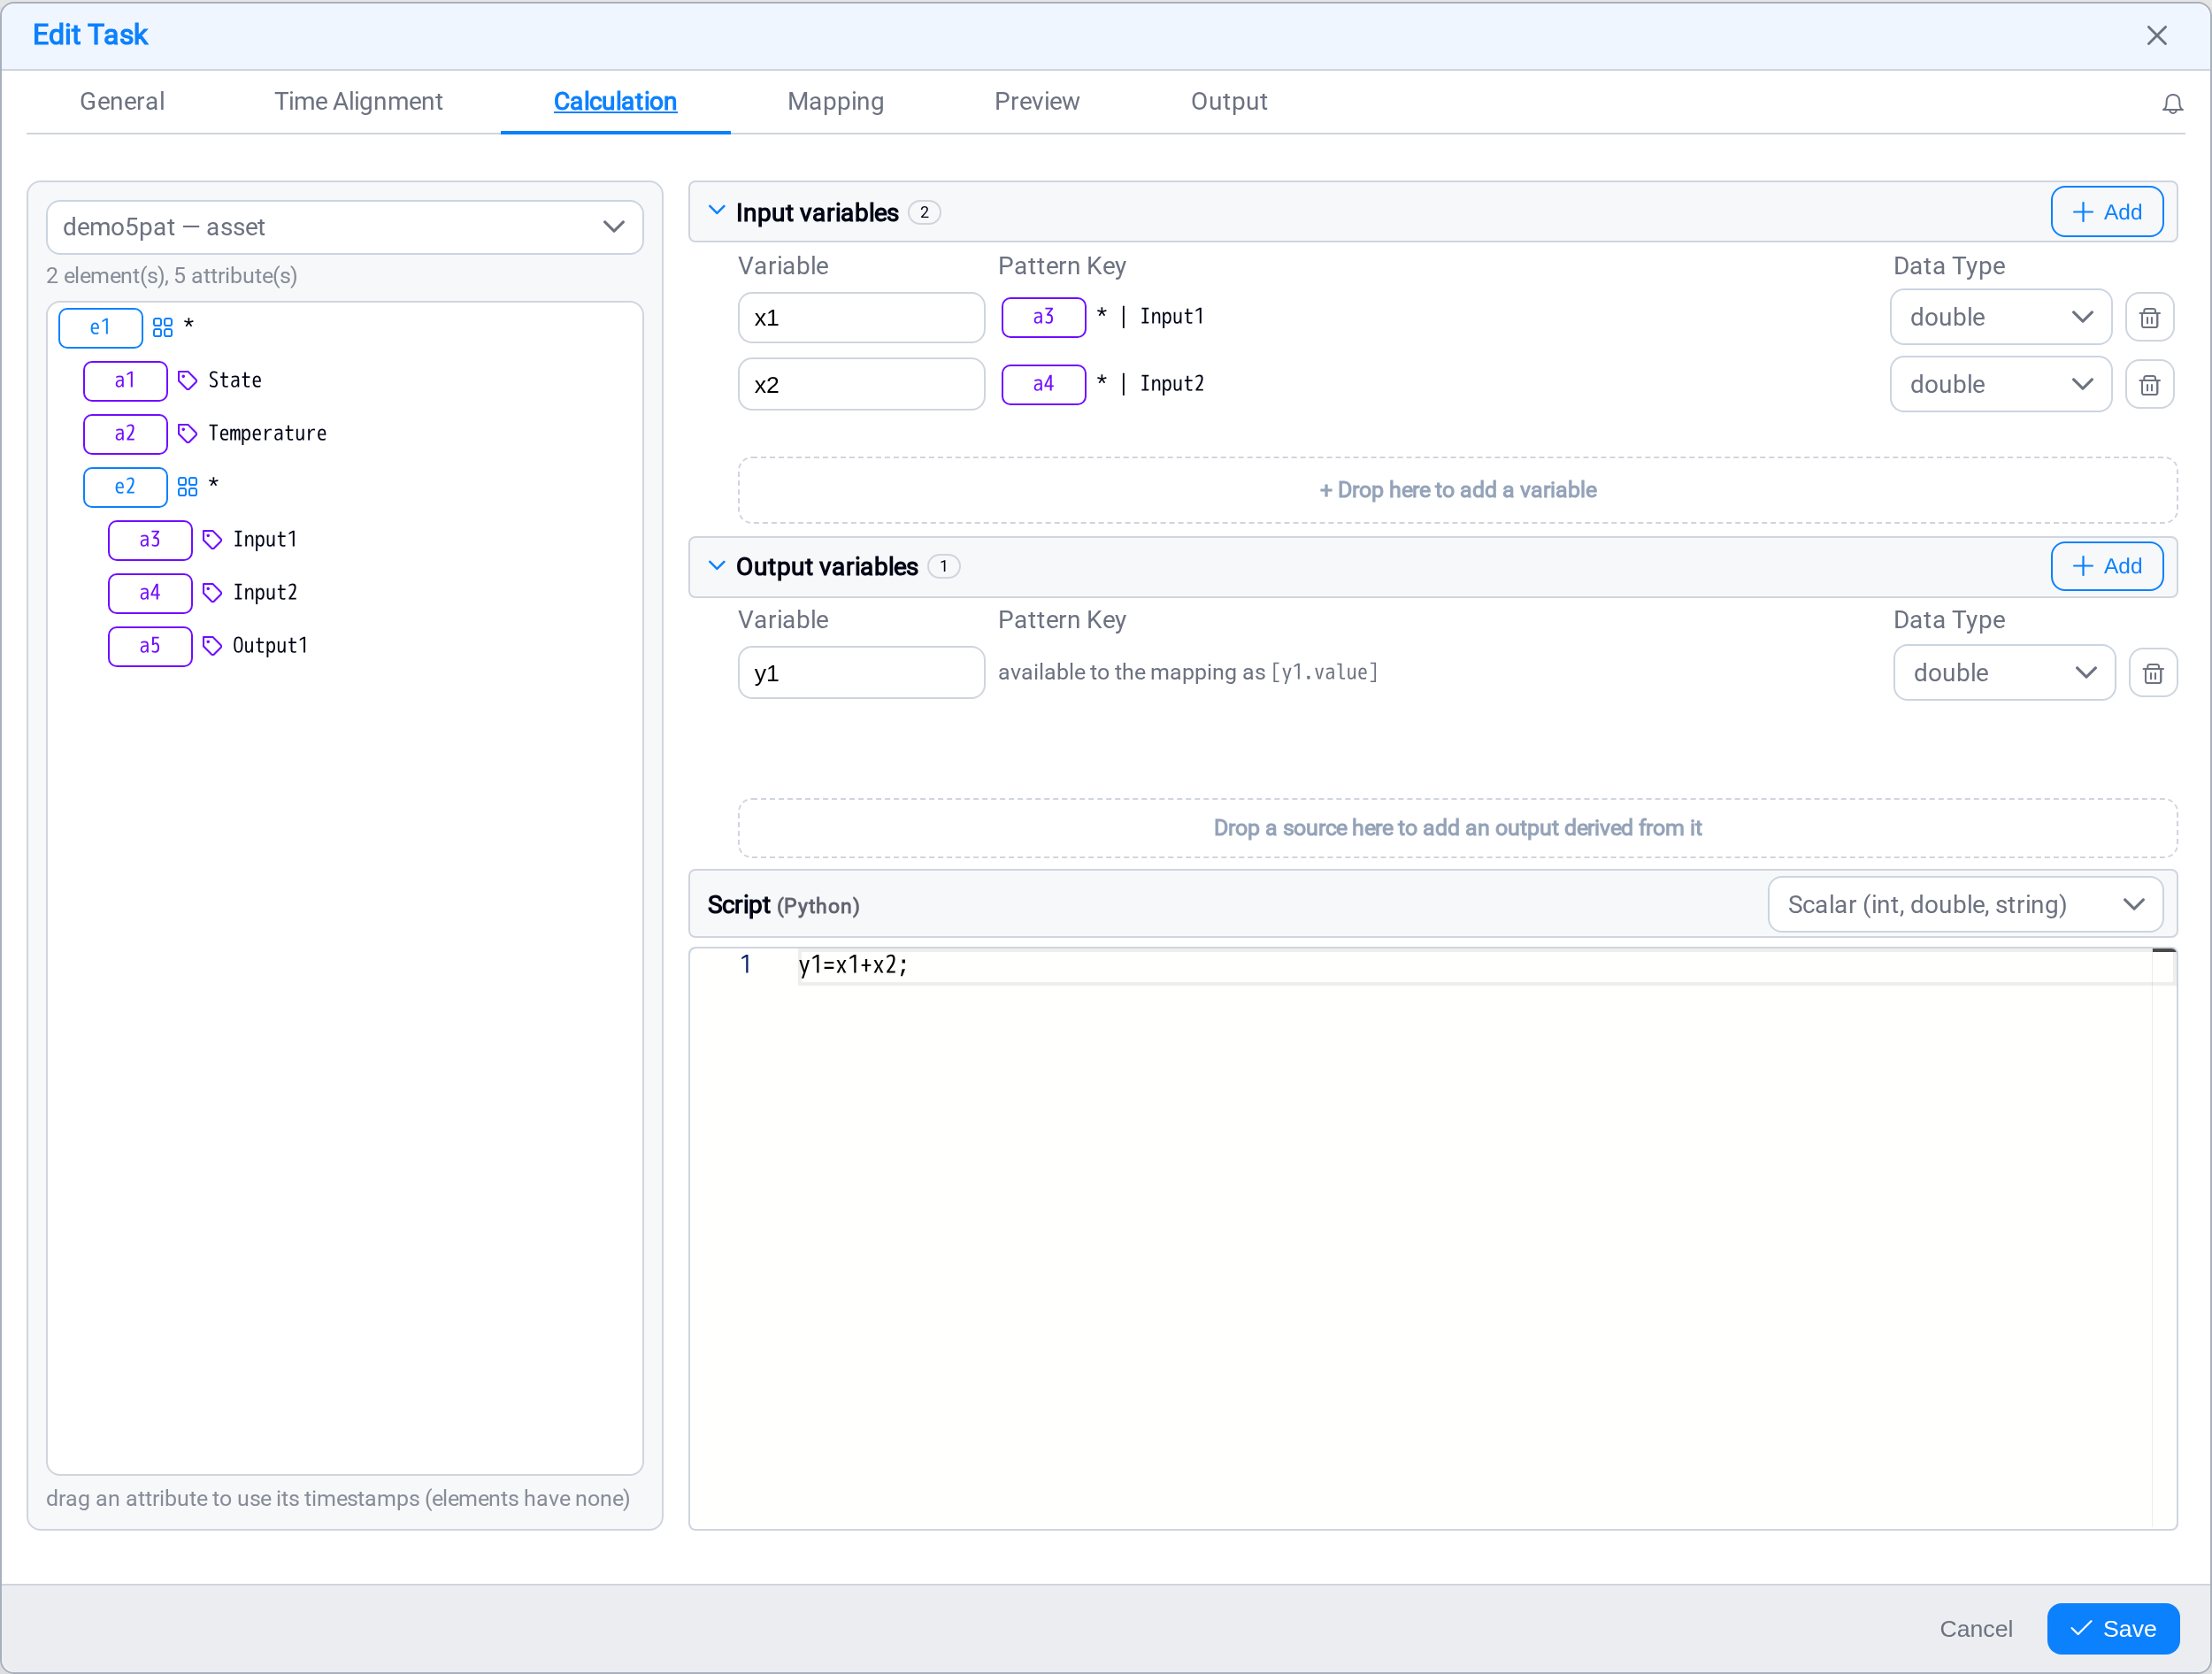
The left pane shows your pattern's tree. Drag your two attributes into Input
variables. Rename them from x1 and x2 to something meaningful, and check the
Data Type is right: usually double.
Add an Output variable, name it total, and set its type. Note the line
underneath telling you it is available to the mapping as [total.value].
In the Script box, write the arithmetic:
total = inlet + outletusing whatever names you gave the inputs.
Mapping
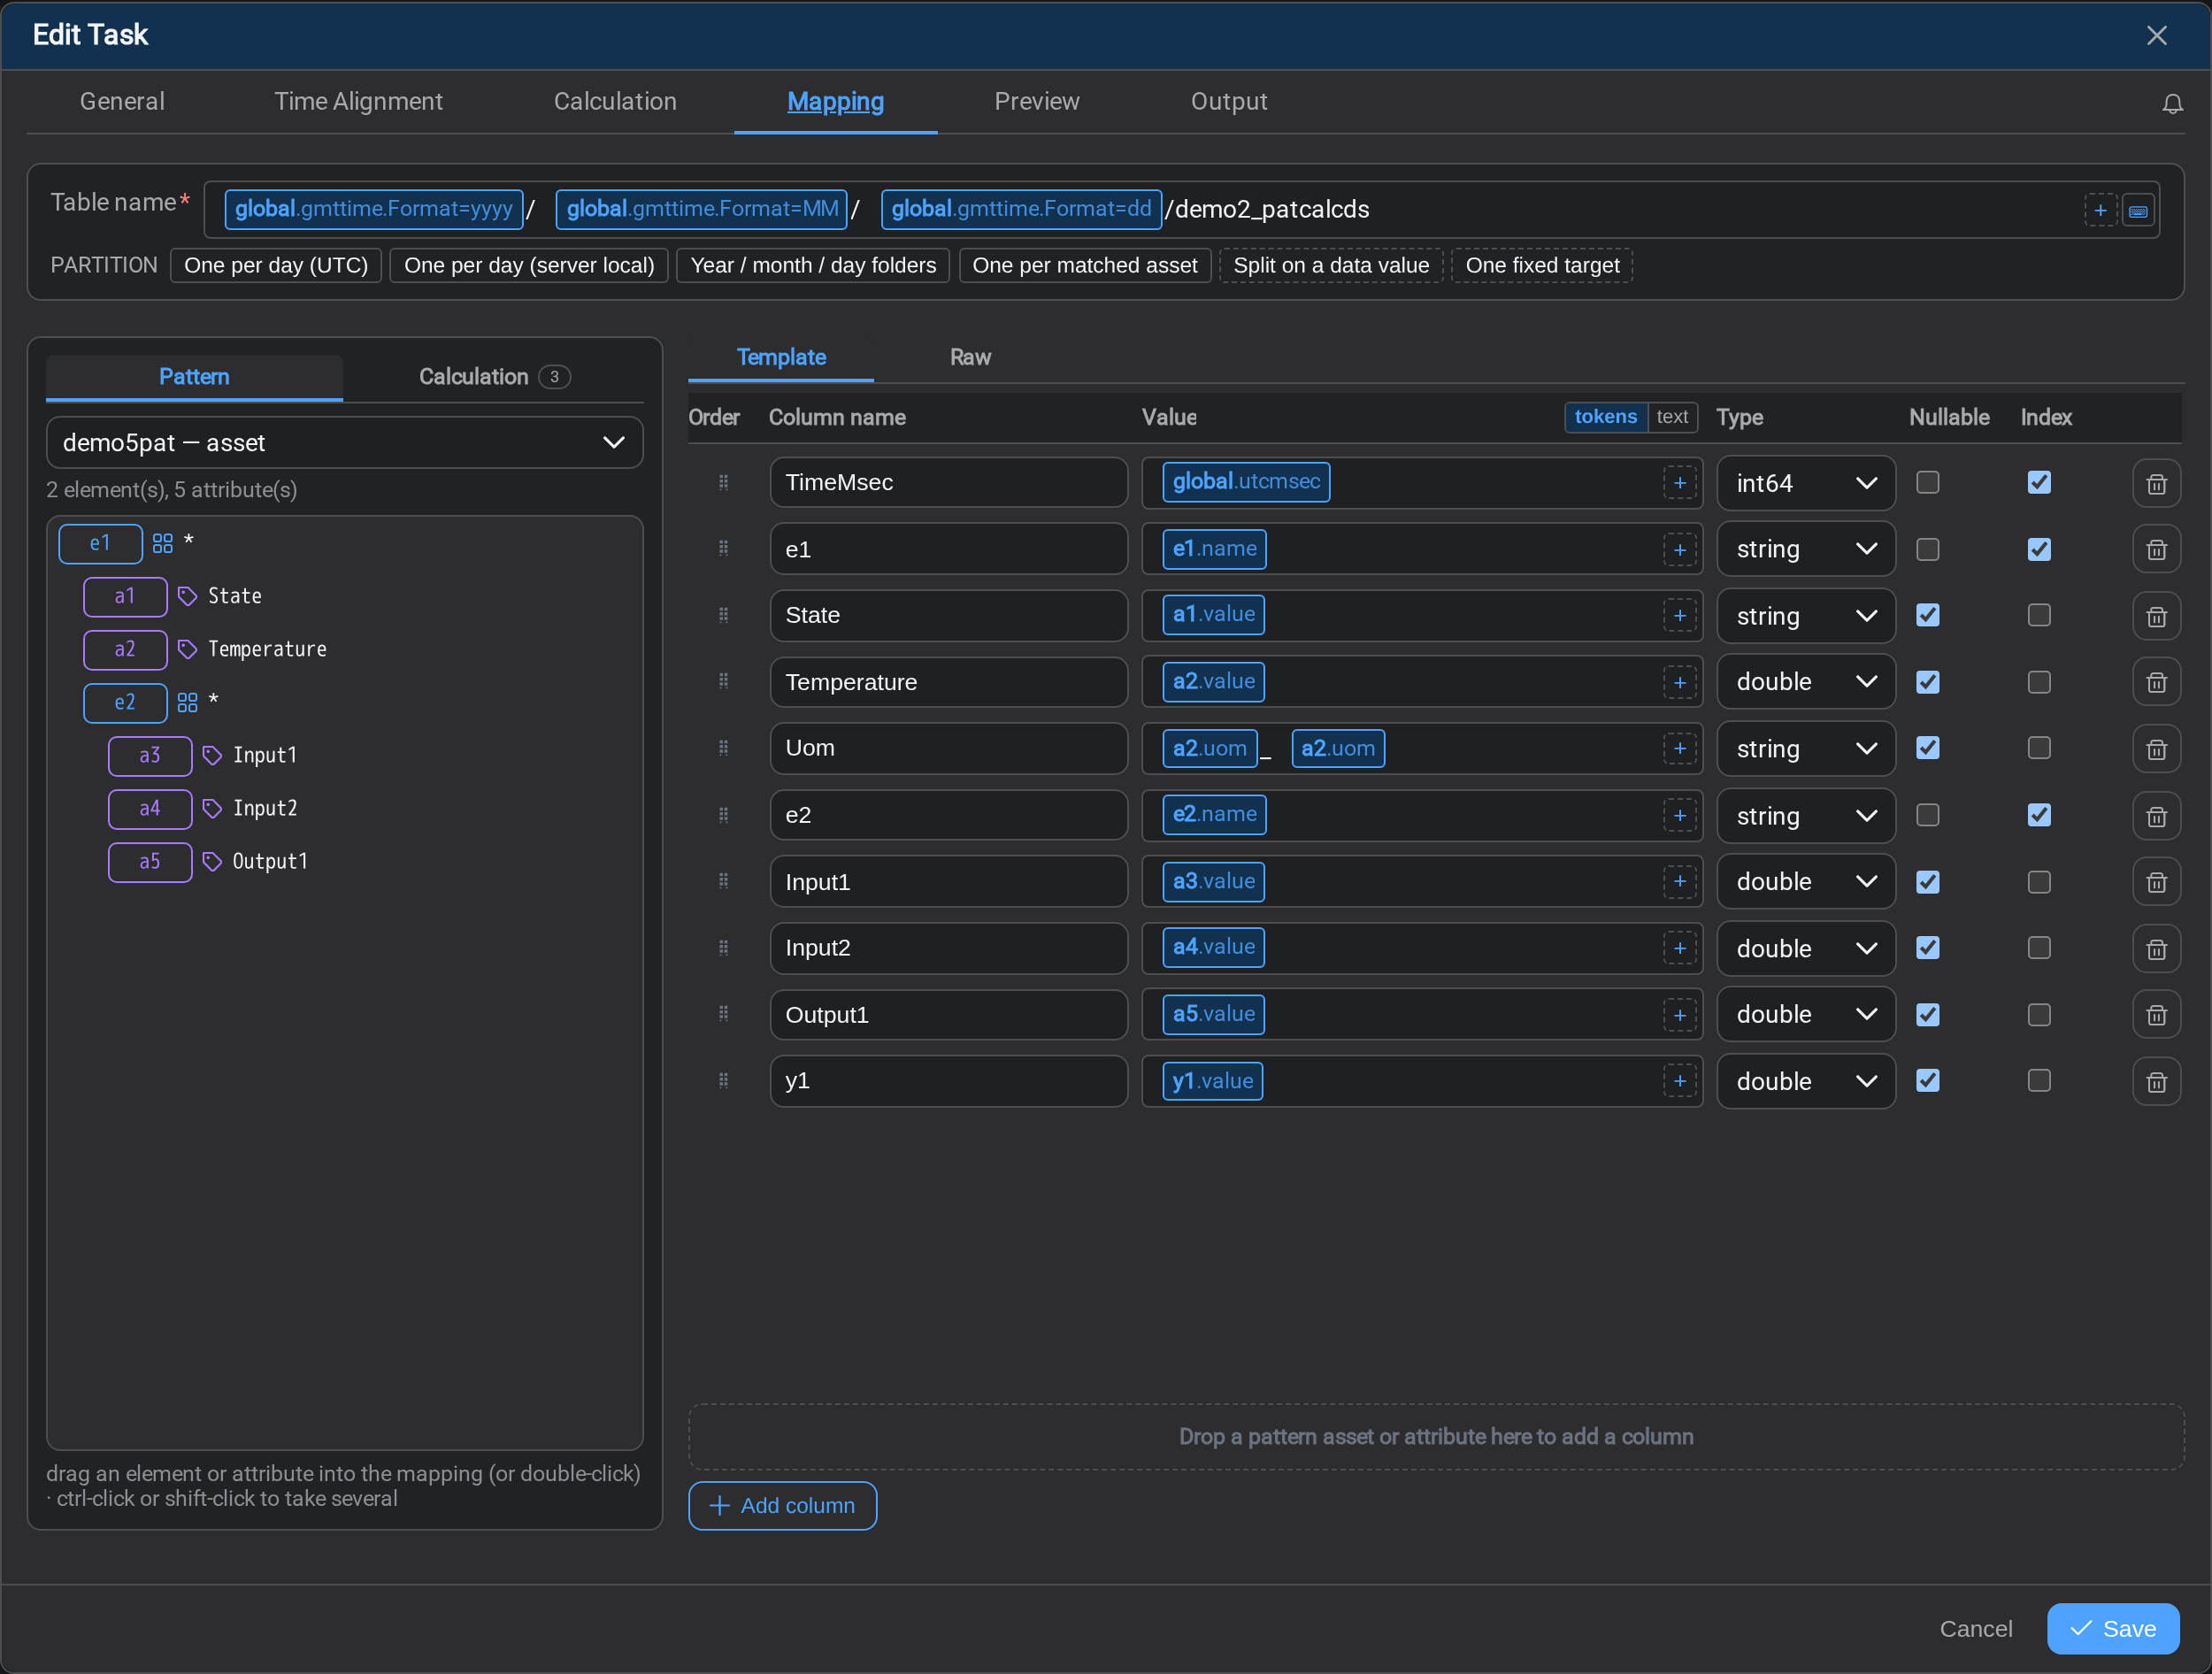
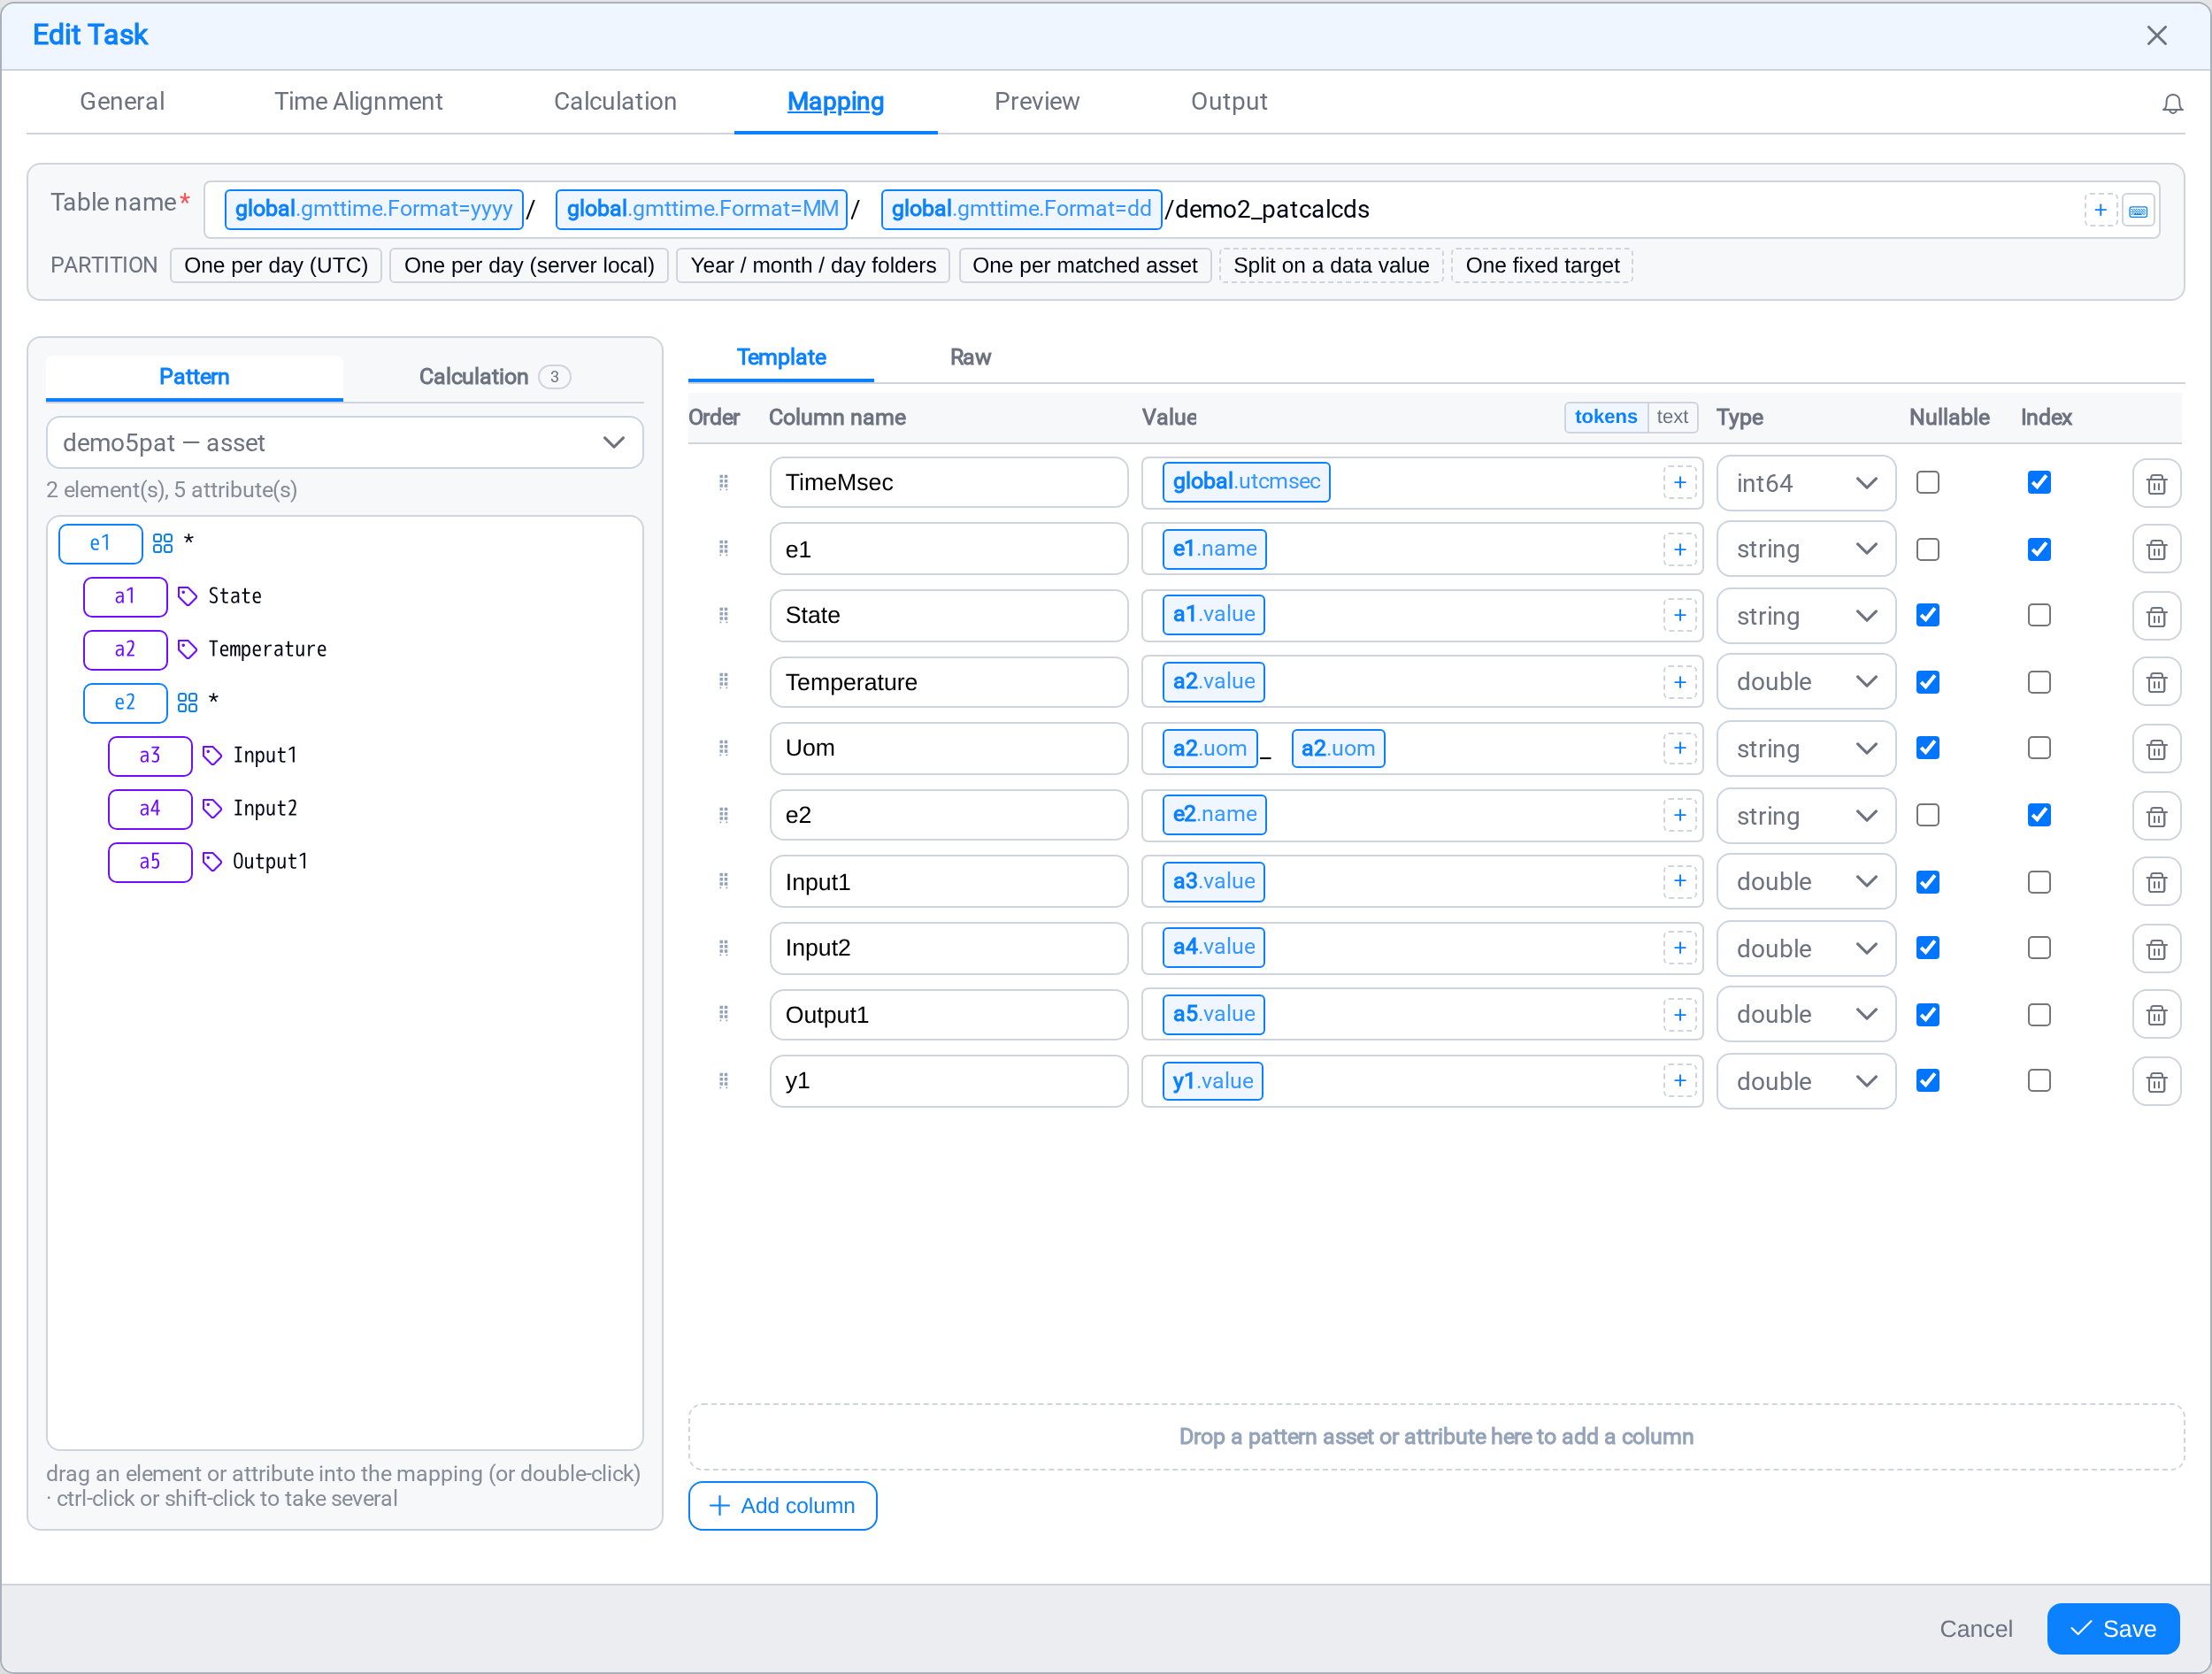
This is the shape of the CSV. Add these columns:
| Column name | Value | Type | Notes |
|---|---|---|---|
Time | scope.utcmsec | int64 | Tick Index |
Station | e1.name | string | Tick Index |
Inlet | a1.value | double | Tick Nullable |
Outlet | a2.value | double | Tick Nullable |
Total | total.value | double | Tick Nullable |
Drag attributes from the left pane to create columns quickly, then set the names.
The Station column matters. Without it you get a file of numbers with no
record of which asset each row came from, and that cannot be reconstructed later.
For PARTITION, choose Year / month / day folders. That gives you a dated
folder tree instead of one file growing forever.
Preview
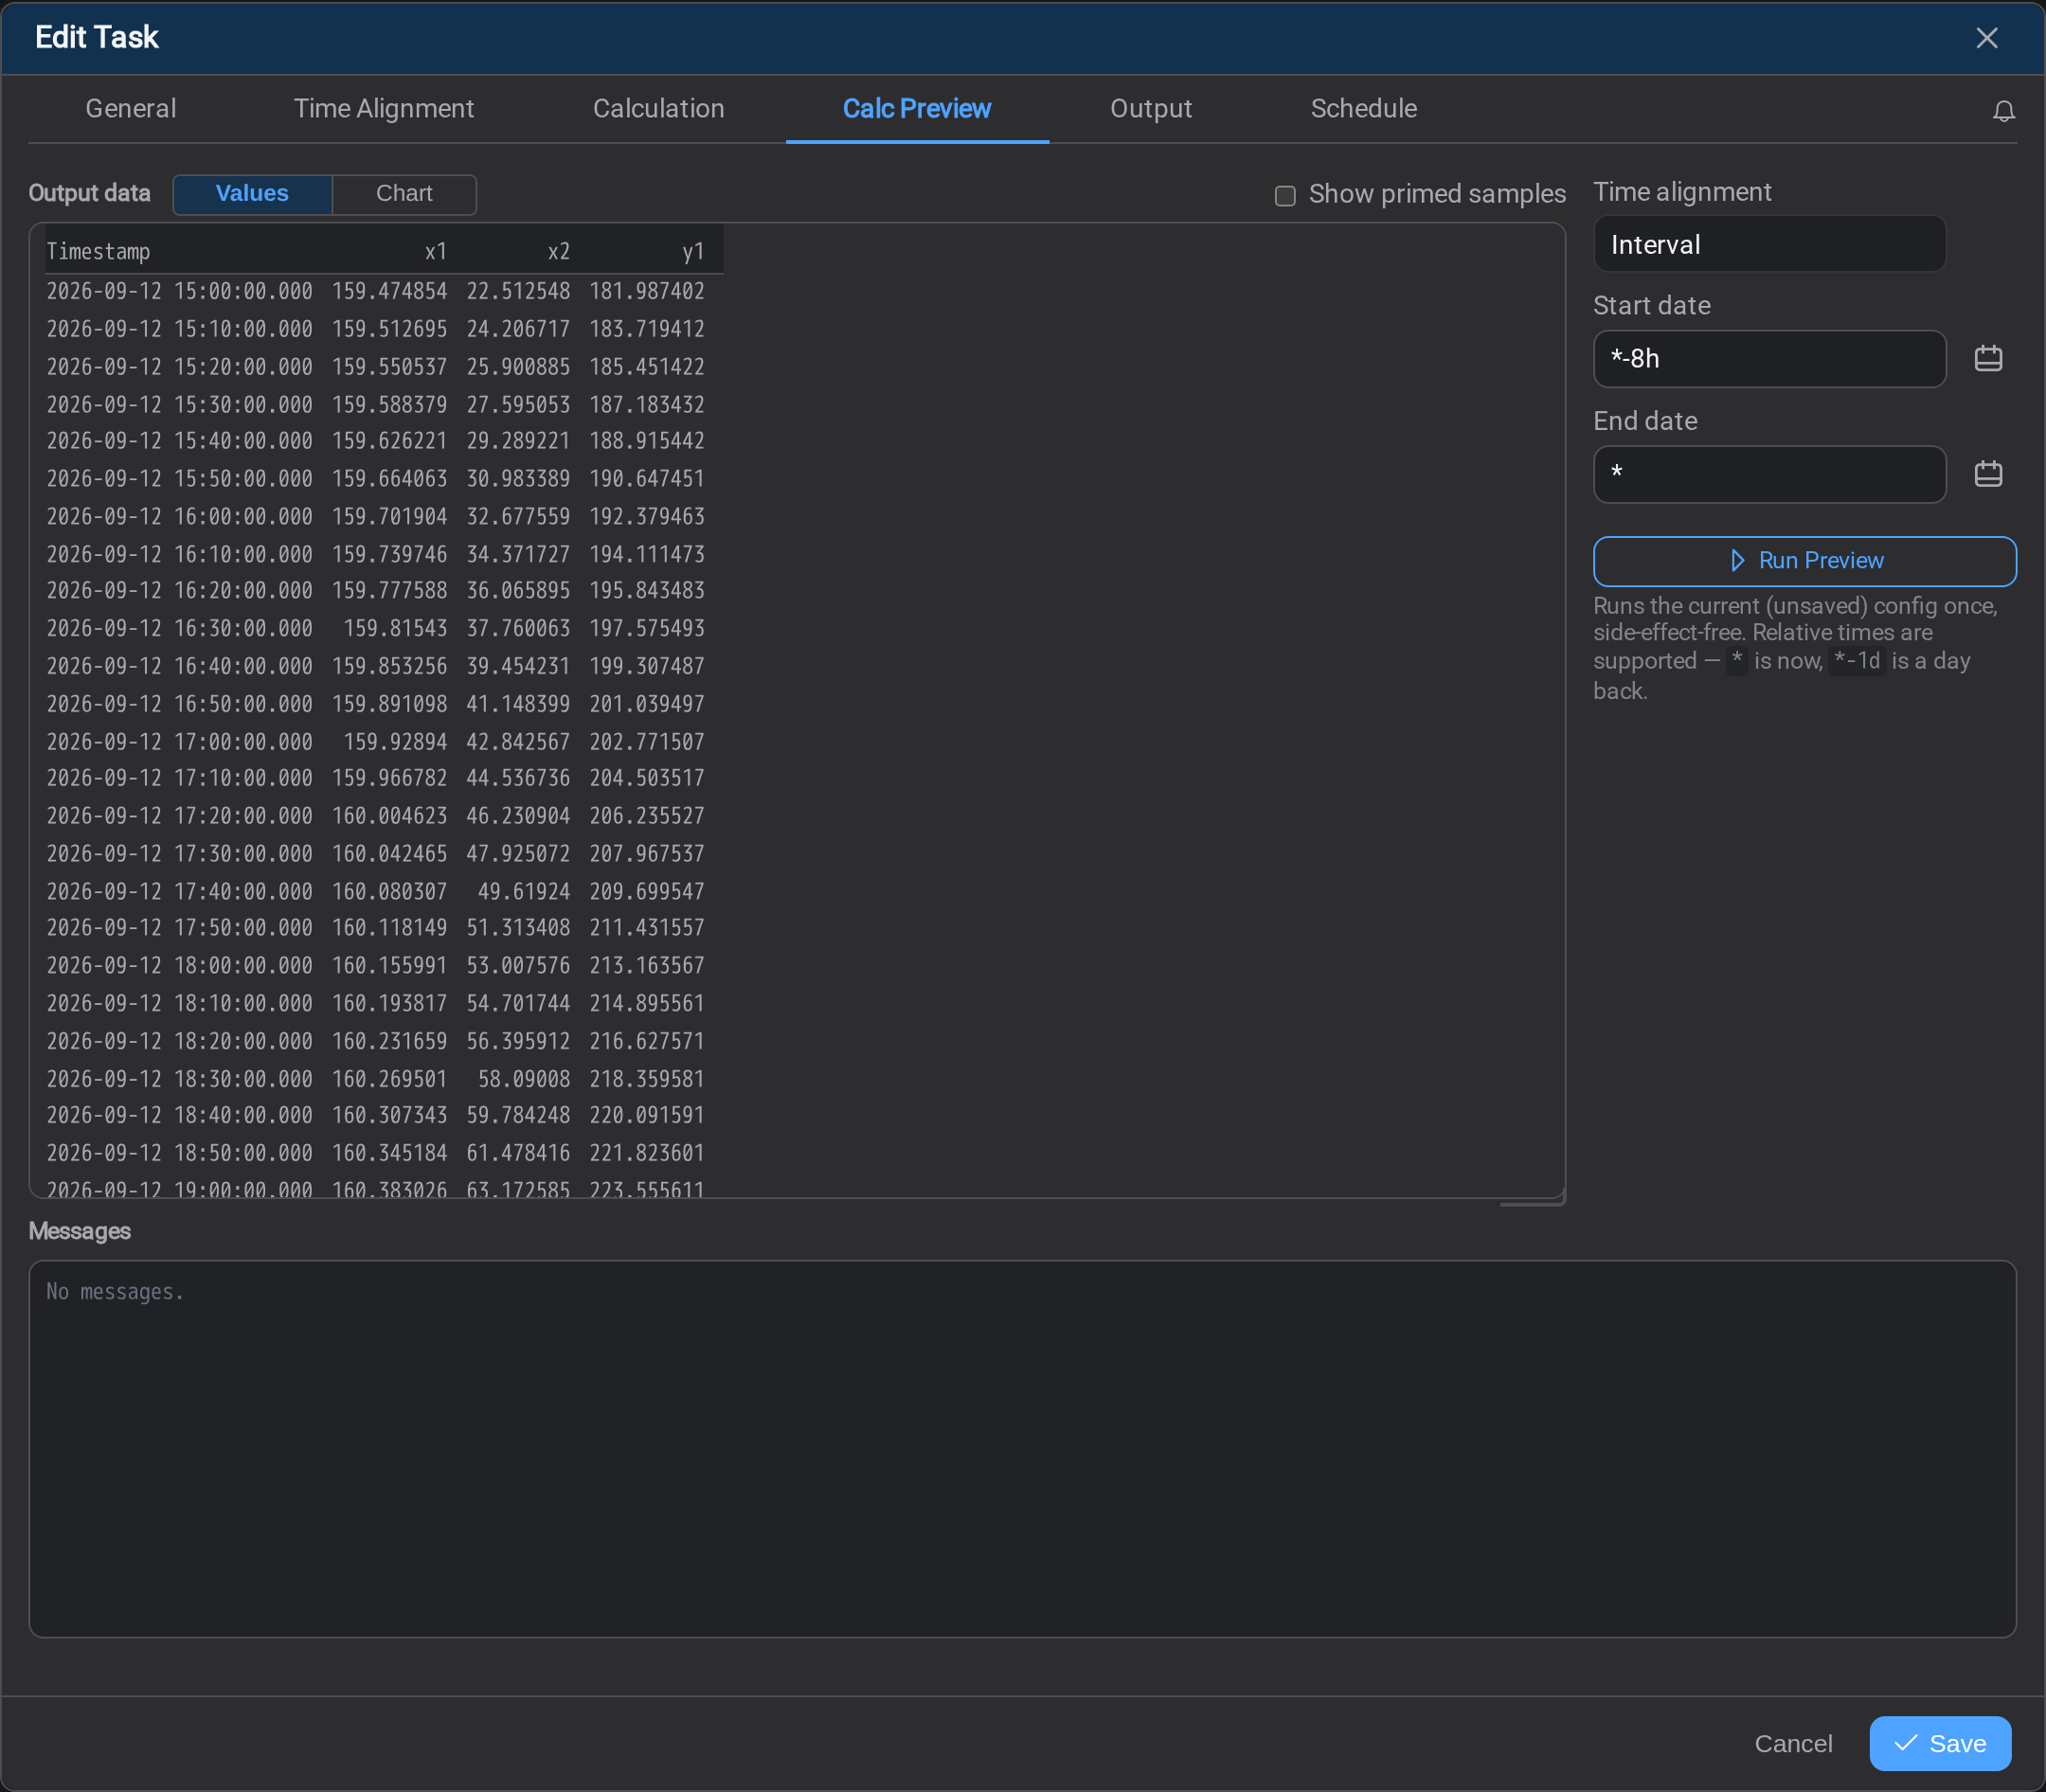
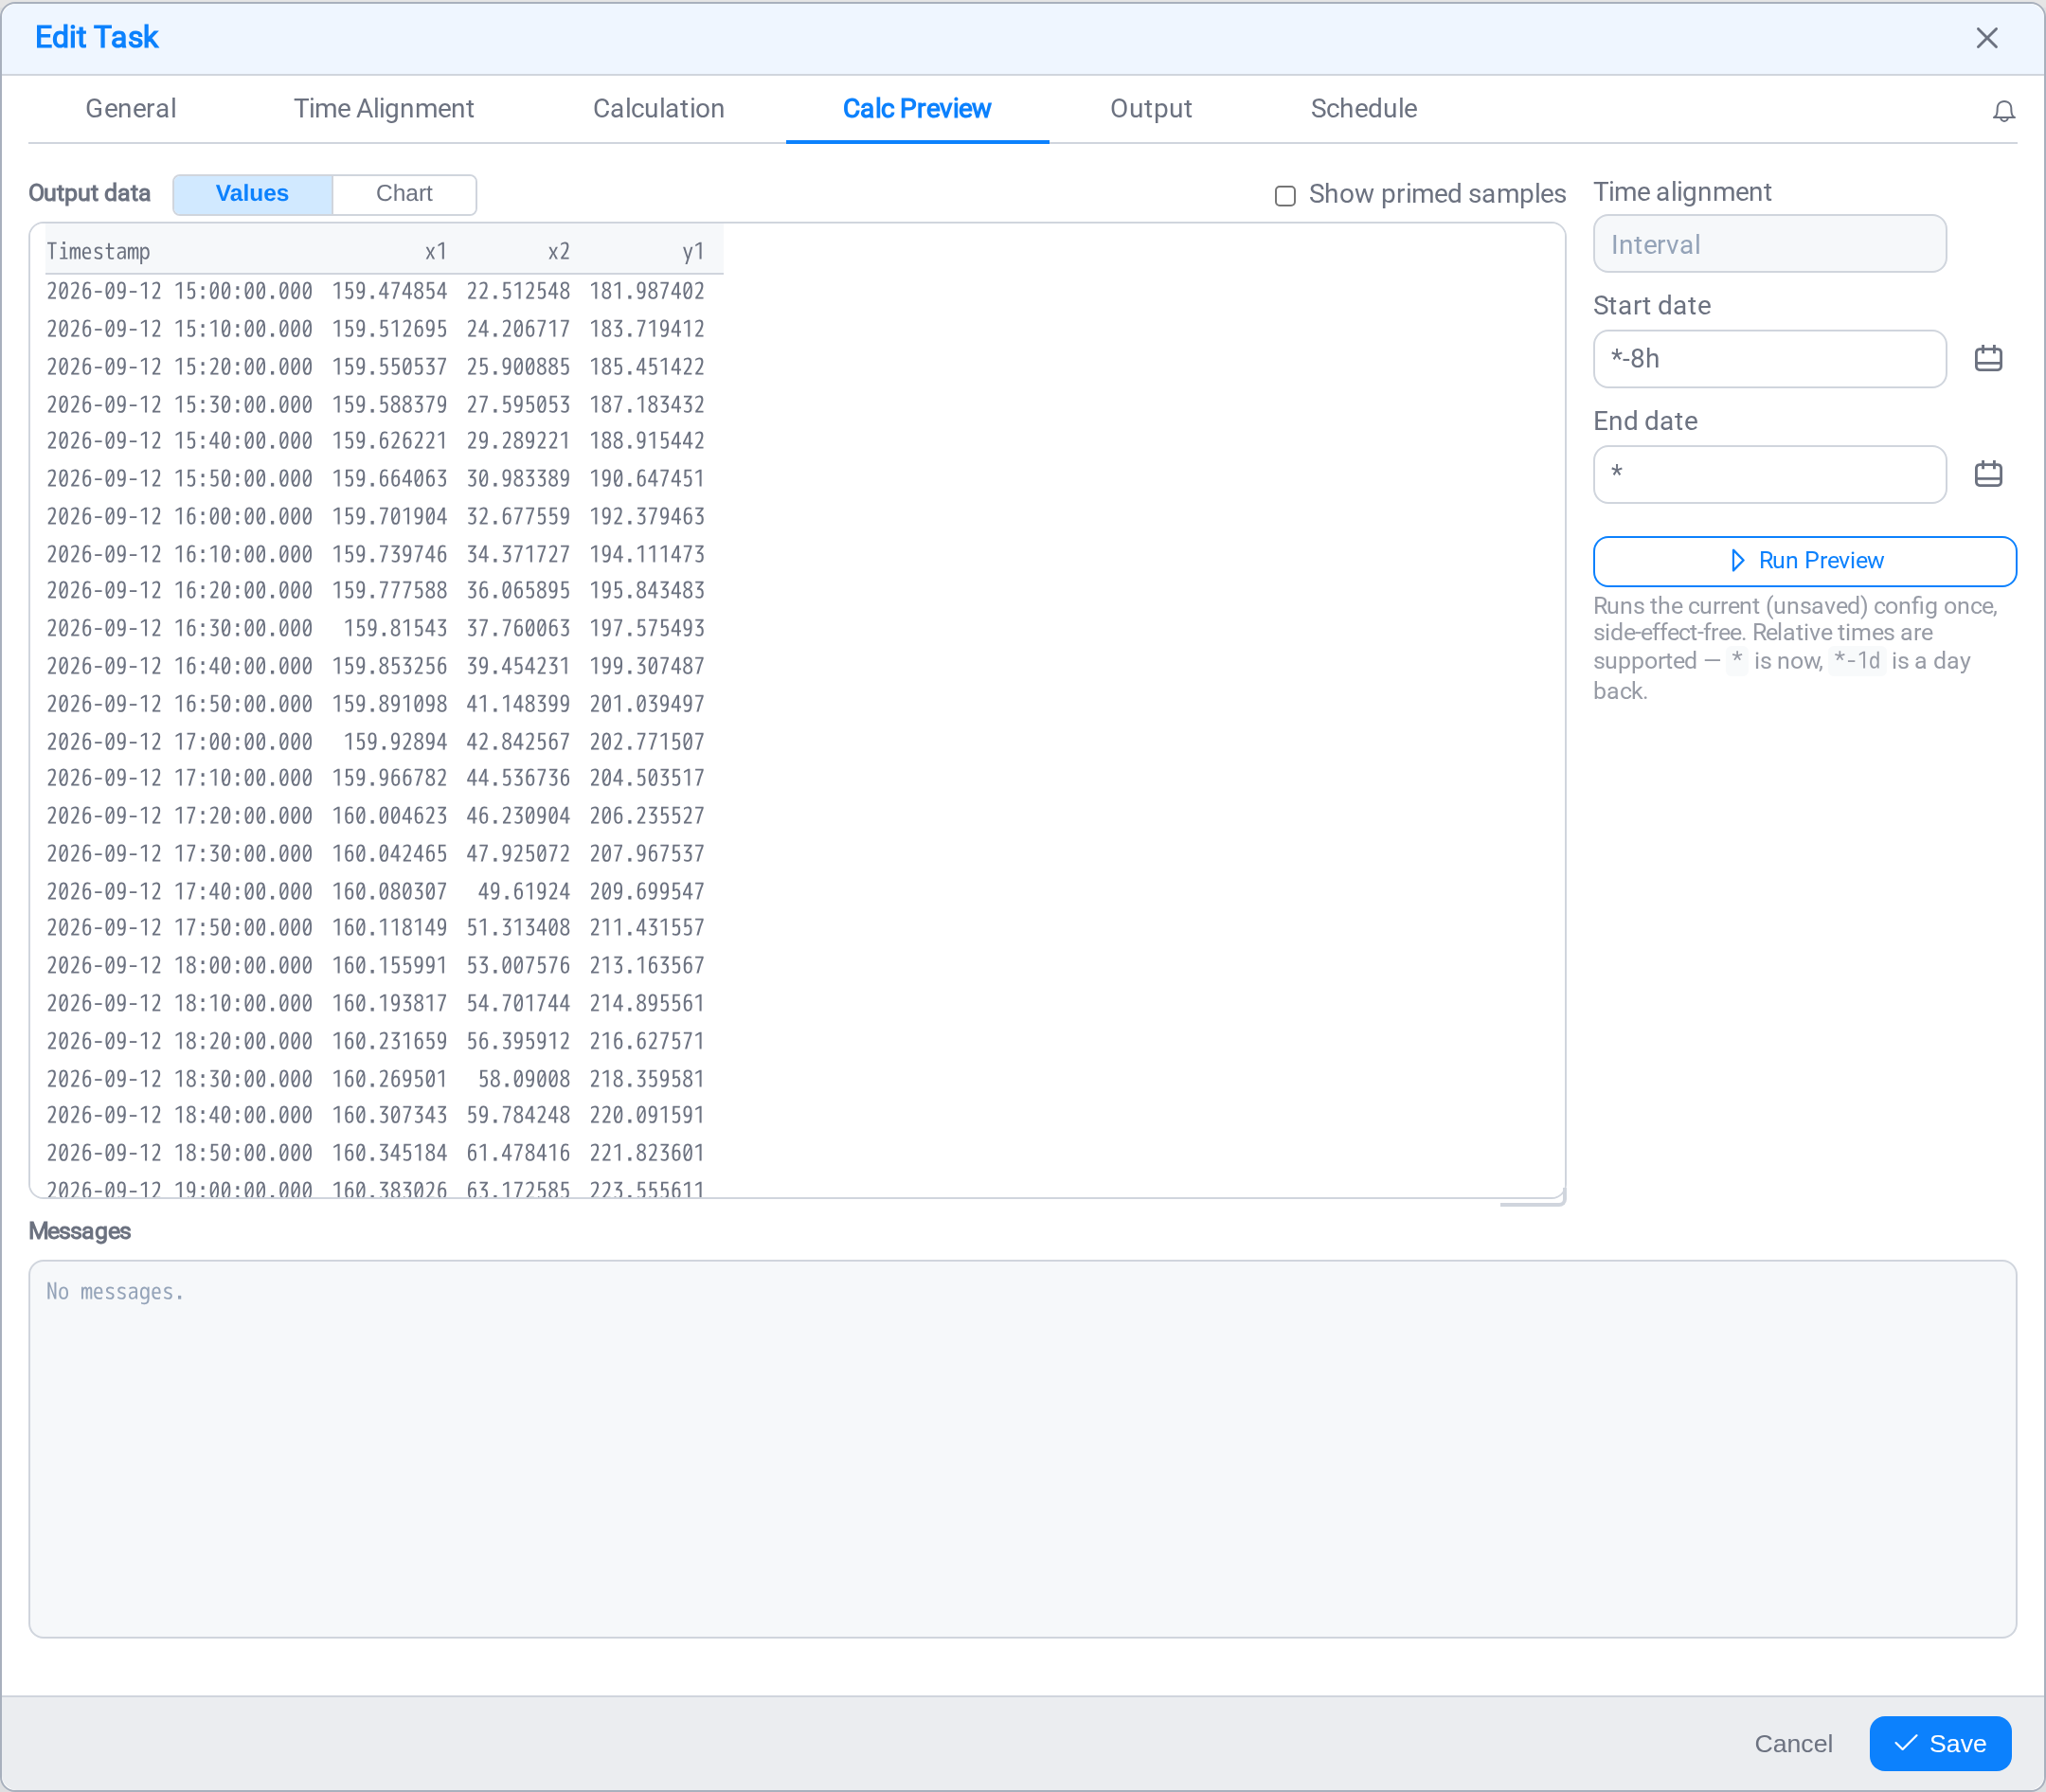
Look at the rows. Are the values sensible? Is every row identifiable? Is the total
actually the sum?
This is where you catch the mistakes. A wrong calculation found here costs a minute;
found in three weeks it means three weeks of wrong numbers already written.
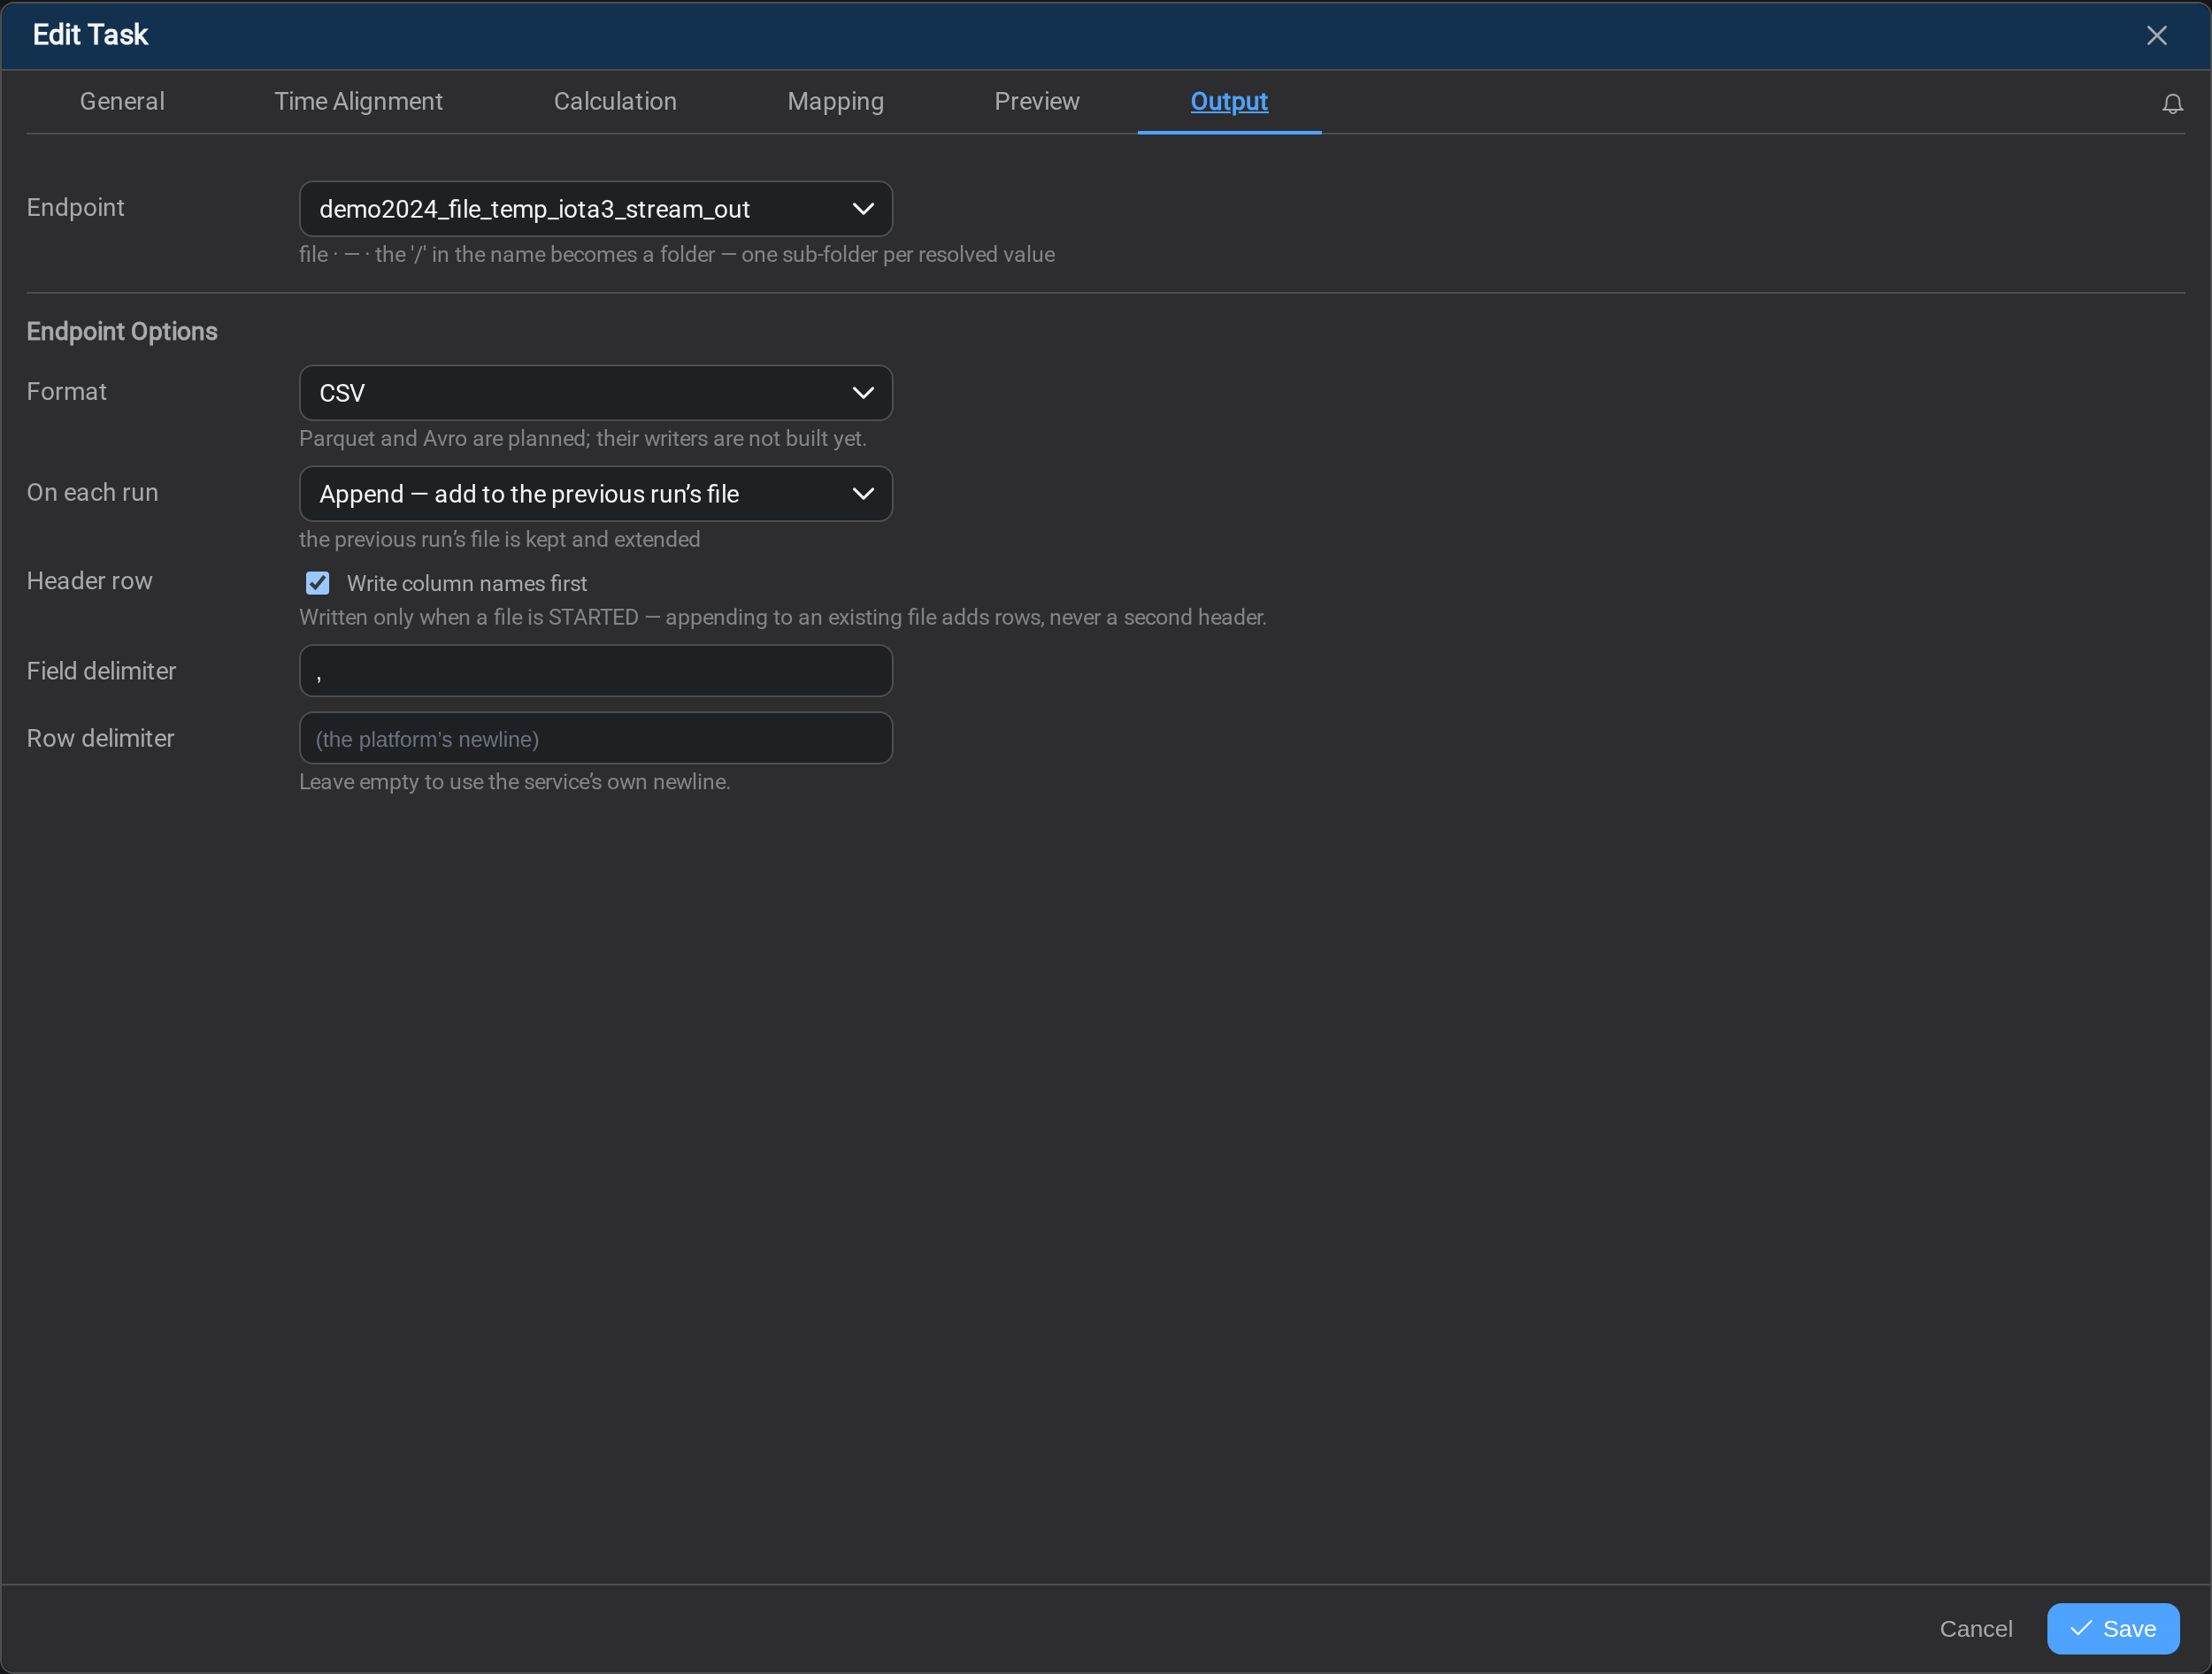
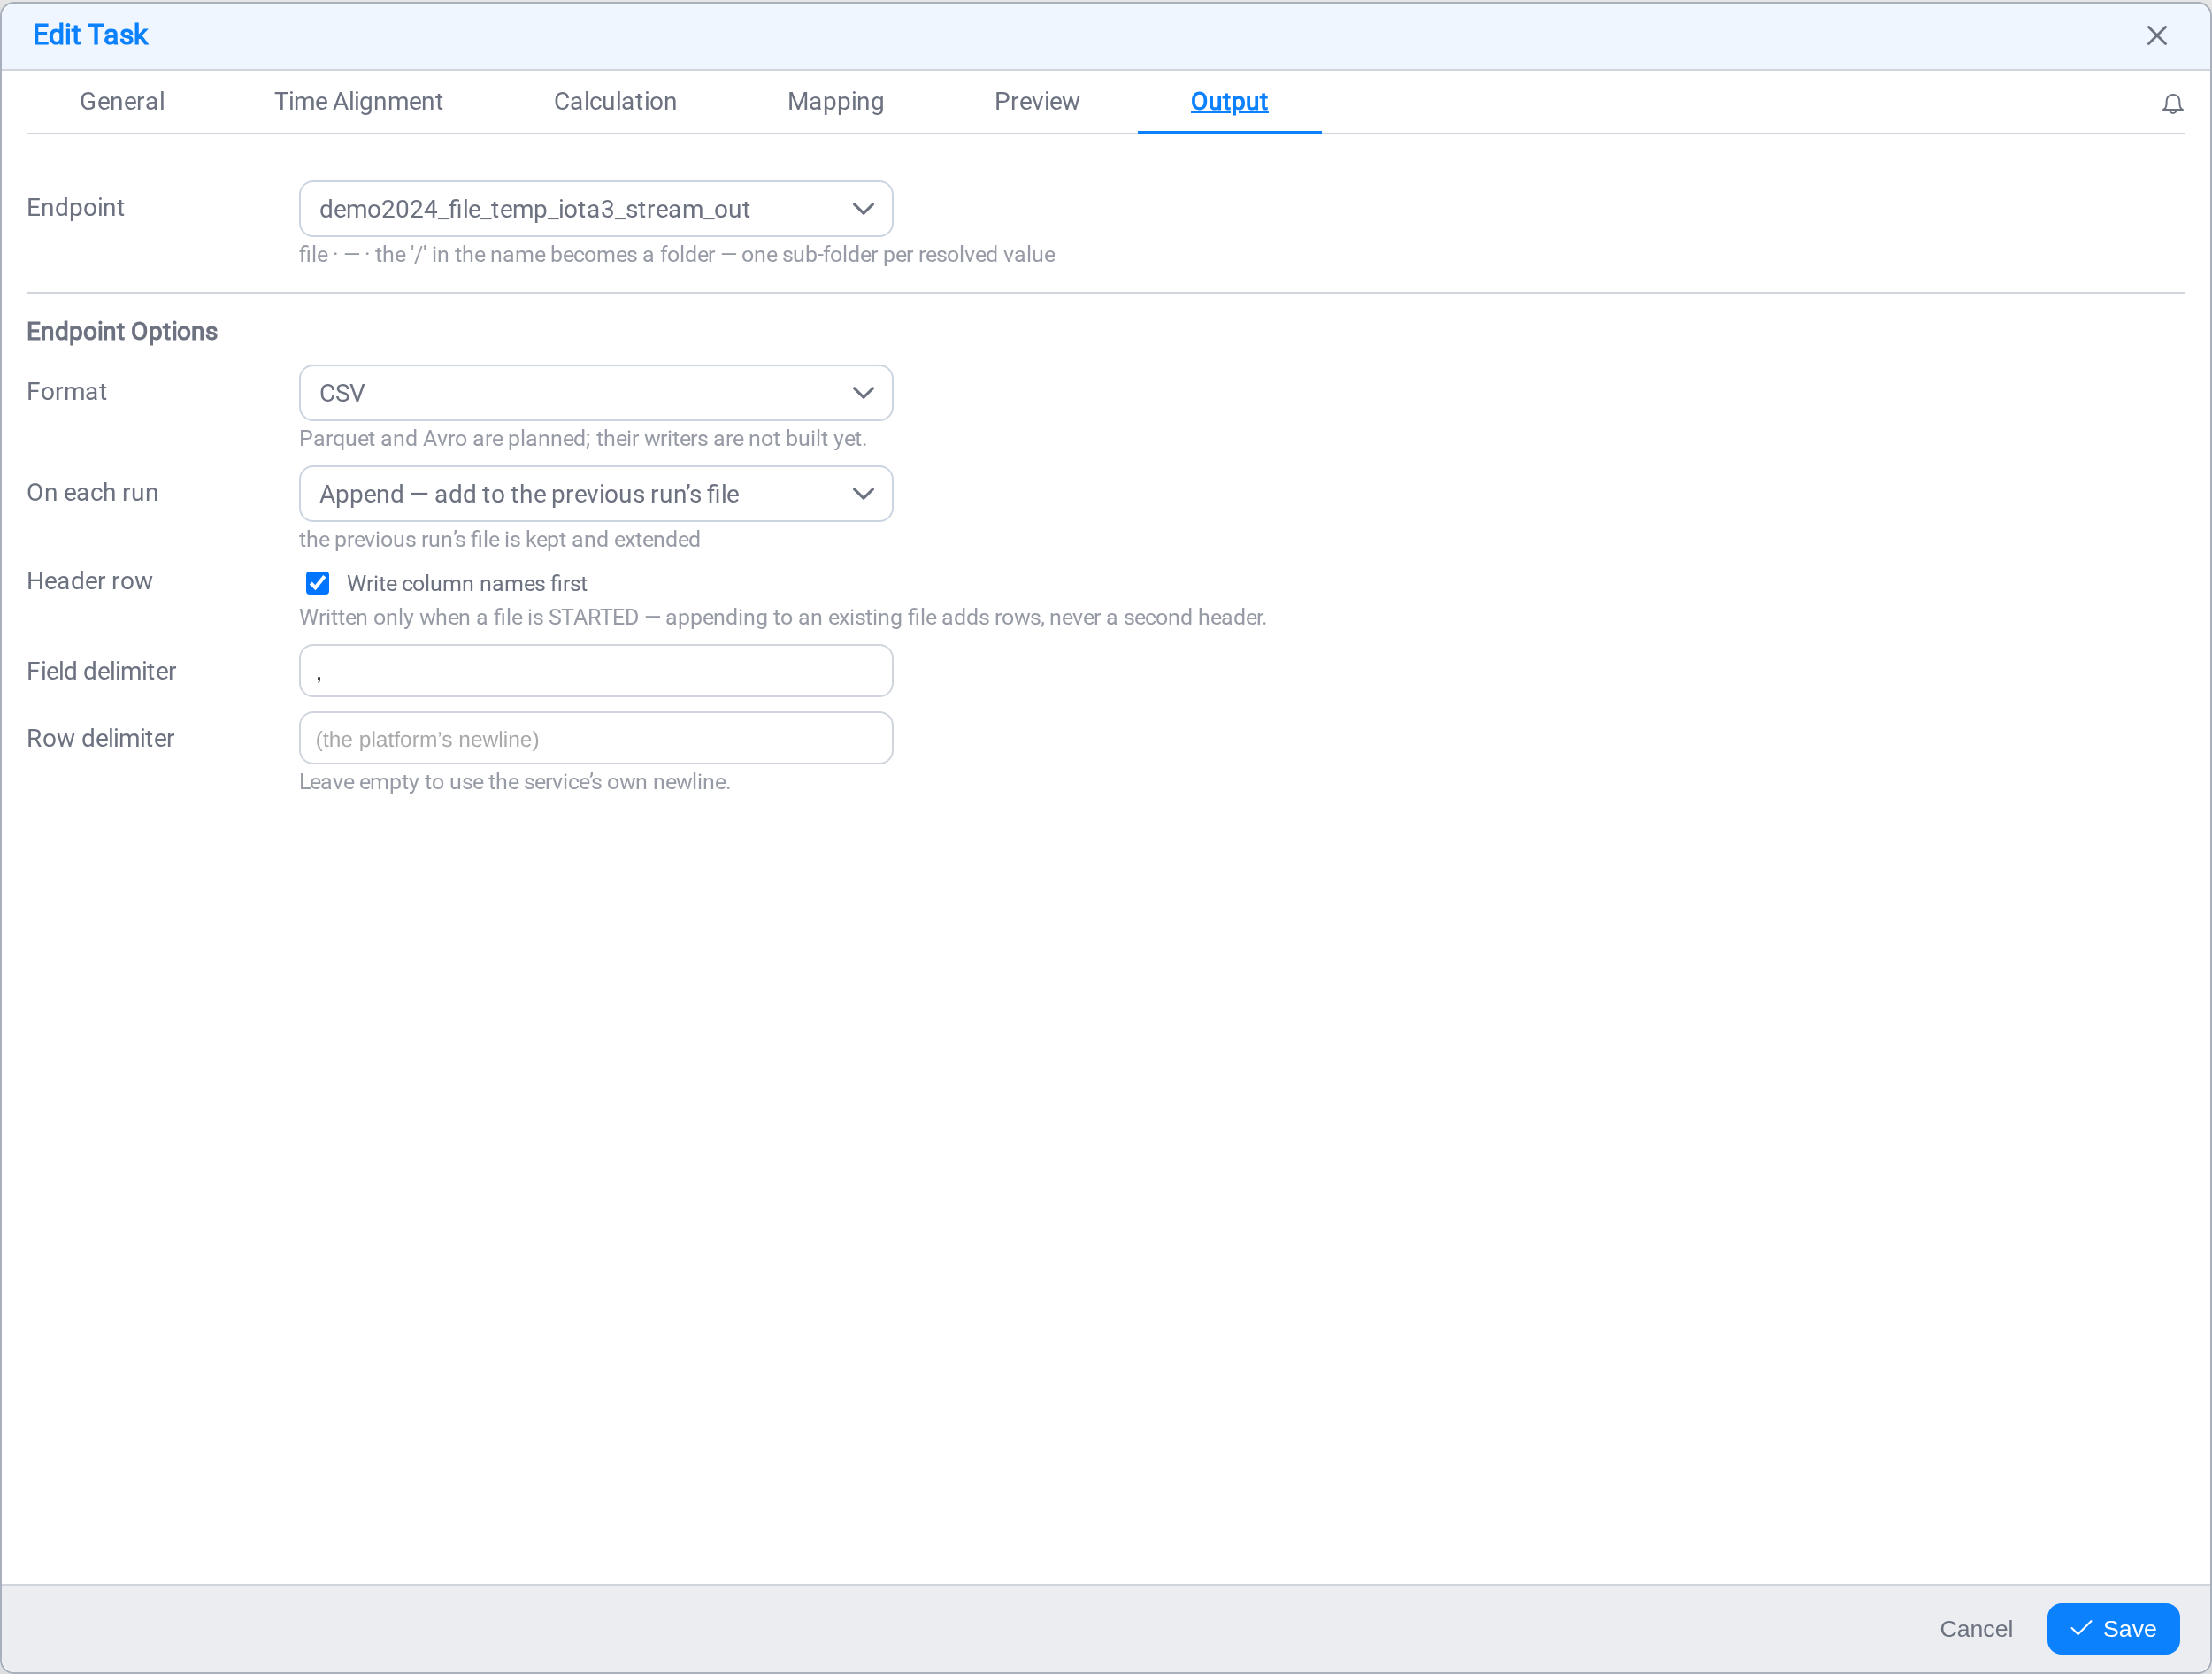
Output
- Endpoint: the file endpoint from step 2
- Format: CSV
- On each run: Append
- Header row: ticked
- Field delimiter: leave as a comma
Select Save.
Step 6: Run it once, by hand
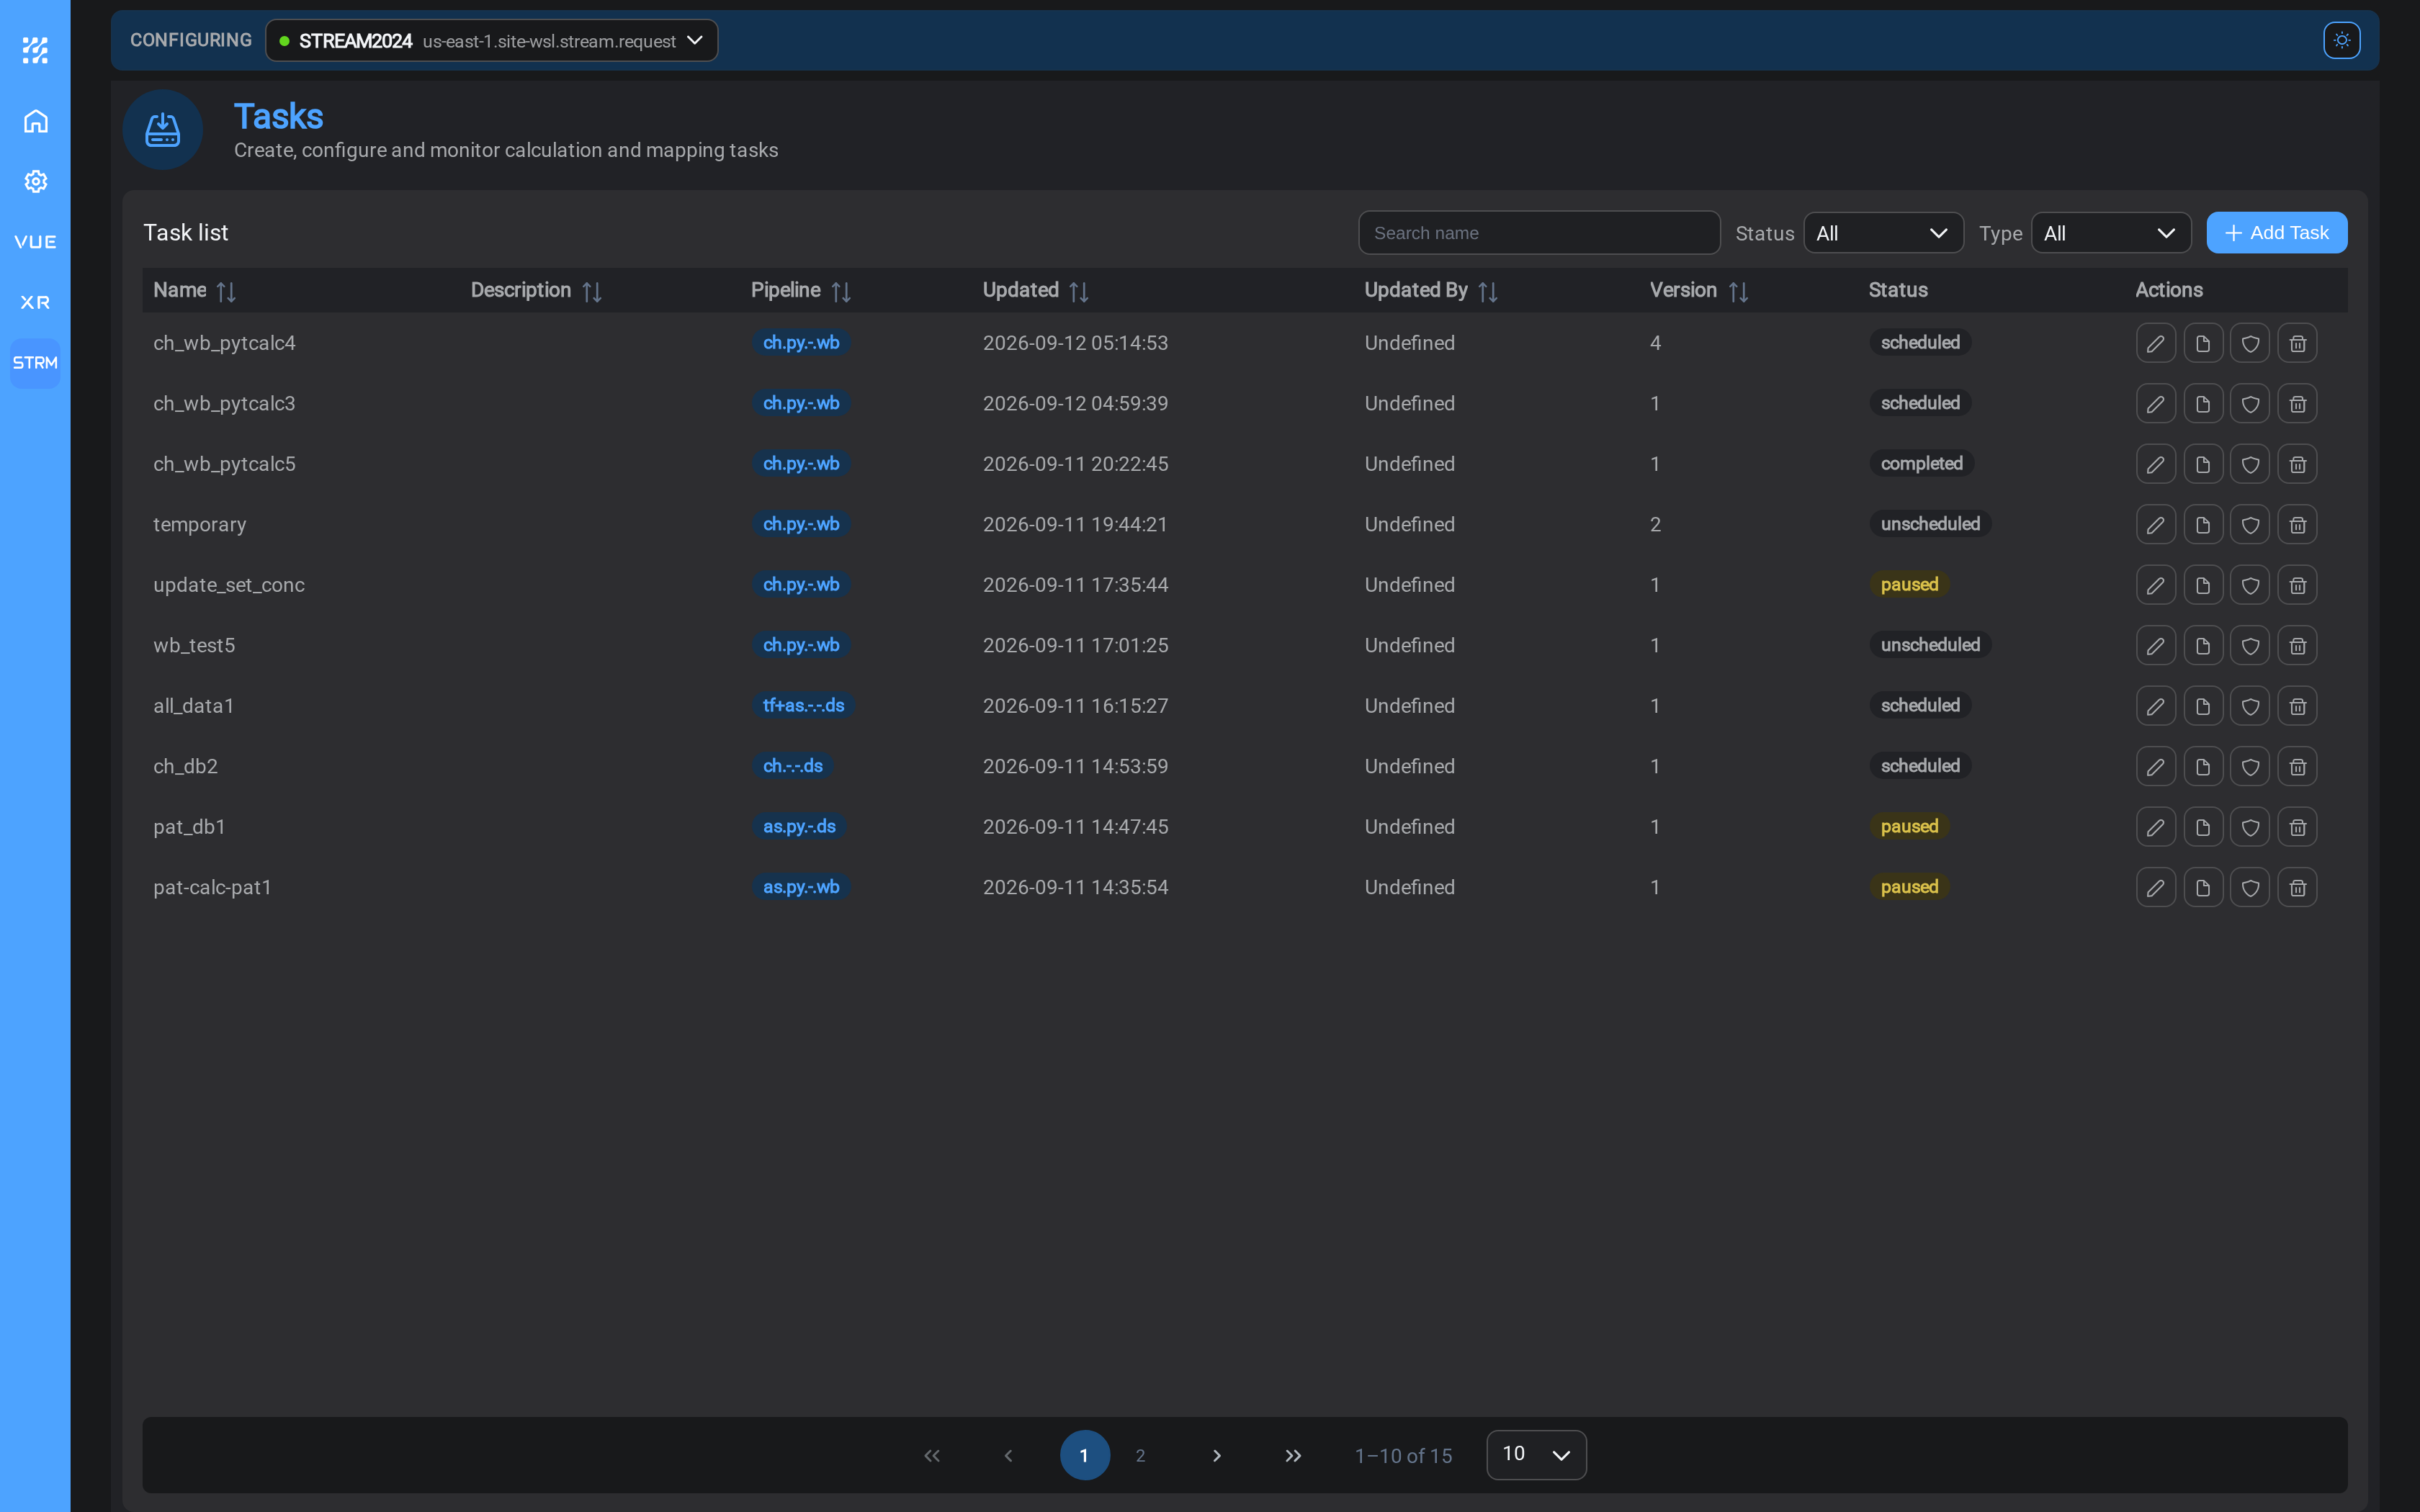
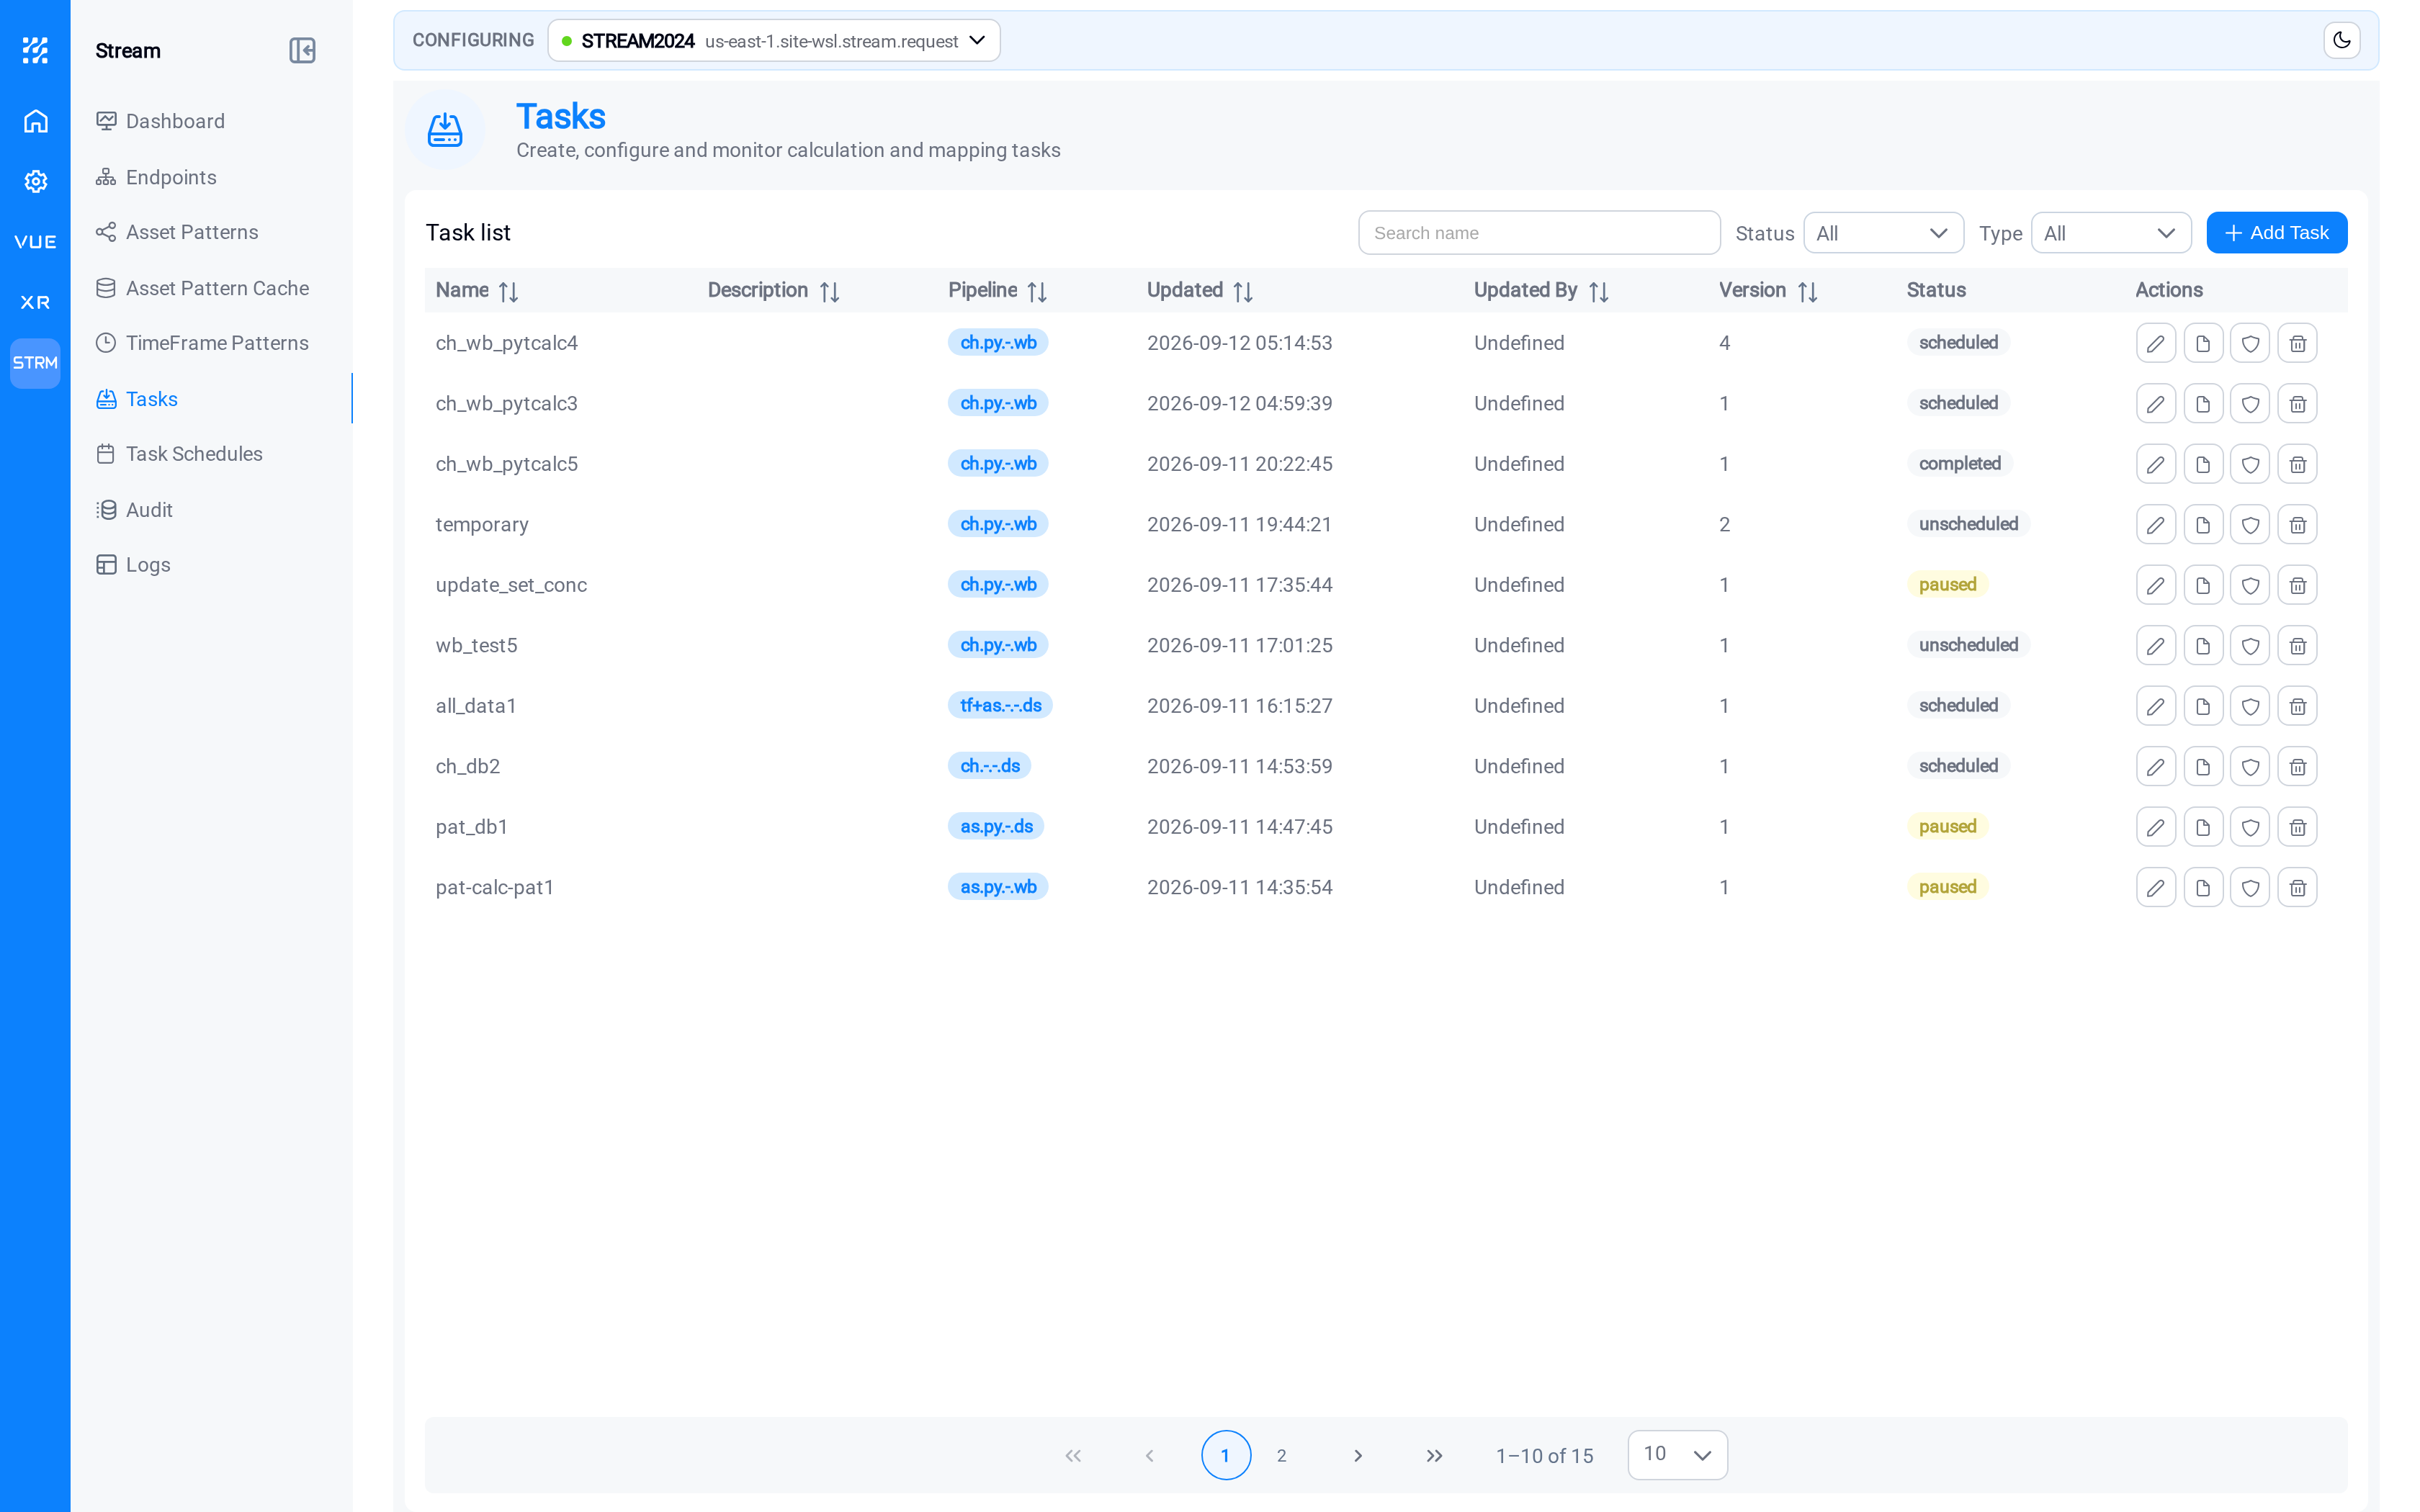
Back on the Tasks page, use the run control in the task's Actions to run it
immediately.
Then check two things:
- Logs: filter Source to this task. There should be no errors;
read any warnings. - The destination folder: the dated folders and the CSV should be there, with a
header row and one row per asset.
Fix anything wrong now, while there is one run's worth of output rather than a
week's.
Step 7: Give it a schedule
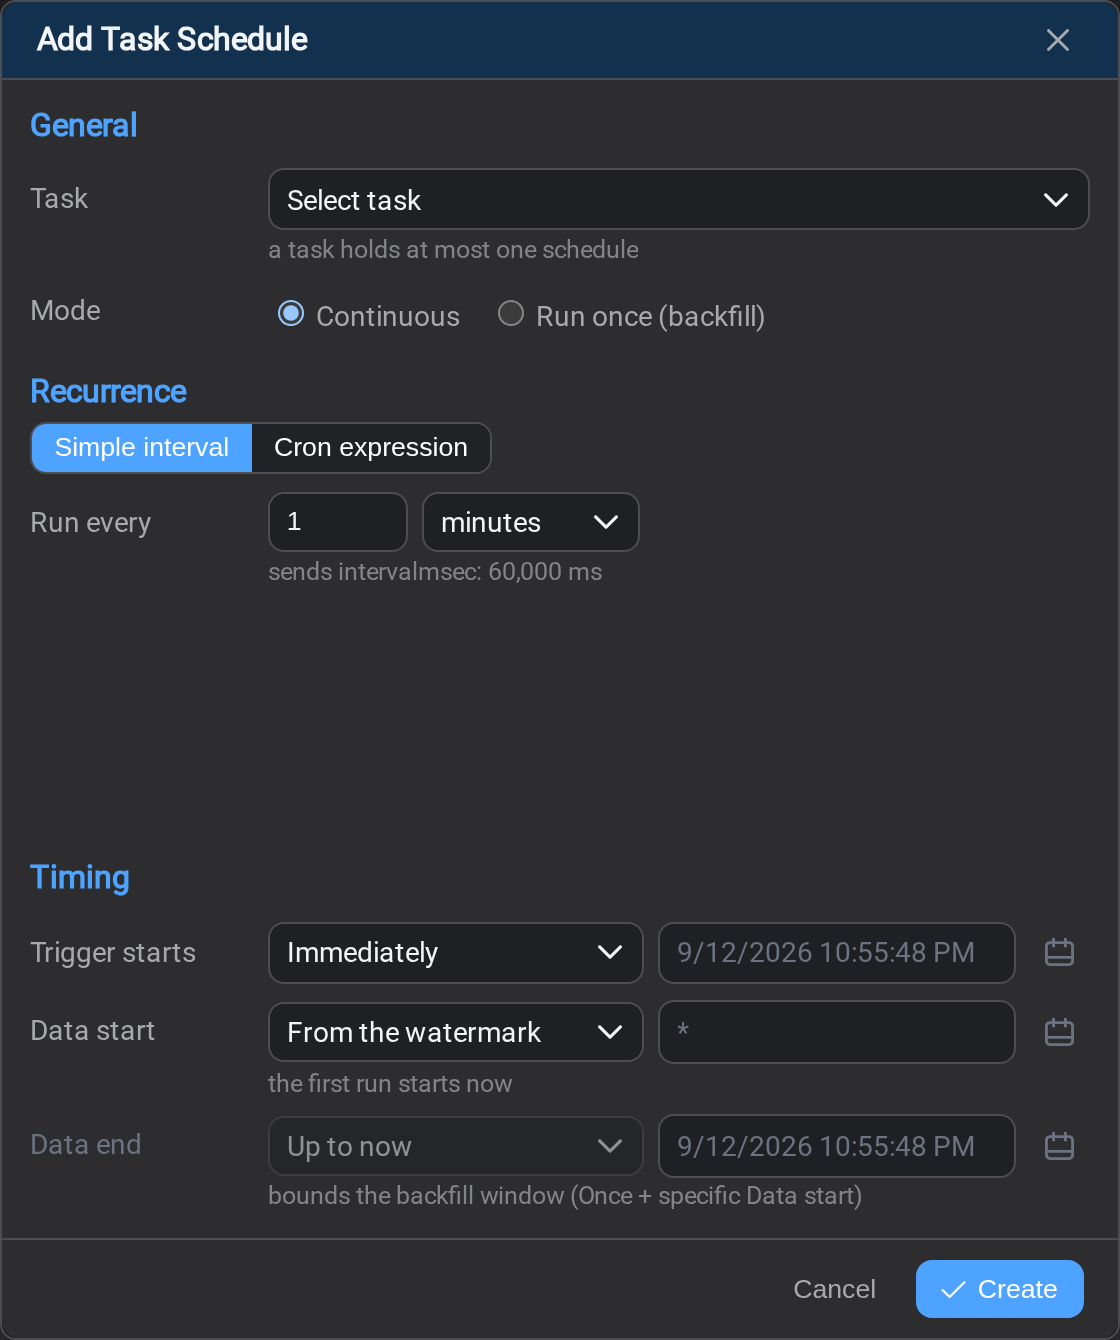
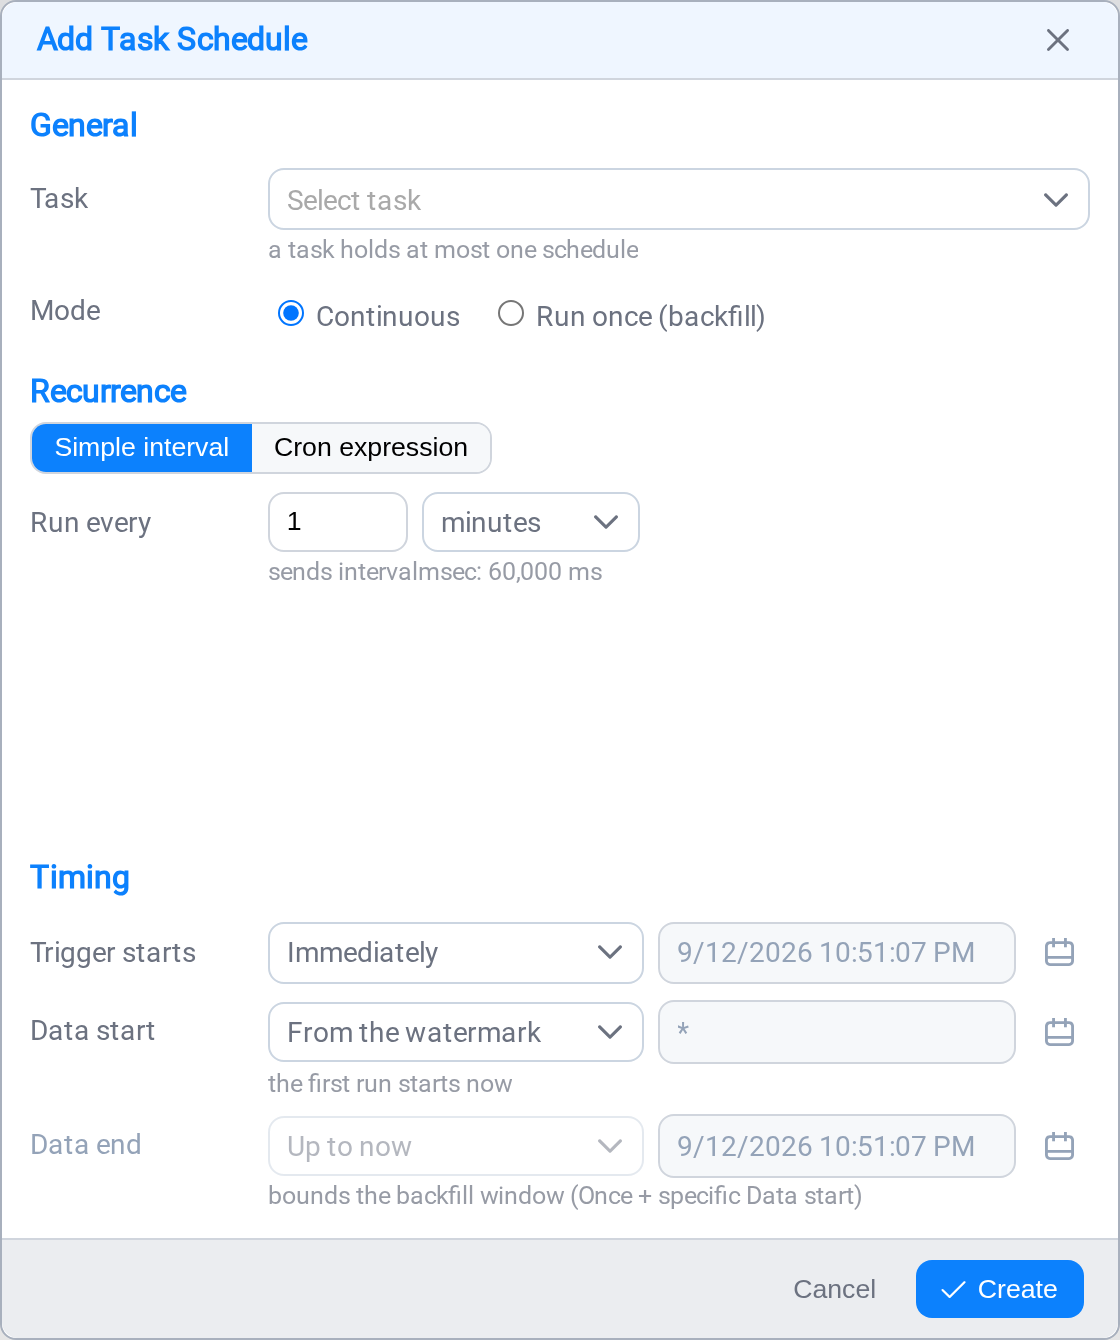
Open Task Schedules and select Add Schedule. Choose your task, leave Mode
on Continuous, and set the cadence to Every N minutes with N = 15. Leave
Trigger starts on Immediately.
Read the plain-words summary the builder shows back to you before saving. It is the
quickest way to catch "every minute" when you meant "every fifteen".
When "every N minutes" is not what you want
Switch Recurrence to Cron expression for anything an interval cannot say: a
time of day, or particular days of the week. Choosing the weekday preset and
selecting Mon, Wed and Fri at 06:30 gives you this:
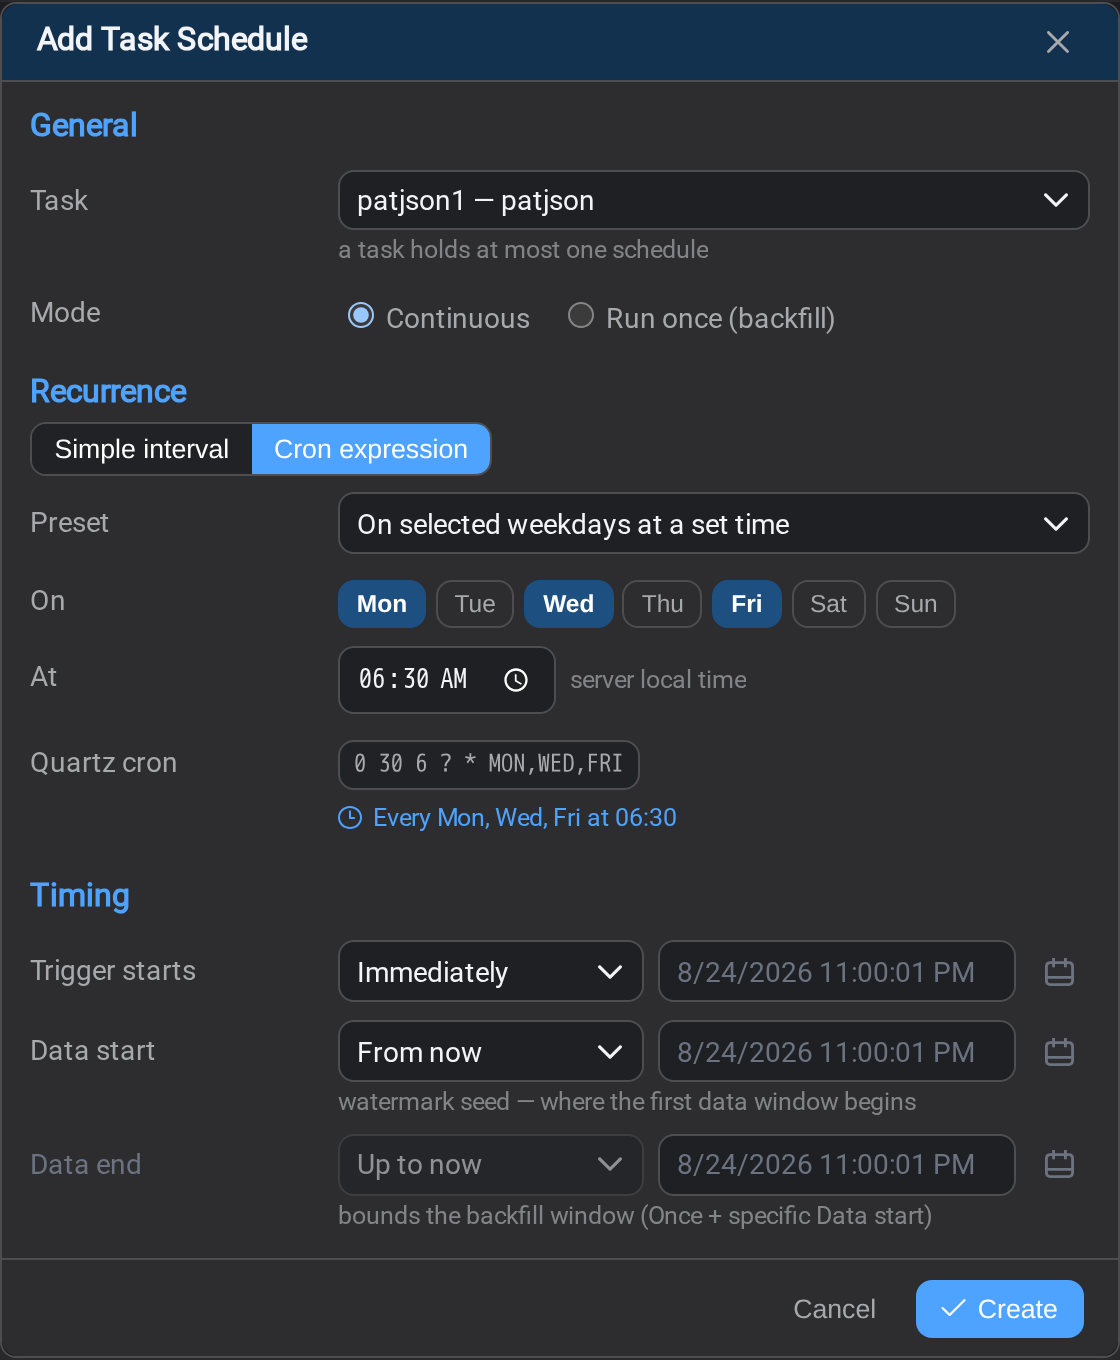
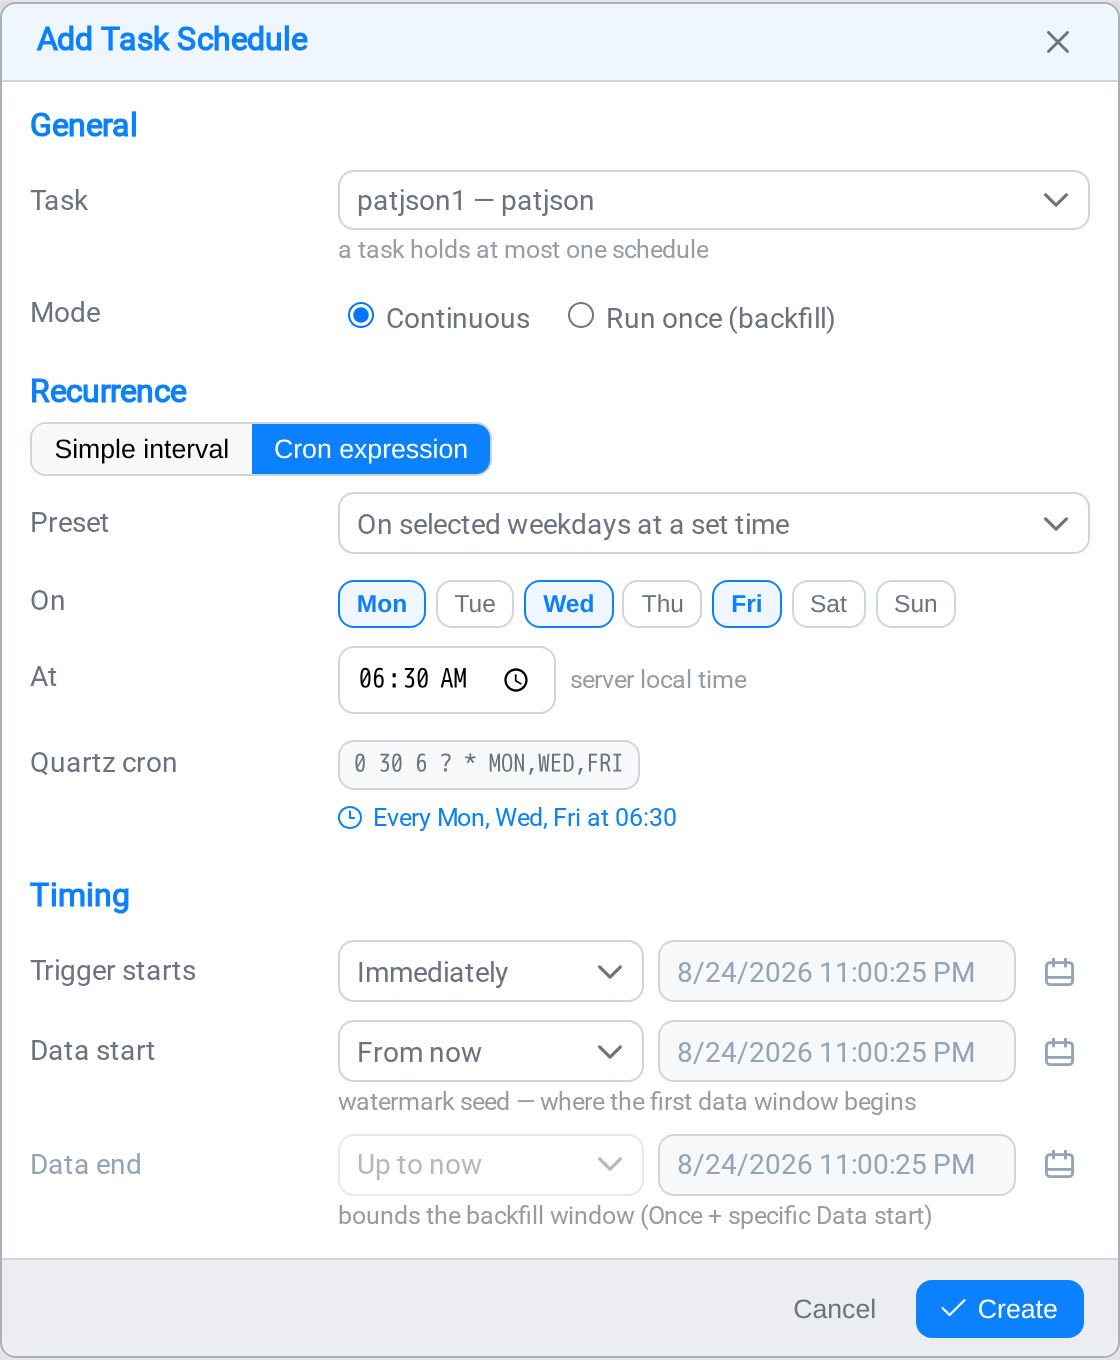
The builder writes 0 30 6 ? * MON,WED,FRI and reads it back as Every Mon, Wed, Fri
at 06:30. See Task Scheduler for the rest of the presets.
Select Save. The task now runs unattended.
What to check tomorrow
- Task Schedules: the state should be Scheduled, and Last Run recent.
Expand the row to see how long runs are taking. - Logs: filter to warnings as well as errors. A warning repeating on every run
usually means some assets are being skipped while the task reports success. - The destination: is a new dated folder appearing as expected?
Where to go next
| If you want to | Read |
|---|---|
| Understand pattern matching properly | Asset Patterns |
| Write results back into the PI System instead of a file | Tasks |
| Write to SQL instead of files | Endpoints, Task Output |
| Produce JSON documents rather than rows | Task Mapping |
| Work out why a run failed | Logs |
| Find out who changed a configuration | Audit |
Related
- Stream Guide: the whole guide
- Endpoints: every connection type and its fields
- Tasks: the full set of source, transform and output combinations